Konica Minolta magicolor 1690MF magicolor 1690MF Printer / Copier / Scanner Us - Page 246
Remove the toner cartridge with the, Lateral lines
 |
View all Konica Minolta magicolor 1690MF manuals
Add to My Manuals
Save this manual to your list of manuals |
Page 246 highlights
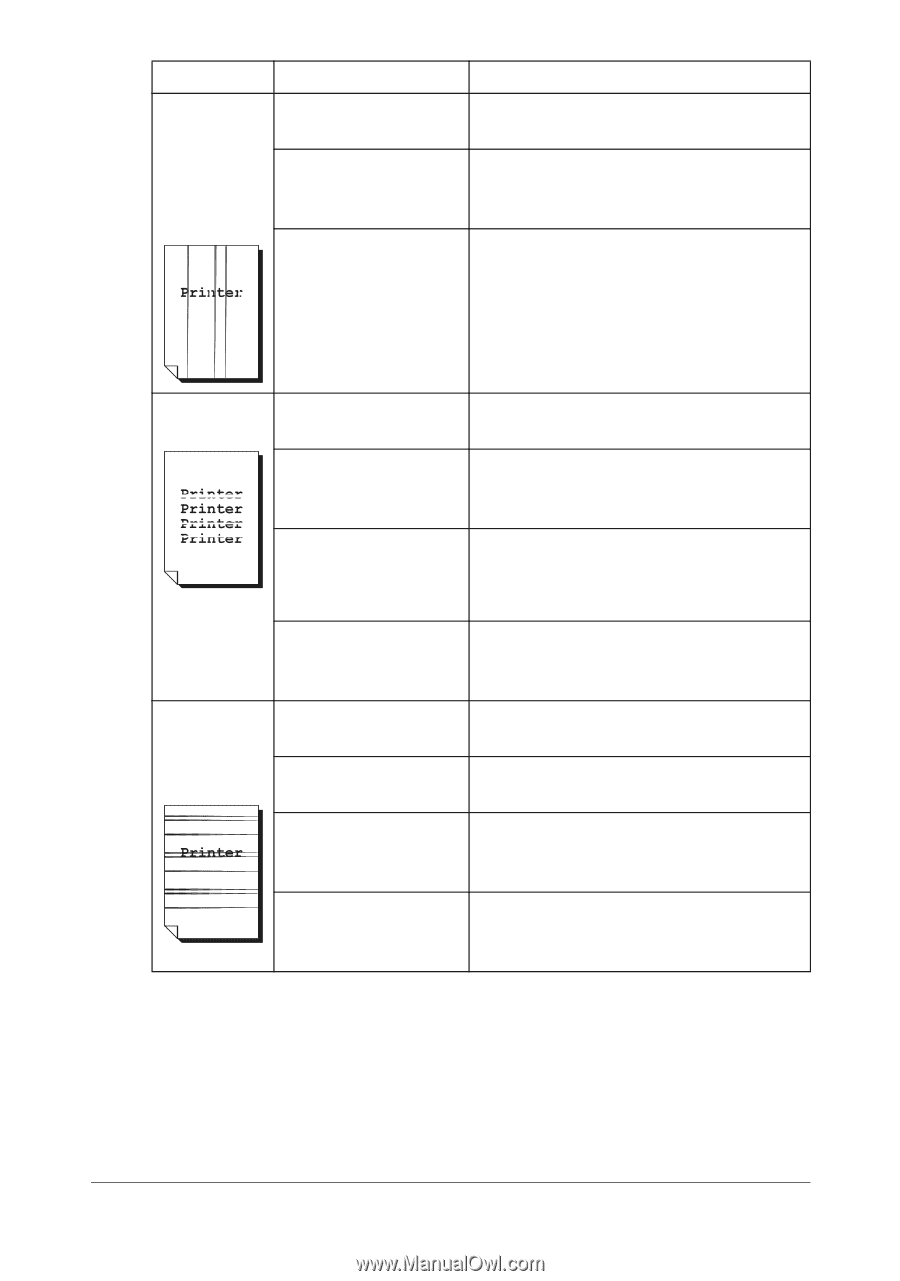
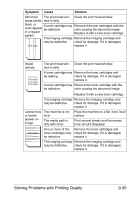
Symptom Cause Solution Abnormal The print head win- Clean the print head window. areas (white, dow is dirty. black, or A toner cartridge may Remove the toner cartridges with the color) appear be defective. color causing the abnormal image. in a regular Replace it with a new toner cartridge. pattern. The imaging cartridge Remove the imaging cartridge and may be defective. check for damage. If it is damaged, replace it. Image defects. The print head win- Clean the print head window. dow is dirty. A toner cartridge may Remove the toner cartridges and be leaking. check for damage. If it is damaged, replace it. A toner cartridge may Remove the toner cartridge with the be defective. color causing the abnormal image. Replace it with a new toner cartridge. The imaging cartridge Remove the imaging cartridge and may be defective. check for damage. If it is damaged, replace it. Lateral lines or bands appear on image. The machine is not level. The media path is dirty with toner. Place the machine on a flat, hard, level surface. Print several sheets and the excess toner should disappear. One or more of the Remove the toner cartridges and toner cartridges may check for damage. If it is damaged, be defective. replace it. The imaging cartridge Remove the imaging cartridge and may be defective. check for damage. If it is damaged, replace it. Solving Problems with Printing Quality 9-35
-
 1
1 -
2
-
3
-
4
-
5
-
6
-
7
-
8
-
9
-
10
-
11
-
12
-
13
-
14
-
15
-
16
-
17
-
18
-
19
-
20
-
21
-
22
-
23
-
24
-
25
-
26
-
27
-
28
-
29
-
30
-
31
-
32
-
33
-
34
-
35
-
36
-
37
-
38
-
39
-
40
-
41
-
42
-
43
-
44
-
45
-
46
-
47
-
48
-
49
-
50
-
51
-
52
-
53
-
54
-
55
-
56
-
57
-
58
-
59
-
60
-
61
-
62
-
63
-
64
-
65
-
66
-
67
-
68
-
69
-
70
-
71
-
72
-
73
-
74
-
75
-
76
-
77
-
78
-
79
-
80
-
81
-
82
-
83
-
84
-
85
-
86
-
87
-
88
-
89
-
90
-
91
-
92
-
93
-
94
-
95
-
96
-
97
-
98
-
99
-
100
-
101
-
102
-
103
-
104
-
105
-
106
-
107
-
108
-
109
-
110
-
111
-
112
-
113
-
114
-
115
-
116
-
117
-
118
-
119
-
120
-
121
-
122
-
123
-
124
-
125
-
126
-
127
-
128
-
129
-
130
-
131
-
132
-
133
-
134
-
135
-
136
-
137
-
138
-
139
-
140
-
141
-
142
-
143
-
144
-
145
-
146
-
147
-
148
-
149
-
150
-
151
-
152
-
153
-
154
-
155
-
156
-
157
-
158
-
159
-
160
-
161
-
162
-
163
-
164
-
165
-
166
-
167
-
168
-
169
-
170
-
171
-
172
-
173
-
174
-
175
-
176
-
177
-
178
-
179
-
180
-
181
-
182
-
183
-
184
-
185
-
186
-
187
-
188
-
189
-
190
-
191
-
192
-
193
-
194
-
195
-
196
-
197
-
198
-
199
-
200
-
201
-
202
-
203
-
204
-
205
-
206
-
207
-
208
-
209
-
210
-
211
-
212
-
213
-
214
-
215
-
216
-
217
-
218
-
219
-
220
-
221
-
222
-
223
-
224
-
225
-
226
-
227
-
228
-
229
-
230
-
231
-
232
-
233
-
234
-
235
-
236
-
237
-
238
-
239
-
240
-
 241
241 -
 242
242 -
 243
243 -
 244
244 -
 245
245 -
 246
246 -
 247
247 -
 248
248 -
 249
249 -
 250
250 -
 251
251 -
252
-
253
-
254
-
255
-
256
-
257
-
258
-
259
-
260
-
261
-
262
-
263
-
264
-
265
-
266
-
267
-
268
-
269
-
270
-
271
-
272
-
273
-
274
-
275
-
276
-
277
-
278
-
279
-
280
-
281
-
282
-
283
-
284
-
285
 |
 |