Kyocera K132 User Guide - Page 25
Creating a new contact, Adding a code or extension, Customizing your contacts
 |
View all Kyocera K132 manuals
Add to My Manuals
Save this manual to your list of manuals |
Page 25 highlights
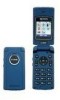
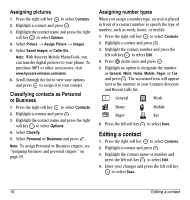
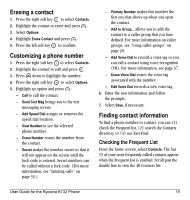
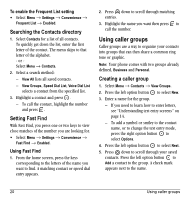
4 STORING CONTACTS Use your phone's Contacts directory to store information about a person or company. Each contact entry can have up to six phone numbers, two email addresses, two Web addresses, two street addresses, and a space for notes. Creating a new contact 1. From the home screen, enter the phone number you want to save, including the area code. 2. Press the left soft key to select Save. 3. Press to select Save New Contact. 4. Enter a name for the contact. - If you need to learn how to enter letters, see "Understanding text entry screens" on page 14. - To add a symbol or smiley to the contact name, or to change the text entry mode, press the right soft key to select Options. 5. Either save now or add more contact information. - To save now, press the left soft key to select Save. - To enter additional phone numbers, email and Web addresses, or notes, press down repeatedly. For help switching between numbers and letters for email or Web addresses, see "Changing modes" on page 15. User Guide for the Kyocera K132 Phone Adding a code or extension When you save the phone number of an automated service, you may include a pause to stop dialing, such as when waiting to dial an extension. 1. From the home screen, enter the first portion of the phone number. 2. Press the right soft key to select Options. 3. Select a type of pause: - X Time Pause - Hard Pause 4. Enter the remaining numbers. 5. Press the left soft key to select Save. Customizing your contacts You can customize each contact in your Contacts directory by assigning ringers, pictures, and number types, or by classifying your contacts as Personal or Business. Assigning ringers 1. Press the right soft key to select Contacts. 2. Highlight a contact and press . 3. Highlight the contact name and press the right soft key to select Options. 4. Select Ringer → Assign Ringer. 5. Scroll down the list to hear the different ringers and press to select one. 17
-
 1
1 -
2
-
3
-
4
-
5
-
6
-
7
-
8
-
9
-
10
-
11
-
12
-
13
-
14
-
15
-
16
-
17
-
18
-
19
-
 20
20 -
 21
21 -
 22
22 -
 23
23 -
 24
24 -
 25
25 -
 26
26 -
 27
27 -
 28
28 -
 29
29 -
 30
30 -
31
-
32
-
33
-
34
-
35
-
36
-
37
-
38
-
39
-
40
-
41
-
42
-
43
-
44
-
45
-
46
-
47
-
48
-
49
-
50
-
51
-
52
-
53
-
54
-
55
-
56
-
57
-
58
-
59
-
60
-
61
-
62
-
63
-
64
 |
 |
