Linksys WRT54GS-FR User's Manual - Page 9
Connect the Router - repeater
 |
UPC - 745883560028
View all Linksys WRT54GS-FR manuals
Add to My Manuals
Save this manual to your list of manuals |
Page 9 highlights
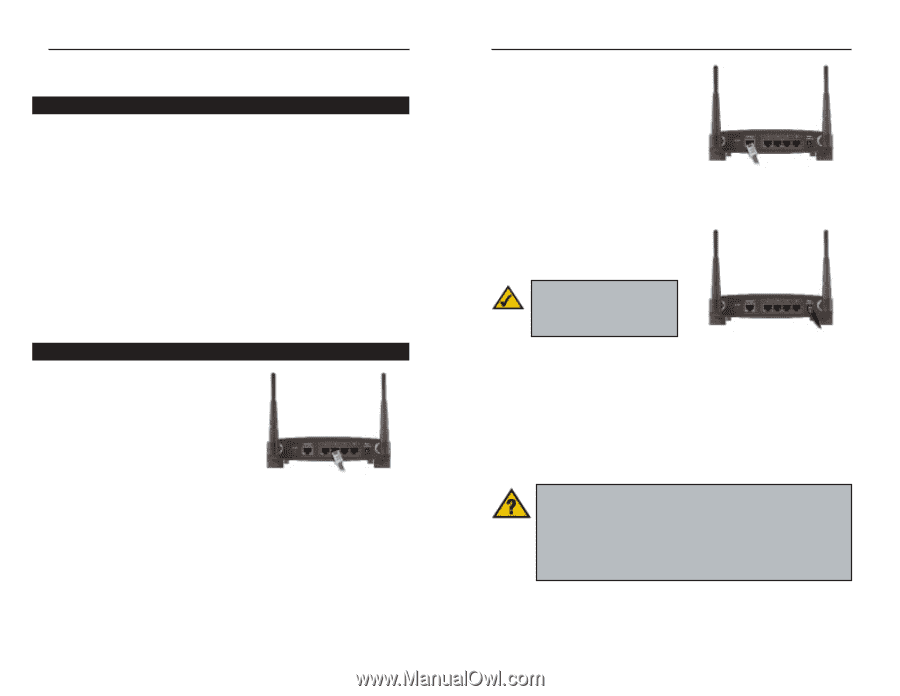
Instant Wireless® Series Chapter 3: Connect the Router Overview The Router's setup consists of more than simply plugging hardware together. You will have to configure your networked PCs to accept the IP addresses that the Router assigns them (if applicable), and you will also have to configure the Router with setting(s) provided by your Internet Service Provider (ISP). The installation technician from your ISP should have left the setup information for your modem with you after installing your broadband connection. If not, you can call your ISP to request that data. Once you have the setup information you need for your specific type of Internet connection, you can begin installation and setup of the Router. If you want to use a PC with an Ethernet adapter to configure the Router, go to "Wired Connection to a PC." If you want to use a PC with a wireless adapter to configure the Router, go to "Wireless Connection to a PC and Boot-Up." Wired Connection to a PC 1. Before you begin, make sure that all of your network's hardware is powered off, including the Router, PCs, and cable or DSL modem. 2. Connect one end of an Ethernet network cable to one of the LAN ports (labeled 1-4) on the back of the Router, and the other end to an Ethernet port on a PC. Figure 3-1 Repeat this step to connect more PCs, a switch, or other network devices to the Router. 10 Wireless-G Broadband Router 3. Connect a different Ethernet network cable from your cable or DSL modem to the Internet port on the Router's rear panel. This is the only port that will work for your modem connection. 4. Power on the cable or DSL modem. 5. Connect the power adapter to the Router's Power port, and then plug the power adapter into a power outlet. Figure 3-2 Note: You should always plug the Router's power adapter into a power strip with surge protection. Figure 3-3 • The Power LED on the front panel will light up green as soon as the power adapter is connected properly. • The Diag LED will light up red for a few seconds. It will turn off when the self-test is complete. If this LED stays on for one minute or longer, see "Appendix A: Troubleshooting." 6. Power on one of your PCs. Have you checked that the Link/Act LEDs for all your LAN connections and the Link LED for your Internet connection light up? If all of your Link LEDs are not lighting up, make sure that all your cables are securely plugged in, and that all of your hardware is powered on properly. Verify that the modem is plugged into the Internet port on the Router. 11
-
 1
1 -
2
-
3
-
 4
4 -
 5
5 -
 6
6 -
 7
7 -
 8
8 -
 9
9 -
 10
10 -
 11
11 -
 12
12 -
 13
13 -
 14
14 -
15
-
16
-
17
-
18
-
19
-
20
-
21
-
22
-
23
-
24
-
25
-
26
-
27
-
28
-
29
-
30
-
31
-
32
-
33
-
34
-
35
-
36
-
37
-
38
-
39
-
40
-
41
-
42
-
43
-
44
-
45
-
46
-
47
-
48
-
49
-
50
-
51
-
52
-
53
-
54
-
55
-
56
-
57
-
58
-
59
-
60
-
61
 |
 |