Nikon D2H D2H User's Manual - Page 39
Step 1-Ready the Camera, Control, panel, finder, Status, Notes - d2hs
 |
UPC - 018208252084
View all Nikon D2H manuals
Add to My Manuals
Save this manual to your list of manuals |
Page 39 highlights
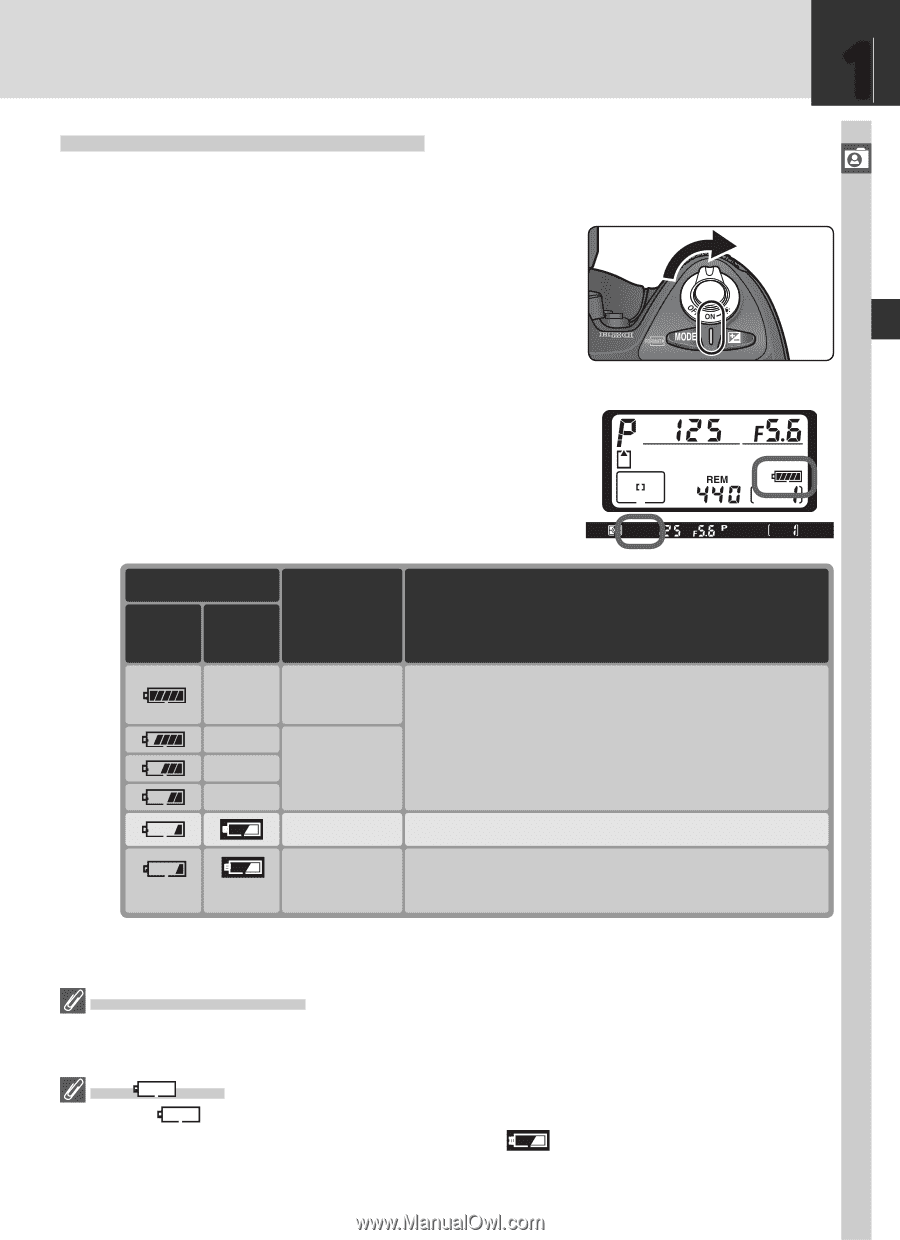
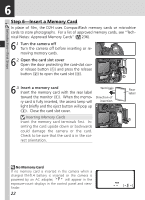
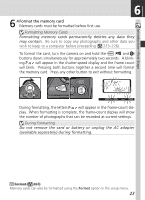
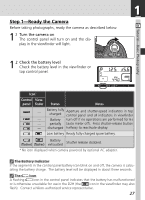
Tutorial-Basic Photography 1 Step 1-Ready the Camera Before taking photographs, ready the camera as described below. 1.1 Turn the camera on The control panel will turn on and the display in the viewfinder will light. 1.2 Check the battery level Check the battery level in the viewfinder or top control panel. Icon* Control Viewpanel finder Status Notes - Battery fully Aperture and shutter-speed indicators in top charged control panel and all indicators in viewfinder - Battery turn off if no operations are performed for 6 s - partially (auto meter off). Press shutter-release button - discharged halfway to reactivate display. Low battery Ready fully-charged spare battery. (flashes) (flashes) Battery exhausted Shutter release disabled. * No icon displayed when camera powered by optional AC adapter. The Battery Indicator If the segments in the control panel battery icon blink on and off, the camera is calculating the battery charge. The battery level will be displayed in about three seconds. The Icon A flashing icon in the control panel indicates that the battery has malfunctioned or is otherwise unsuitable for use in the D2H (the icon in the viewfinder may also flash). Contact a Nikon-authorized service representative. 27
-
 1
1 -
2
-
3
-
4
-
5
-
6
-
7
-
8
-
9
-
10
-
11
-
12
-
13
-
14
-
15
-
16
-
17
-
18
-
19
-
20
-
21
-
22
-
23
-
24
-
25
-
26
-
27
-
28
-
29
-
30
-
31
-
32
-
33
-
 34
34 -
 35
35 -
 36
36 -
 37
37 -
 38
38 -
 39
39 -
 40
40 -
 41
41 -
 42
42 -
 43
43 -
 44
44 -
45
-
46
-
47
-
48
-
49
-
50
-
51
-
52
-
53
-
54
-
55
-
56
-
57
-
58
-
59
-
60
-
61
-
62
-
63
-
64
-
65
-
66
-
67
-
68
-
69
-
70
-
71
-
72
-
73
-
74
-
75
-
76
-
77
-
78
-
79
-
80
-
81
-
82
-
83
-
84
-
85
-
86
-
87
-
88
-
89
-
90
-
91
-
92
-
93
-
94
-
95
-
96
-
97
-
98
-
99
-
100
-
101
-
102
-
103
-
104
-
105
-
106
-
107
-
108
-
109
-
110
-
111
-
112
-
113
-
114
-
115
-
116
-
117
-
118
-
119
-
120
-
121
-
122
-
123
-
124
-
125
-
126
-
127
-
128
-
129
-
130
-
131
-
132
-
133
-
134
-
135
-
136
-
137
-
138
-
139
-
140
-
141
-
142
-
143
-
144
-
145
-
146
-
147
-
148
-
149
-
150
-
151
-
152
-
153
-
154
-
155
-
156
-
157
-
158
-
159
-
160
-
161
-
162
-
163
-
164
-
165
-
166
-
167
-
168
-
169
-
170
-
171
-
172
-
173
-
174
-
175
-
176
-
177
-
178
-
179
-
180
-
181
-
182
-
183
-
184
-
185
-
186
-
187
-
188
-
189
-
190
-
191
-
192
-
193
-
194
-
195
-
196
-
197
-
198
-
199
-
200
-
201
-
202
-
203
-
204
-
205
-
206
-
207
-
208
-
209
-
210
-
211
-
212
-
213
-
214
-
215
-
216
-
217
-
218
-
219
-
220
-
221
-
222
-
223
-
224
-
225
-
226
-
227
-
228
-
229
-
230
-
231
-
232
-
233
-
234
-
235
-
236
-
237
-
238
-
239
-
240
-
241
-
242
-
243
-
244
-
245
-
246
-
247
-
248
-
249
-
250
-
251
-
252
-
253
-
254
-
255
-
256
-
257
-
258
-
259
-
260
-
261
-
262
-
263
-
264
 |
 |