Onkyo TX SR674 Owner Manual - Page 46
Component Video Setup
 |
UPC - 751398007118
View all Onkyo TX SR674 manuals
Add to My Manuals
Save this manual to your list of manuals |
Page 46 highlights
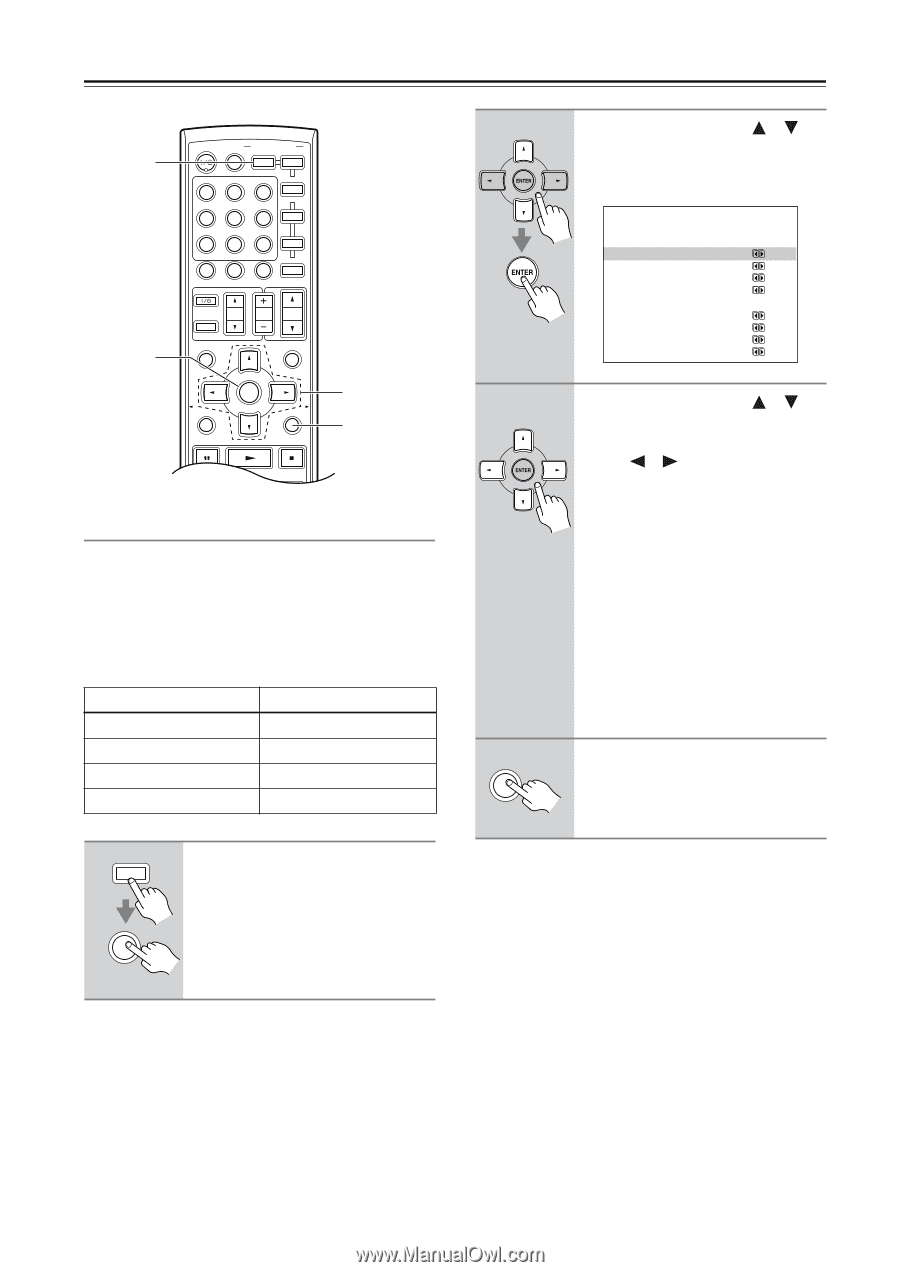
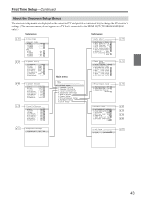
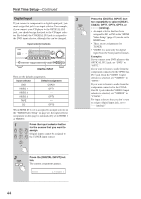
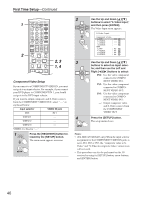
First Time Setup-Continued 1 2 ON/STANDBY ZONE2 REMOTE MODE RECEIVER TAPE INPUT SELECTOR 1 2 3 V1 V2 V3 DVD M D/CDR C D HDD 4 5 6 TV V4 MULTI CH DVD 7 8 9 VCR TAPE TUNER 10 11 +10 0 C D 12 CABLE CLR SAT D TUN --/--- ENT DIMMER SLEEP TV VOL INPUT GUIDE TOP MENU CH DISC ALBUM VOL PREVIOUS MENU MUTING PLAYLIST/CAT ENTER PLAYLIST/CAT RETURN SETUP 2, 3 1, 4 LISTENING MODE Component Video Setup If you connect to a COMPONENT VIDEO IN, you must assign it to an input selector. For example, if you connect your DVD player to COMPONENT IN 3, you should assign it to the DVD input selector. If you want to output composite and S-Video sources from the COMPONENT VIDEO OUT, select "---," as explained below. Input selector VIDEO IN jack DVD IN 1 VIDEO 1 --- VIDEO 2 --- VIDEO 3 --- VIDEO 4 is fixed to "---." 1 RECEIVER Press the [RECEIVER] button followed by the [SETUP] button. The main menu appears onscreen. SETUP 2 Use the Up and Down [ ]/[ ] buttons to select "0. Video Input," and then press [ENTER]. The Video Input menu appears. 0.Video Input Component Video a.DVD : IN1 b.VIDEO1 : --- c.VIDEO2 : --- d.VIDEO3 : --- HDMI e.DVD : No f.VIDEO1 : No g.VIDEO2 : No h.VIDEO3 : No 3 4 SETUP Use the Up and Down [ ]/[ ] buttons to select an input selector, and then use the Left and Right [ ]/[ ] buttons to select: IN1: Use the video component connected to COMPONENT VIDEO IN 1. IN2: Use the video component connected to COMPONENT VIDEO IN 2. IN3: Use the video component connected to COMPONENT VIDEO IN 3. ---: Output composite video and S-Video sources from the COMPONENT VIDEO OUT. Press the [SETUP] button. The setup menu closes. Notes: • (TX-SR674/674E/8467 only) When the input selector assignment for the COMPONENT VIDEO IN jacks is set to IN1, IN2 or IN3, the "composite video to SVideo" and "S-Video to composite video" conversions will not work. • This procedure can also be performed on the AV receiver by using its [SETUP] button, arrow buttons, and [ENTER] button. 46
-
 1
1 -
2
-
3
-
4
-
5
-
6
-
7
-
8
-
9
-
10
-
11
-
12
-
13
-
14
-
15
-
16
-
17
-
18
-
19
-
20
-
21
-
22
-
23
-
24
-
25
-
26
-
27
-
28
-
29
-
30
-
31
-
32
-
33
-
34
-
35
-
36
-
37
-
38
-
39
-
40
-
 41
41 -
 42
42 -
 43
43 -
 44
44 -
 45
45 -
 46
46 -
 47
47 -
 48
48 -
 49
49 -
 50
50 -
 51
51 -
52
-
53
-
54
-
55
-
56
-
57
-
58
-
59
-
60
-
61
-
62
-
63
-
64
-
65
-
66
-
67
-
68
-
69
-
70
-
71
-
72
-
73
-
74
-
75
-
76
-
77
-
78
-
79
-
80
-
81
-
82
-
83
-
84
-
85
-
86
-
87
-
88
-
89
-
90
-
91
-
92
 |
 |