Panasonic CF-29ETPGZKM Notebook Computer - Page 36
Create a Backup Area
 |
UPC - 092281837628
View all Panasonic CF-29ETPGZKM manuals
Add to My Manuals
Save this manual to your list of manuals |
Page 36 highlights
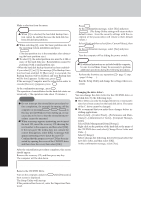
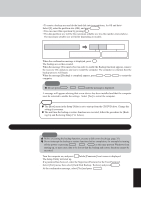
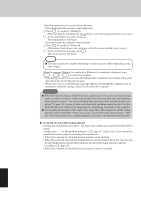
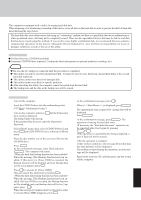
Hard Disk Backup Function NOTE Regarding backup area • Requires availability of at least half of the entire hard disk. Without sufficient space available, the backup area cannot be created. • When the backup area is created, the usable hard disk capacity will be reduced to less than half. • The backup area cannot be accessed from Windows. For this reason, backed up data cannot be copied to CD-R or other removable disk media. • When the hard disk backup function is executed, data in the backup area will be overwritten. If newly created or edited data is backed up later, data stored previously in the backup area will be lost. Create a Backup Area 1 Turn off the computer and insert the CD/DVD drive into the multimedia pocket. ( "Multimedia Pocket") 2 Turn on the computer, and press F2 while [Panasonic] boot screen is displayed. The Setup Utility will then start. If a password has been set, enter the Supervisor Password. You cannot register [Boot] menu with a User Password. 3 Select [Boot] menu, then select [CD/DVD Drive] and press F6 until [CD/DVD Drive] is at the top of the [Boot] menu. 4 Place the disk number one of the recovery CDs into the CD/DVD drive. 5 Press F10 . At the confirmation message, select [Yes] and press Enter . The computer will restart. If [Enter Password] is displayed during the following procedures, input the Supervisor Password or the User Password. This screen should appear. Select a number 1. [ Recovery ] Reinstall Windows. 2. [ Erase HDD ] Erase the whole data on HDD for security. 3. [ Backup ] Enable the Backup function. 0--.-[--C-a--n-c-e-l-----]--C--a-n-c-e--l 6 Press 3 to execute [3.Backup]. CAUTION When dividing the hard disk into partitions Do not execute [1. Recovery] to divide the hard disk into partitions. The hard disk backup function cannot be enabled after the hard disk has been partitioned. Use procedure 8 to divide the hard disk. 7 At the confirmation message, press Y . 8 Select how to divide the hard disk from the menu. Select [1]. [At the time of purchase] [After the backup area is created] The usable hard disk area The backup area Can be accessed from Windows (One partition). Cannot be accessed from Windows. Appendix 36
-
 1
1 -
2
-
3
-
4
-
5
-
6
-
7
-
8
-
9
-
10
-
11
-
12
-
13
-
14
-
15
-
16
-
17
-
18
-
19
-
20
-
21
-
22
-
23
-
24
-
25
-
26
-
27
-
28
-
29
-
30
-
 31
31 -
 32
32 -
 33
33 -
 34
34 -
 35
35 -
 36
36 -
 37
37 -
 38
38 -
 39
39 -
 40
40 -
 41
41 -
42
-
43
-
44
 |
 |