Panasonic KX-MB2030 User Manual - Page 47
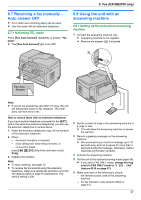
Receiving a fax manually, Auto answer OFF, 8 Using the unit with an, answering machine
 |
View all Panasonic KX-MB2030 manuals
Add to My Manuals
Save this manual to your list of manuals |
Page 47 highlights
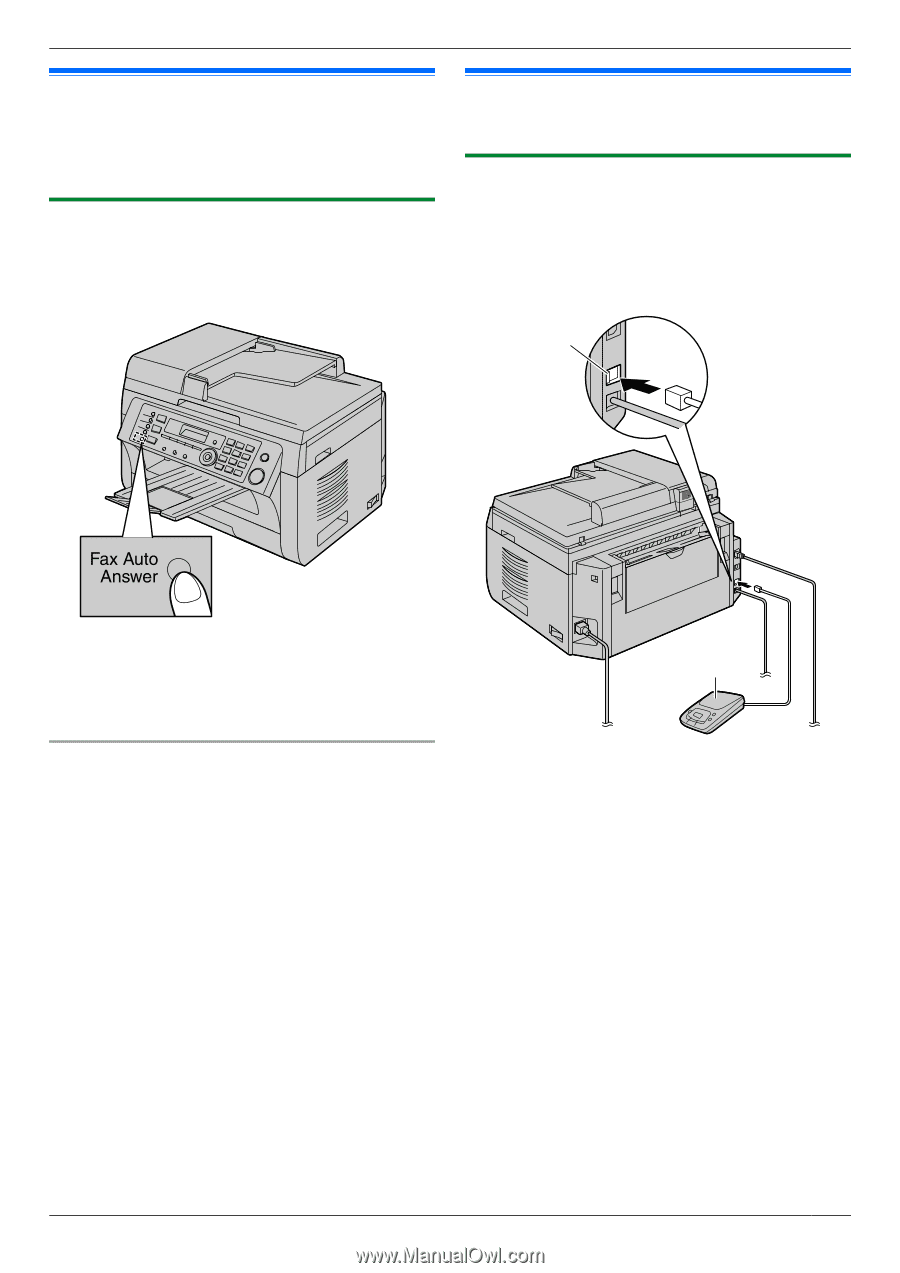
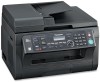
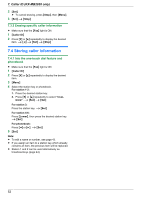
6. Fax (KX-MB2030 only) 6.7 Receiving a fax manually - Auto answer OFF R A4 or letter size recording paper can be used. R Use this mode with an extension telephone. 6.7.1 Activating TEL mode Press MFax Auto AnswerN repeatedly to display "TEL MODE". R The MFax Auto AnswerN light turns OFF. 6.8 Using the unit with an answering machine 6.8.1 Setting up the unit and an answering machine 1 Connect the answering machine (A). R Answering machine is not supplied. R Remove the stopper (B) if attached. B Note: R If you do not answer the call within 10 rings, the unit will temporarily switch to fax reception. The other party can then send a fax. How to receive faxes with an extension telephone If you have another telephone connected to the [EXT] jack or the same line (extension telephone), you can use the extension telephone to receive faxes. 1. When the extension telephone rings, lift the handset of the extension telephone. 2. When: - document reception is required, - a fax calling tone (slow beep) is heard, or - no sound is heard, press MGN MBN M9N (default fax activation code) firmly. 3. Replace the handset. Note: R To stop receiving, see page 72. R To receive fax documents using the extension telephone, make sure remote fax activation is turned ON (feature #434 on page 61) beforehand. The default setting is ON. A 2 Set the number of rings on the answering machine to 4 rings or less. R This will allow the answering machine to answer the call first. 3 Record a greeting message on the answering machine. R We recommend you record a message up to 10 seconds long, and not to pause for more than 4 seconds during the message. Otherwise, neither machines will function correctly. 4 Activate the answering machine. 5 Set the unit to the desired receiving mode (page 46). R If you set to FAX ONLY mode, change the ring count in FAX ONLY mode to "5 EXT. TAM" (feature #210 on page 57). 6 Make sure each of the following is unique: - the remote access code of the answering machine - the fax activation code (feature #434 on page 61) 47
-
 1
1 -
2
-
3
-
4
-
5
-
6
-
7
-
8
-
9
-
10
-
11
-
12
-
13
-
14
-
15
-
16
-
17
-
18
-
19
-
20
-
21
-
22
-
23
-
24
-
25
-
26
-
27
-
28
-
29
-
30
-
31
-
32
-
33
-
34
-
35
-
36
-
37
-
38
-
39
-
40
-
41
-
 42
42 -
 43
43 -
 44
44 -
 45
45 -
 46
46 -
 47
47 -
 48
48 -
 49
49 -
 50
50 -
 51
51 -
 52
52 -
53
-
54
-
55
-
56
-
57
-
58
-
59
-
60
-
61
-
62
-
63
-
64
-
65
-
66
-
67
-
68
-
69
-
70
-
71
-
72
-
73
-
74
-
75
-
76
-
77
-
78
-
79
-
80
-
81
-
82
-
83
-
84
-
85
-
86
-
87
-
88
-
89
-
90
-
91
-
92
-
93
-
94
-
95
-
96
-
97
-
98
-
99
-
100
-
101
-
102
-
103
-
104
-
105
-
106
-
107
-
108
-
109
-
110
-
111
-
112
-
113
-
114
-
115
-
116
 |
 |