Philips DVDR520H User manual - Page 24
Recording from a VCR or Camcorder, The front panel and rear panel connection - remote control
 |
View all Philips DVDR520H manuals
Add to My Manuals
Save this manual to your list of manuals |
Page 24 highlights
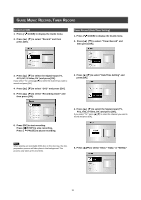
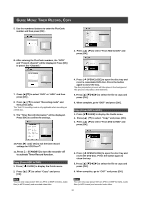
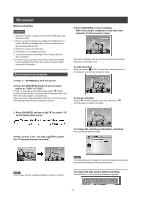
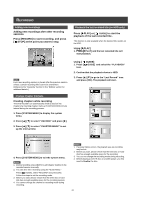
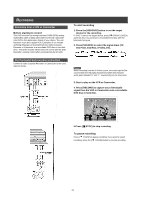
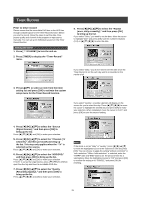
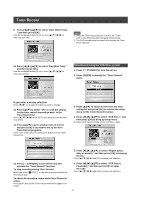
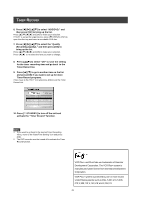
RECORDING Recording from a VCR or Camcorder Before starting to record This DVD recorder can accept standard CVBS (RCA) analog audio/video cable or IEEE-1394 cable and record Camcorder onto DVD in the digital video format of your choice. The unit functions much like a digital VCR. Examples of use include archiving videotapes or transferring from a Video Cassette Recorder or Camcorder to a recordable DVD disc or hard disk drive. This DVD recorder allows basic DV control with the DVD Recorder's remote control when connected via the DV Link. The front panel and rear panel connection Connect a Video Cassette Recorder or Camcorder to the unit's input terminals. To start recording 1. Press the [HDD/DVD] button to set the target device for the recording. If "DVD" is set as the target device, press [ OPEN/CLOSE] to open the disc tray and insert a recordable DVD disc with the label side facing up. 2. Press [SOURCE] to select the signal-input (TV, AV1 Front, AV2 Rear, S-Video, DV). Notes: When recording from the S-Video source, the audio input will be sourced from the red (right channel) and white (left channel) audio jacks (labeled "R" and "L", respectively) on the rear panel. 3. Start to play on the VCR or Camcorder. 4. Press [RECORD] to capture your video/audio signal from the VCR or Camcorder onto a recordable DVD disc or hard disk. 5.Press [ STOP] to stop recording. To pause recording Press [ PAUSE] to pause recording. If you want to restart recording, press the [ PAUSE] button to resume recording. 23
-
 1
1 -
2
-
3
-
4
-
5
-
6
-
7
-
8
-
9
-
10
-
11
-
12
-
13
-
14
-
15
-
16
-
17
-
18
-
 19
19 -
 20
20 -
 21
21 -
 22
22 -
 23
23 -
 24
24 -
 25
25 -
 26
26 -
 27
27 -
 28
28 -
 29
29 -
30
-
31
-
32
-
33
-
34
-
35
-
36
-
37
-
38
-
39
-
40
-
41
-
42
-
43
-
44
-
45
-
46
-
47
 |
 |
