Samsung SC-D372 User Manual (ENGLISH) - Page 55
ENGLISH, <Auto>, <Custom WB>, MENU], Notes ], Zoom], If you select Custom WB
 |
UPC - 036725301689
View all Samsung SC-D372 manuals
Add to My Manuals
Save this manual to your list of manuals |
Page 55 highlights
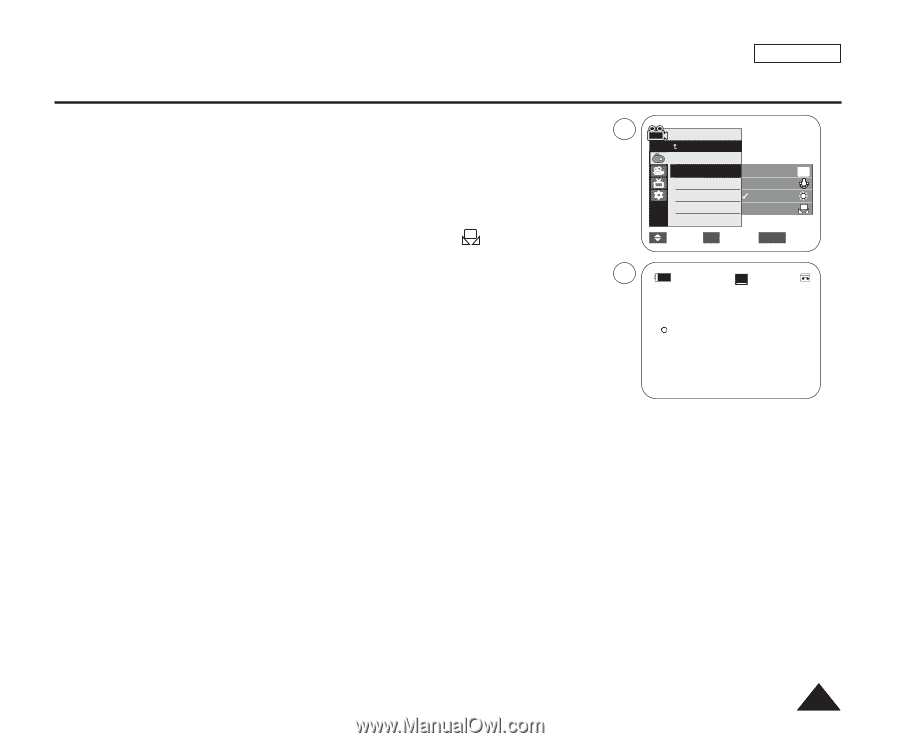
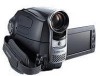
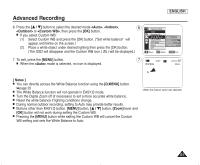
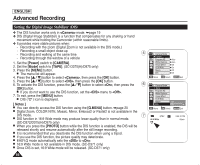
Advanced Recording ENGLISH 6. Press the button to select the desired mode , , 6 or , then press the [OK] button. I If you select Custom WB: (1) Select Custom WB and press the [OK] button. ("Set white balance" will appear and blinks on the screen.) (2) Place a white object under desired lighting then press the [OK] button. (The OSD will disappear and the Custom WB icon ( c ) will be displayed.) Camera Mode Back Program AE White Balance Auto A Visual Effect Indoor 16:9 Wide Outdoor Macro Custom WB c DIS M Move OK Select MENU Exit 7. To exit, press the [MENU] button. I When the mode is selected, no icon is displayed. 7 STBY SP 0:00:10 16:9 Wide 60min œ [ Notes ] I You can directly access the White Balance function using the [Q.MENU] button. ➥page 20 I The White Balance function will not operate in EASY.Q mode. I Turn the Digital Zoom off (if necessary) to set a more accurate white balance. I Reset the white balance if lighting conditions change. I During normal outdoor recording, setting to Auto may provide better results. I Buttons other than EASY.Q button, [MENU] button button, [Zoom] lever and [OK] button will not work during setting the Custom WB. I Pressing the [MENU] button while setting the Custom WB will cancel the Custom WB setting and sets the White Balance to Auto. 51
-
 1
1 -
2
-
3
-
4
-
5
-
6
-
7
-
8
-
9
-
10
-
11
-
12
-
13
-
14
-
15
-
16
-
17
-
18
-
19
-
20
-
21
-
22
-
23
-
24
-
25
-
26
-
27
-
28
-
29
-
30
-
31
-
32
-
33
-
34
-
35
-
36
-
37
-
38
-
39
-
40
-
41
-
42
-
43
-
44
-
45
-
46
-
47
-
48
-
49
-
 50
50 -
 51
51 -
 52
52 -
 53
53 -
 54
54 -
 55
55 -
 56
56 -
 57
57 -
 58
58 -
 59
59 -
 60
60 -
61
-
62
-
63
-
64
-
65
-
66
-
67
-
68
-
69
-
70
-
71
-
72
-
73
-
74
-
75
-
76
-
77
-
78
-
79
-
80
-
81
-
82
-
83
-
84
-
85
-
86
-
87
-
88
-
89
-
90
-
91
-
92
-
93
-
94
-
95
-
96
-
97
-
98
-
99
-
100
-
101
-
102
-
103
-
104
-
105
-
106
-
107
-
108
-
109
-
110
-
111
-
112
-
113
-
114
 |
 |