Sony DSC-P41 Operating Instructions - Page 26
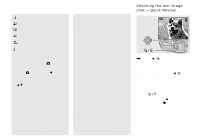
Checking the last image shot – Quick Review, Checking the last image, Quick Review - reviews
 |
View all Sony DSC-P41 manuals
Add to My Manuals
Save this manual to your list of manuals |
Page 26 highlights
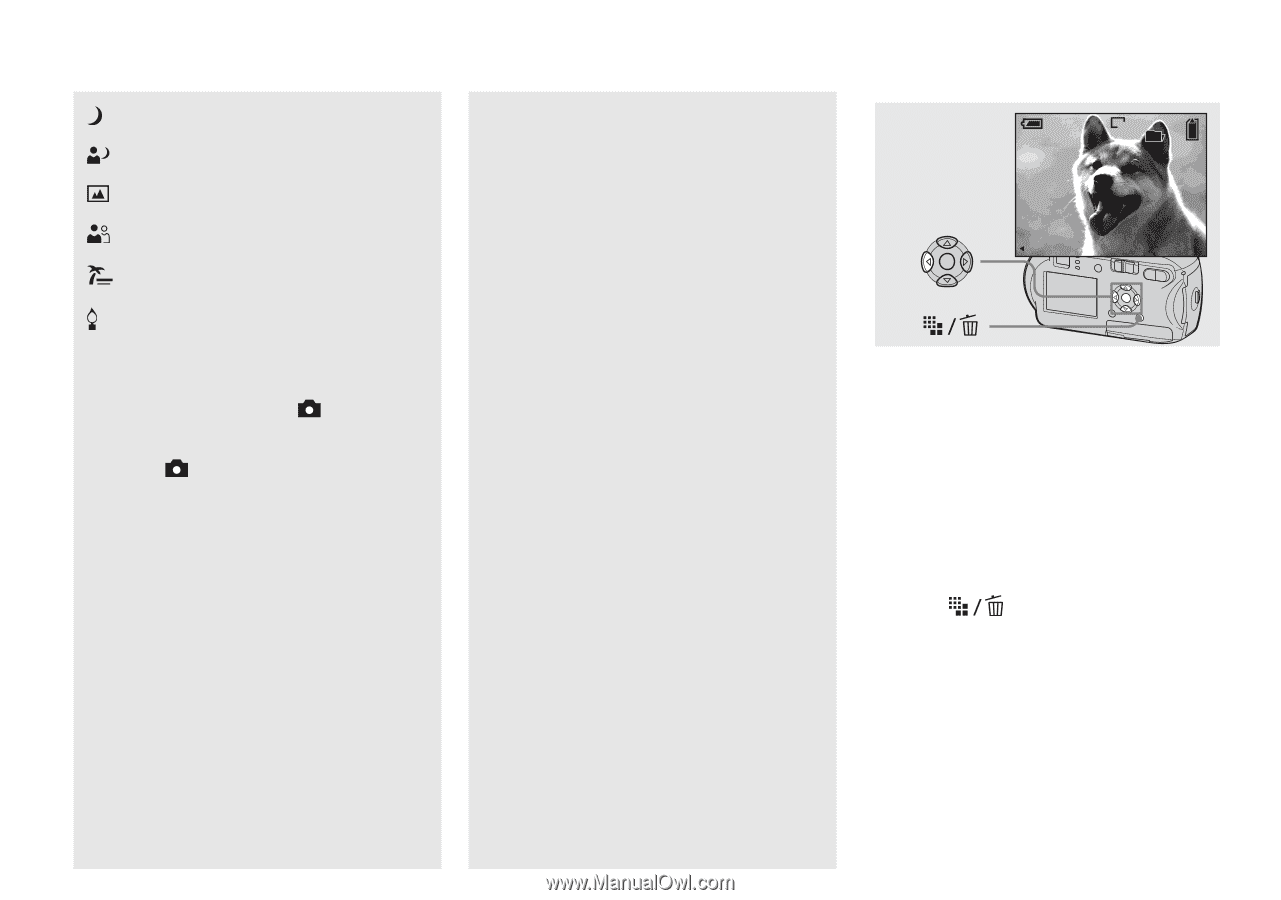
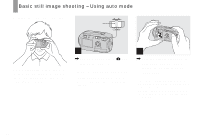
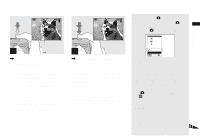
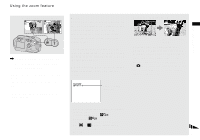
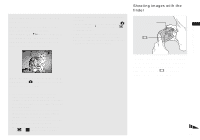
(Twilight mode) (page 34) (Twilight portrait mode) (page 34) (Landscape mode) (page 34) (Soft snap mode) (page 34) (Beach mode) (page 34) (Candle mode) (page 35) To switch the shooting method 1 Set the mode switch to . 2 Press MENU. 3 Select (Camera) with b on the control button. 4 Select the desired shooting mode with v/V on the control button. 26 About Auto Focus When you try to shoot a subject that is hard to focus on, the AE/AF lock indicator will change to flashing slowly and the AE lock beep does not sound. The Auto Focus function may be difficult to use with in the following subjects. In such cases, release the shutter button, then try to recompose the shot and focus again. • The subject is distant from the camera and dark • The contrast between the subject and its background is poor • The subject is seen through glass, such as a window • A fast-moving subject • The subject has a reflection, such as that from a mirror, or there is a luminous body and a lustrous subject • A flashing subject • A backlit subject. There are two Auto Focus functions: "AF range finder frame" which sets the focus position according to the subject position and size, and "AF mode" which sets when the camera starts and stops focusing on. See page 49 for details. Checking the last image shot - Quick Review Review VGA 101 8/8 101-0008 2005 1 1 10:30PM RETURN , Press b (7) on the control button. To return to shooting mode, press the shutter button lightly or press b (7) on the control button again. To delete the image displayed on the LCD screen 1 Press (Delete). 2 Select [Delete] with v on the control button, then press z. The image is deleted. • The image may appear rough right after playback starts due to the image processing.
-
 1
1 -
2
-
3
-
4
-
5
-
6
-
7
-
8
-
9
-
10
-
11
-
12
-
13
-
14
-
15
-
16
-
17
-
18
-
19
-
20
-
 21
21 -
 22
22 -
 23
23 -
 24
24 -
 25
25 -
 26
26 -
 27
27 -
 28
28 -
 29
29 -
 30
30 -
 31
31 -
32
-
33
-
34
-
35
-
36
-
37
-
38
-
39
-
40
-
41
-
42
-
43
-
44
-
45
-
46
-
47
-
48
-
49
-
50
-
51
-
52
-
53
-
54
-
55
-
56
-
57
-
58
-
59
-
60
-
61
-
62
-
63
-
64
-
65
-
66
-
67
-
68
-
69
-
70
-
71
-
72
-
73
-
74
-
75
-
76
-
77
-
78
-
79
-
80
-
81
-
82
-
83
-
84
-
85
-
86
-
87
-
88
-
89
-
90
-
91
-
92
-
93
-
94
-
95
-
96
-
97
-
98
-
99
-
100
-
101
-
102
-
103
-
104
-
105
-
106
-
107
-
108
-
109
-
110
-
111
-
112
-
113
-
114
-
115
-
116
-
117
-
118
-
119
-
120
-
121
-
122
-
123
-
124
 |
 |