Sony GDM-400PS Operating Instructions (primary manual) - Page 7
Automatically, Adjusting, Centering, Picture, Selecting, screen, Display, Language
 |
View all Sony GDM-400PS manuals
Add to My Manuals
Save this manual to your list of manuals |
Page 7 highlights
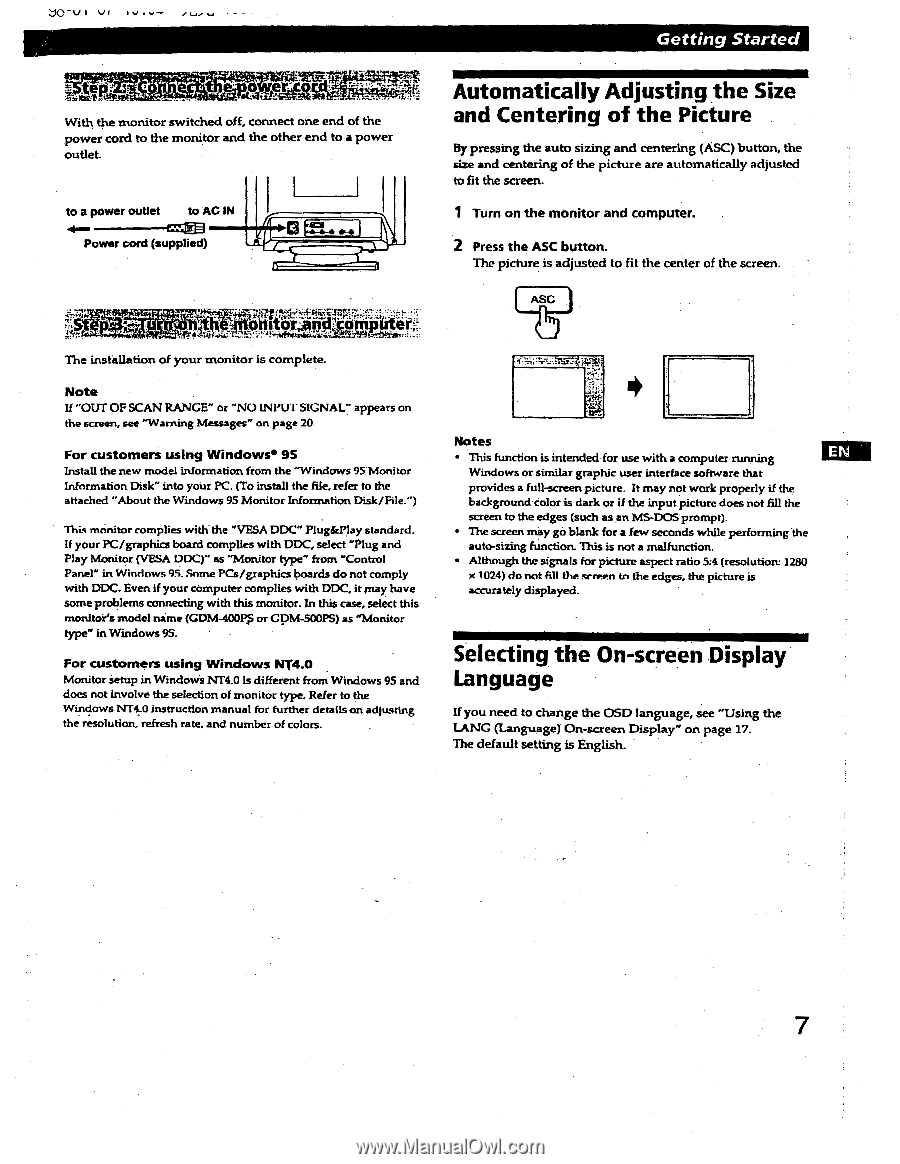
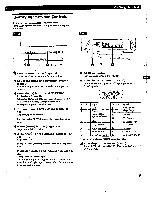
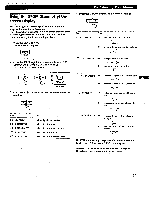
I VI IV.v -r exge 1..4111-.m;me7 With the monitor switched off, connect one end of the power cord to the monitor and the other end to a power outlet to a power outlet to'AC IN Power cord (supplied) I I w Getting Started Automatically Adjusting the Size and Centering of the Picture By pressing the auto sizing and centering (ASC) button, the size and centering of the picture are automatically adjusted to fit the screen. 1 Turn on the monitor and computer. 2 Press the ASC button. The picture is adjusted to fit the center of the screen. ASC The installation of your monitor is complete. Note If "OUT OF SCAN RANGE" or "NO INPU I SIGNAL" appears on the screen, see "Warning Messages" on page 20 For customers using Windows• 95 Install the new model information from the "Windows 95 Monitor Information Disk" into your PC. (To install the file, refer to the attached "About the Windows 95 Monitor Information Disk/File.") This monitor complies with the "VESA DDC" Plug&Play standard. If your PC/graphics board complies with DDC, select "Plug and Play Monitor (VESA DOC)" as "Monitor type" from "Control Panel" in Windows 95. Some PCs/graphics boards do not comply with DDC- Even if your computer complies with DDC, it may have some problems connecting with this monitor. In this case, select this monito?s model name (CDM-400Pp or cpm-soops) as "Monitor type" in Windows 9S. For customers using Windows NT4.O Monitor setup in Windows NT4.0 is different from Windows 95 and does not involve the selection of monitor type. Refer to the Windows NT4.0 instruction manual for further details on adjusting the resolution, refresh rate, and number of colors. • Notes • This function is intended for use with a computer running Windows or similar graphic user interface software that provides a full-screen picture. It may not work properly if the background color is dark or if the input picture does not fill the screen to the edges (such as an MS-DOS prompt). • The screen may gá blank for a few seconds while performing the auto-sizing function. This is not a malfunction. • Although the signals for picture aspect ratio 5:4 (resolution: 1280 x 1024) do not fill the screen to the edges, the picture is accurately displayed. Selecting the On-screen Display Language If you need to change the OSD language, see "Using the LANG (Language) On-screen Display" on page 17. The default setting is English. 7
-
 1
1 -
 2
2 -
 3
3 -
 4
4 -
 5
5 -
 6
6 -
 7
7 -
 8
8 -
 9
9 -
 10
10 -
 11
11 -
 12
12 -
13
-
14
-
15
-
16
-
17
-
18
-
19
-
20
-
21
-
22
 |
 |