Sony SLV-M11HF Operating Instructions - Page 57
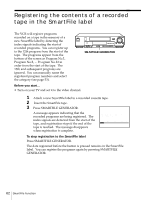
To erase the tape title, to label the tape.
 |
View all Sony SLV-M11HF manuals
Add to My Manuals
Save this manual to your list of manuals |
Page 57 highlights
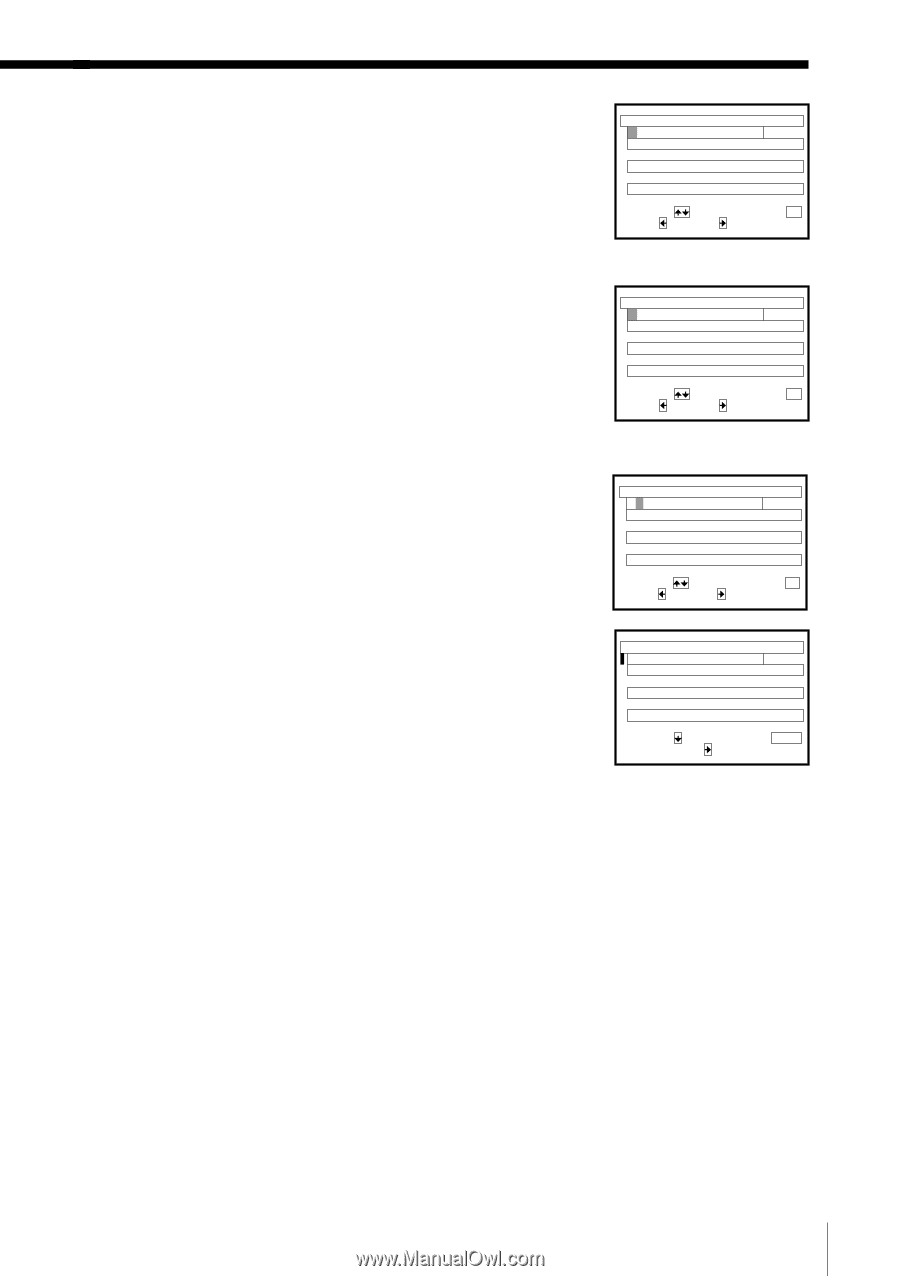
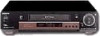
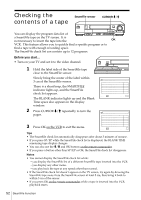
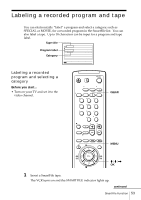
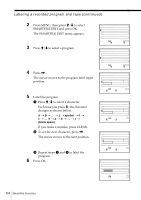
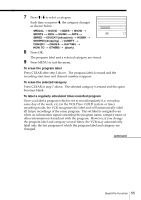
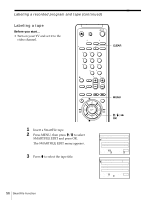
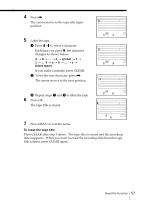
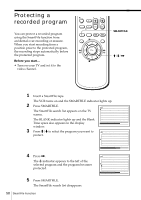
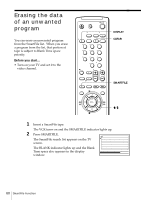
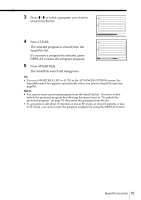
4 Press ,. The cursor moves to the tape title input position. 5 Label the tape. 1 Press M/m to select a character. Each time you press m, the character changes as shown below. A t B t ... t Z t symbol t 0 t 1t... 9tatbt...tzt (blank space) If you make a mistake, press CLEAR. 2 To set the next character, press ,. The cursor moves to the next position. 3 Repeat steps 1 and 2 to label the tape. 6 Press OK. The tape title is stored. SMARTFILE EDIT p . 1 Someday DRAMA Nick & Matt COMEDY Rock Box MUSIC SELECT : BACK : NEXT : 8 / 16 0 H 3 0 M SP 8 / 13 0 H 5 0 M SP 8 / 10 0 H 3 0 M EP CONFIRM : OK SMARTFILE EDIT F Someday DRAMA Nick & Matt COMEDY Rock Box MUSIC SELECT : BACK : NEXT : p . 1 8 / 16 0 H 3 0 M SP 8 / 13 0 H 5 0 M SP 8 / 10 0 H 3 0 M EP CONFIRM : OK SMARTFILE EDIT F Someday DRAMA Nick & Matt COMEDY Rock Box MUSIC SELECT : BACK : NEXT : p . 1 8 / 16 0 H 3 0 M SP 8 / 13 0 H 5 0 M SP 8 / 10 0 H 3 0 M EP CONFIRM : OK SMARTFILE EDIT Favorites Someday DRAMA Nick & Matt COMEDY Rock Box MUSIC SELECT : T I TLE ED I T : p . 1 8 / 16 0 H 3 0 M SP 8 / 13 0 H 5 0 M SP 8 / 10 0 H 3 0 M EP QUIT : MENU 7 Press MENU to exit the menu. To erase the tape title Press CLEAR after step 3 above. The tape title is erased and the recording date reappears. When you want to erase the recording date from the tape title column, press CLEAR again. SmartFile Function 57
-
 1
1 -
2
-
3
-
4
-
5
-
6
-
7
-
8
-
9
-
10
-
11
-
12
-
13
-
14
-
15
-
16
-
17
-
18
-
19
-
20
-
21
-
22
-
23
-
24
-
25
-
26
-
27
-
28
-
29
-
30
-
31
-
32
-
33
-
34
-
35
-
36
-
37
-
38
-
39
-
40
-
41
-
42
-
43
-
44
-
45
-
46
-
47
-
48
-
49
-
50
-
51
-
 52
52 -
 53
53 -
 54
54 -
 55
55 -
 56
56 -
 57
57 -
 58
58 -
 59
59 -
 60
60 -
 61
61 -
 62
62 -
63
-
64
-
65
-
66
-
67
-
68
-
69
-
70
-
71
-
72
-
73
-
74
-
75
-
76
 |
 |