Sony VPL PX31 Operating Instructions - Page 19
Projecting - lamp
 |
UPC - 027242578814
View all Sony VPL PX31 manuals
Add to My Manuals
Save this manual to your list of manuals |
Page 19 highlights
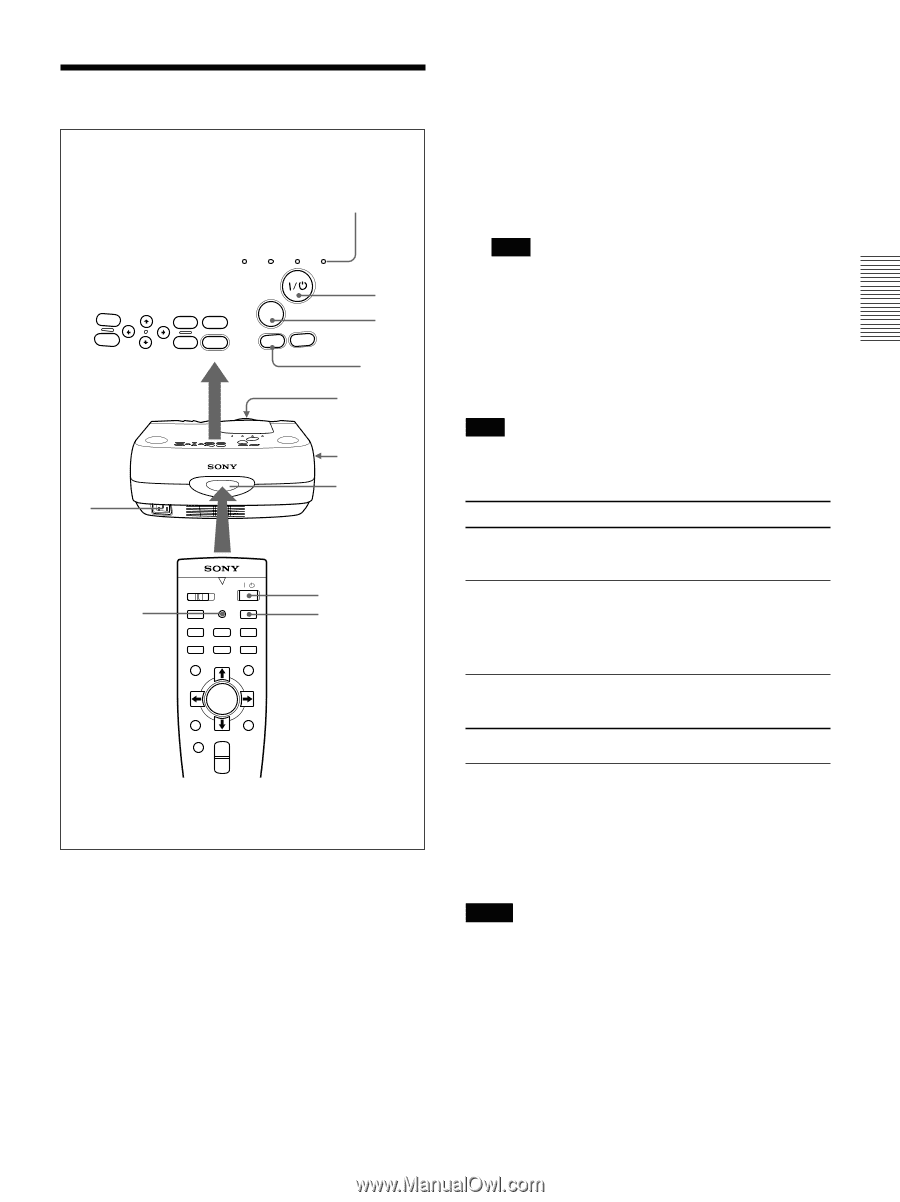
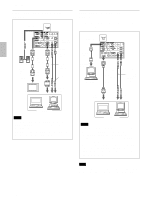
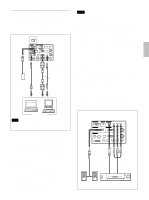
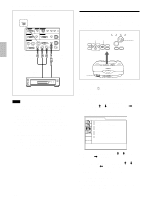
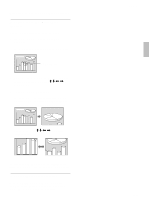
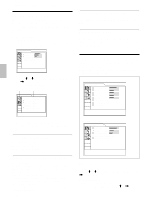
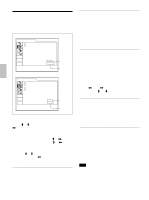
Projecting VOL + VOL - 1 ON/STANDBY indicator LAMP/ TEMP/ POWER ON/ COVER FAN SAVING STANDBY MENU HELP ENTER RESET INPUT APA LIGHT 2 3 APA key 4 (Front) 5 Rear remote control detector APA key COMMAND / OFF ON HELP APA INPUT MUTING AUDIO PIC FUNCTION 1 2 MENU + VOLUME - LASER ENTER R CLICK RESET D ZOOM + - 2 3 1 After all equipment is connected completely, plug the AC power cord into the wall outlet. The ON/STANDBY indicator lights in red and the projector goes into the standby mode. 2 Press the I / 1 key. The ON/STANDBY indicator lights in green. 3 Turn on equipment connected to the projector. Press the INPUT key to select the input source. INPUT-A: Selects audio and video signals input from the INPUT A connector. Projecting INPUT-B: Selects audio and video signals input from the INPUT B connector. VIDEO: Selects audio and video signals input from the AUDIO/VIDEO (VIDEO IN) jacks. S-VIDEO: Selects audio and video signals input from the AUDIO/S VIDEO (VIDEO IN) jacks. Note The AUDIO (VIDEO IN) jacks are used as audio outputs of both VIDEO and S-VIDEO. 4 Turn the zoom ring to adjust the size of the picture. 5 Turn the focus ring to adjust the focus. Note Looking into the lens when projecting may cause injury to your eyes. To Adjust the volume Cut off the sound Cut off the picture Press the VOL +/- keys on the control panel or the VOLUME +/- keys on the Remoter Commander. the AUDIO MUTING key on the Remote Commander. To restore the sound, press the AUDIO MUTING key again or press the VOL + key on the control panel or the VOLUME + key on the Remote Commander. the PIC MUTING key on the Remote Commander. To restore the picture, press the PIC MUTING key again. To get the clearest picture You can get the suitable picture when a signal from the computer is input. Press the APA key. The picture is automatically adjusted to be projected clearest. Notes • Adjust the signal when the still picture is displayed on the screen. • Press the APA key when the full image is displayed on the screen. If there are black edges around the image, the APA function will not function properly and the image may extend beyond the screen. • If you switch the input signal or re-connect a computer, press the APA key again to get the suitable picture. 19 (GB)
-
 1
1 -
2
-
3
-
4
-
5
-
6
-
7
-
8
-
9
-
10
-
11
-
12
-
13
-
 14
14 -
 15
15 -
 16
16 -
 17
17 -
 18
18 -
 19
19 -
 20
20 -
 21
21 -
 22
22 -
 23
23 -
 24
24 -
25
-
26
-
27
-
28
-
29
-
30
-
31
-
32
-
33
-
34
-
35
-
36
-
37
-
38
-
39
-
40
-
41
-
42
-
43
-
44
-
45
-
46
-
47
-
48
-
49
-
50
-
51
-
52
-
53
-
54
-
55
-
56
-
57
-
58
-
59
-
60
-
61
-
62
-
63
-
64
-
65
-
66
-
67
-
68
-
69
-
70
-
71
-
72
-
73
-
74
-
75
-
76
-
77
-
78
-
79
-
80
-
81
-
82
-
83
-
84
-
85
-
86
-
87
-
88
-
89
-
90
-
91
-
92
-
93
-
94
-
95
-
96
-
97
-
98
-
99
-
100
-
101
-
102
-
103
-
104
-
105
-
106
-
107
-
108
-
109
-
110
-
111
-
112
-
113
-
114
-
115
-
116
-
117
-
118
-
119
-
120
-
121
-
122
 |
 |