TP-Link AC3200 Archer C3200 V1 User Guide - Page 46
Customize Your Network Settings, 11. 1. Change the LAN Settings - vpn
 |
View all TP-Link AC3200 manuals
Add to My Manuals
Save this manual to your list of manuals |
Page 46 highlights
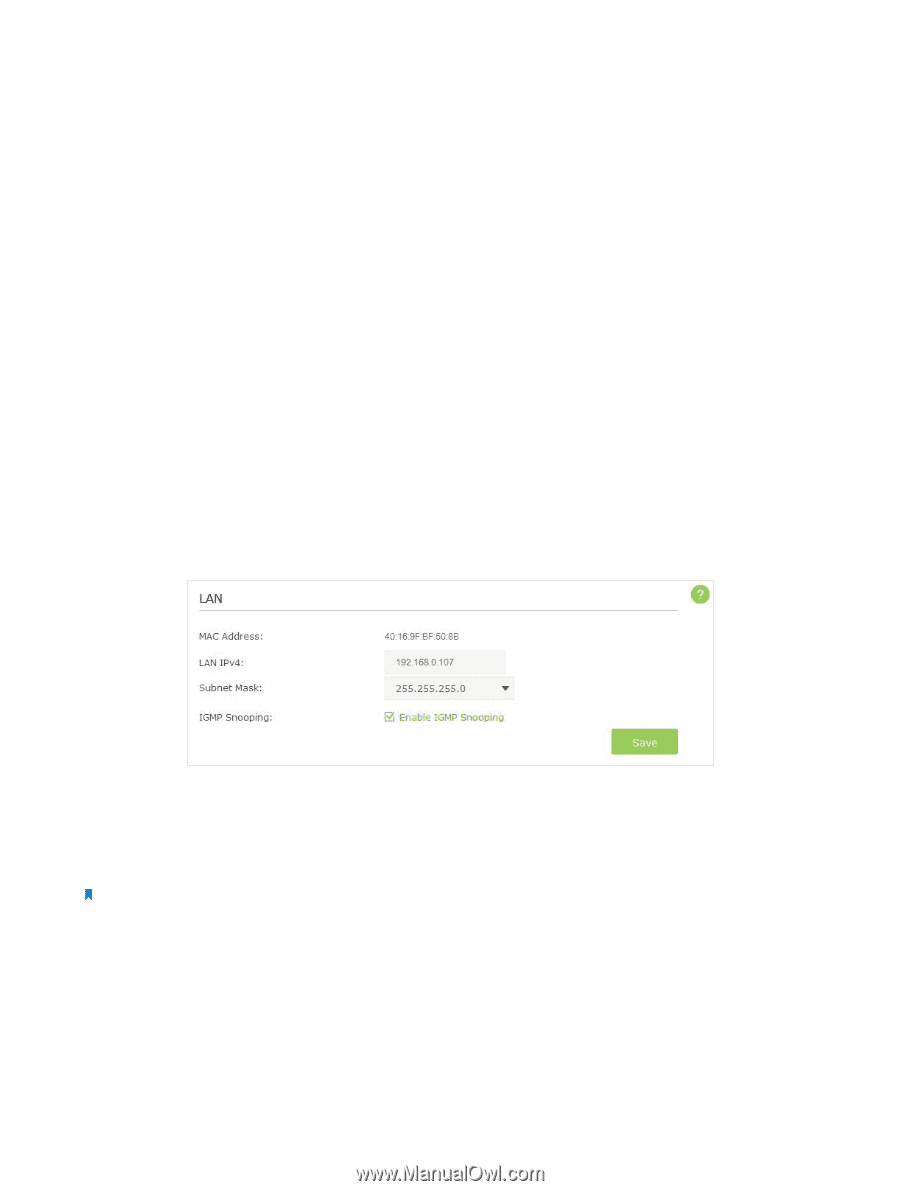
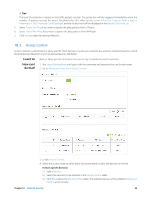
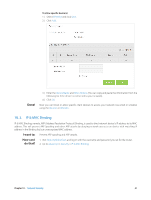
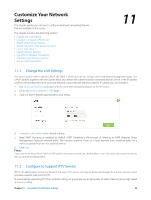
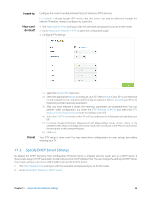
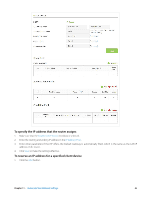
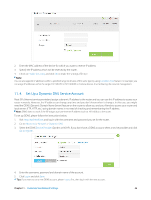
Customize Your Network Settings This chapter guides you on how to configure advanced networking features that are available for this router. This chapter contains the following sections: • Change the LAN Settings • Configure to Support IPTV Service • Specify DHCP Server Settings • Set Up a Dynamic DNS Service Account • Create Static Routes • Specify Wireless Settings • Use WPS for Wireless Connection • Schedule Your Wireless Function • Set up a VPN Connection 11 11. 1. Change the LAN Settings The router is preset with a default LAN IP 192.168.0.1, which you can use to log in to its web-based management page. The LAN IP address together with the Subnet Mask also defines the subnet that the connected devices are on. If the IP address conflicts with another device on your local network or your network requires a specific IP subnet, you can change it. 1. Visit http://tplinkwifi.net, and log in with the username and password you set for the router. 2. Go to Advanced > Network > LAN page. 3. Type in a new IP address appropriate to your needs. 4. Leave the Subnet Mask as the default settings. 5. Keep IGMP Snooping as enabled by default. IGMP Snooping is the process of listening to IGMP (Internet Group Management Protocol) network traffic. The function prevents hosts on a local network from receiving traffic for a multicast group they have not explicitly joined. 6. Click Save. Note: If you have set the Virtual Server, DMZ or DHCP address reservation, and the new LAN IP address is not in the same subnet with the old one, then you should reconfigure them. 11. 2. Configure to Support IPTV Service IPTV is the abbreviation of Internet Protocol Television. The service can only be delivered through the Internet, and our router provides a specific LAN port for IPTV. By automatically seperating IPTV from Internet surfing, we guarantee you a high quality of vedio streaming and a high speed of Internet surfing. Chapter 11 . Customize Your Network Settings 43
-
 1
1 -
2
-
3
-
4
-
5
-
6
-
7
-
8
-
9
-
10
-
11
-
12
-
13
-
14
-
15
-
16
-
17
-
18
-
19
-
20
-
21
-
22
-
23
-
24
-
25
-
26
-
27
-
28
-
29
-
30
-
31
-
32
-
33
-
34
-
35
-
36
-
37
-
38
-
39
-
40
-
 41
41 -
 42
42 -
 43
43 -
 44
44 -
 45
45 -
 46
46 -
 47
47 -
 48
48 -
 49
49 -
 50
50 -
 51
51 -
52
-
53
-
54
-
55
-
56
-
57
-
58
-
59
-
60
-
61
-
62
-
63
-
64
-
65
-
66
-
67
-
68
-
69
-
70
-
71
-
72
-
73
-
74
-
75
-
76
-
77
-
78
-
79
-
80
-
81
-
82
-
83
 |
 |