Thermador CIT36YWBB Instructions for Use - Page 24
Cleaning, Replacing the battery
 |
View all Thermador CIT36YWBB manuals
Add to My Manuals
Save this manual to your list of manuals |
Page 24 highlights
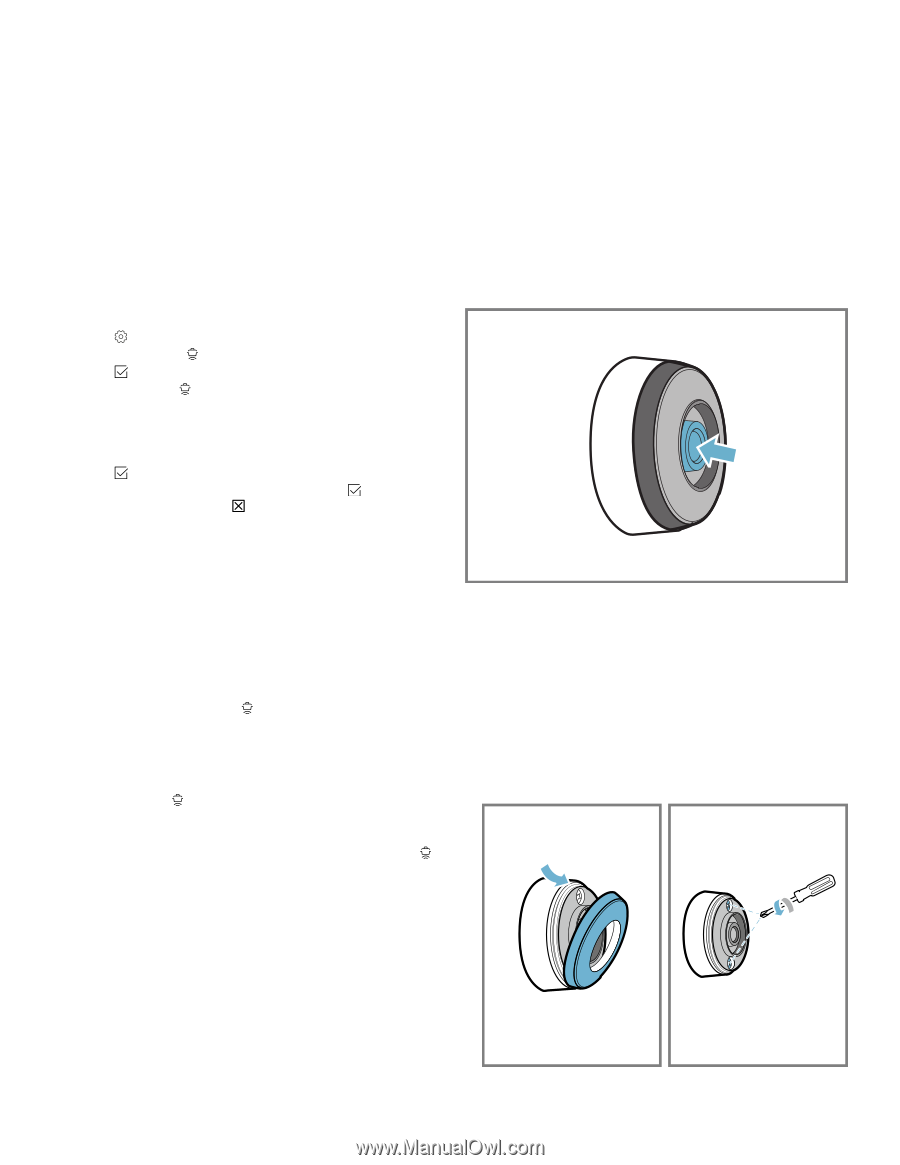
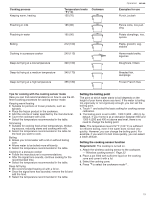
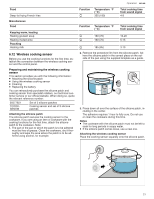
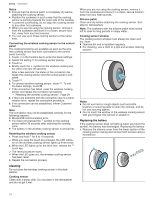
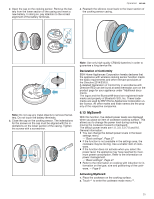
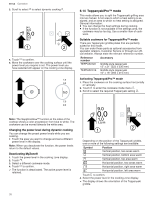
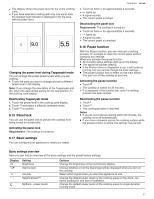
en-us Operation Notes ¡ Ensure that the silicone patch is completely dry before attaching the cooking sensor. ¡ Position the cookware in such a way that the cooking sensor is pointing towards the outer side of the cooktop. ¡ To prevent overheating, do not align the cooking sensor to any other hot cookware. ¡ When you are not using the cooking sensor, remove it from the cookware and store it in a clean, secure location, away from any heat sources. ¡ You can use up to three cooking sensors at the same time. Connecting the wireless cooking sensor to the control panel The cooking functions are available as soon as the wireless cooking sensor has been connected to the control panel correctly. 1. Touch in the function bar to enter the basic settings. 2. Select the setting for cooking sensor pairing. 3. Touch . 4. Briefly touch the symbol on the wireless cooking sen- sor within the next 30 seconds. After a few seconds, the status of the connection between the cooking sensor and the control panel is indicated. 5. Touch . 6. To connect another cooking sensor, touch . To exit the basic settings, touch . 7. If the connection has failed, reset the wireless cooking sensor and repeat the connection procedure. → "Resetting the wireless cooking sensor", Page 24 8. If there are problems with the connection due to a transmission error, repeat the connection procedure. 9. If no connection can be established, inform Customer Service. Note The connection may not be established correctly for the following reasons: ¡ Bluetooth® communication error. ¡ You have not pressed the symbol on the cooking sensor within 30 seconds after selecting the cooking zone. ¡ The battery in the wireless cooking sensor is almost flat. Resetting the wireless cooking sensor 1. Press and hold for 8 to 10 seconds. a While you keep the touch key pressed, the LED indicator on the wireless cooking sensor lights up three times. 2. When the LED lights up for the third time, release the touch key. a The reset procedure starts. a When the LED goes out, the wireless cooking sensor has been reset. 3. Repeat the connection process. Cleaning Do not clean the wireless cooking sensor in the dishwasher. Cooking sensor Clean with a damp cloth. Do not place in the dishwasher and do not get it wet. When you are not using the cooking sensor, remove it from the cookware and store it in a clean, secure location, away from any heat sources. Silicone patch Clean and dry before attaching the cooking sensor. Suitable for dishwashers. Note: The cookware with the silicone patch must not be left to soak for long periods in soapy water. Cooking sensor window The cooking sensor window must always be clean and dry. Note: ¡ Remove dirt and oil splatters regularly. ¡ For cleaning, use a cloth or q-tips and window cleaning solution. Notes ¡ Do not use hard or rough objects such as bristle brushes or scouring pads to clean the cooktop, and do not use scouring agents. ¡ Do not touch the window of the wireless cooking sensor with your fingers; this will soil or scratch it. Replacing the battery If the cooking sensor does not light up when you touch the symbol, the battery has discharged. Replacing the battery: 1. Remove the silicone cover from the lower section of the cooking sensor casing and remove both screws using a screwdriver. 24
-
 1
1 -
2
-
3
-
4
-
5
-
6
-
7
-
8
-
9
-
10
-
11
-
12
-
13
-
14
-
15
-
16
-
17
-
18
-
 19
19 -
 20
20 -
 21
21 -
 22
22 -
 23
23 -
 24
24 -
 25
25 -
 26
26 -
 27
27 -
 28
28 -
 29
29 -
30
-
31
-
32
-
33
-
34
-
35
-
36
-
37
-
38
-
39
-
40
 |
 |