Yamaha RX V2700 MCXSP10 Manual - Page 108
Manual Setup (Basic), Position GUI screen position, Wall Paper Wall paper
 |
UPC - 027108927077
View all Yamaha RX V2700 manuals
Add to My Manuals
Save this manual to your list of manuals |
Page 108 highlights
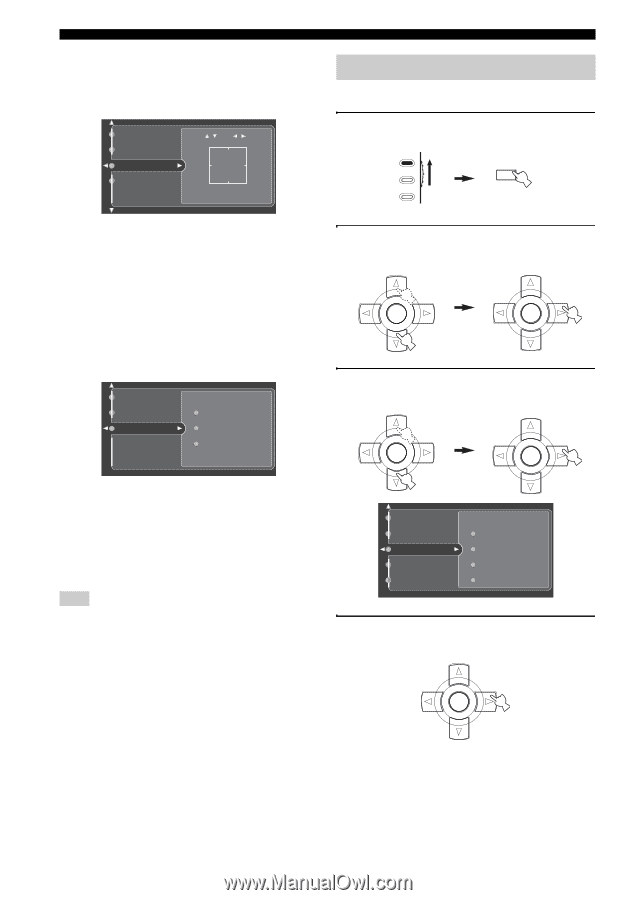
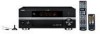
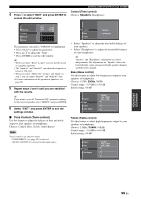
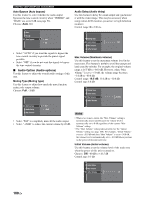
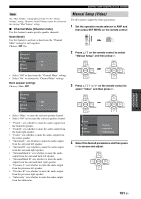
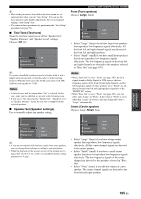
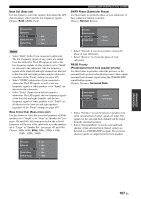
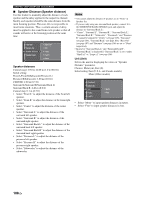
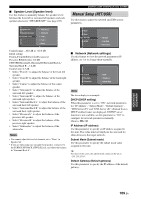
GRAPHIC USER INTERFACE (GUI) SCREEN ■ Position (GUI screen position) Use this feature to adjust the vertical and horizontal position of the GUI screen. Control range: -5 (downward/left) to +5 (upward/right) Short Message On Screen Position Wall Paper / :+5 / :-5 + Manual Setup (Basic) Use this menu to manually adjust any speaker setting. 1 Set the operation mode selector to AMP and then press SET MENU on the remote control. AMP SOURCE TV SET MENU MENU SRCH MODE • Press k to raise the position of the GUI display. • Press n to lower the position of the GUI display. • Press h to shift the position of the GUI display to the right. • Press l to shift the position of the GUI display to the left. ■ Wall Paper (Wall paper) Use this feature to display the wall paper or gray background in your video monitor when there is no video signal being input. Choices: None, Yes, Gray On Screen Position Wall Paper None Yes Gray • Select "None" not to display any background in your video monitor. • Select "Yes" to display a background image (the photograph of a piano) in your monitor when there is no video signal being input. • Select "Gray" to display a gray background in your monitor when there is no video signal being input. Note When "Conversion" is set to "Off", no background is displayed even if "Wall Paper" is set to "Yes". 2 Press k / n on the remote control to select "Manual Setup" and then press h. PRESET/CH PRESET/CH ENTER A/B/C/D/E ENTER A/B/C/D/E 3 Press k / n / l / h on the remote control to select "Basic" and then press h. PRESET/CH PRESET/CH ENTER A/B/C/D/E ENTER A/B/C/D/E Sound Video Basic NET/USB Option Test Tone Speaker Set Speaker Distance Speaker Level 4 Select the desired parameters and then press h to access and adjust. PRESET/CH ENTER A/B/C/D/E 104 En
-
 1
1 -
2
-
3
-
4
-
5
-
6
-
7
-
8
-
9
-
10
-
11
-
12
-
13
-
14
-
15
-
16
-
17
-
18
-
19
-
20
-
21
-
22
-
23
-
24
-
25
-
26
-
27
-
28
-
29
-
30
-
31
-
32
-
33
-
34
-
35
-
36
-
37
-
38
-
39
-
40
-
41
-
42
-
43
-
44
-
45
-
46
-
47
-
48
-
49
-
50
-
51
-
52
-
53
-
54
-
55
-
56
-
57
-
58
-
59
-
60
-
61
-
62
-
63
-
64
-
65
-
66
-
67
-
68
-
69
-
70
-
71
-
72
-
73
-
74
-
75
-
76
-
77
-
78
-
79
-
80
-
81
-
82
-
83
-
84
-
85
-
86
-
87
-
88
-
89
-
90
-
91
-
92
-
93
-
94
-
95
-
96
-
97
-
98
-
99
-
100
-
101
-
102
-
 103
103 -
 104
104 -
 105
105 -
 106
106 -
 107
107 -
 108
108 -
 109
109 -
 110
110 -
 111
111 -
 112
112 -
 113
113 -
114
-
115
-
116
-
117
-
118
-
119
-
120
-
121
-
122
-
123
-
124
-
125
-
126
-
127
-
128
-
129
-
130
-
131
-
132
-
133
-
134
-
135
-
136
-
137
-
138
-
139
-
140
-
141
-
142
-
143
-
144
-
145
-
146
-
147
-
148
-
149
-
150
-
151
-
152
-
153
-
154
-
155
-
156
-
157
-
158
-
159
-
160
-
161
-
162
-
163
-
164
-
165
-
166
-
167
-
168
-
169
-
170
-
171
-
172
-
173
-
174
 |
 |