2006 Lexus IS 350 Navigation Manual - Page 215
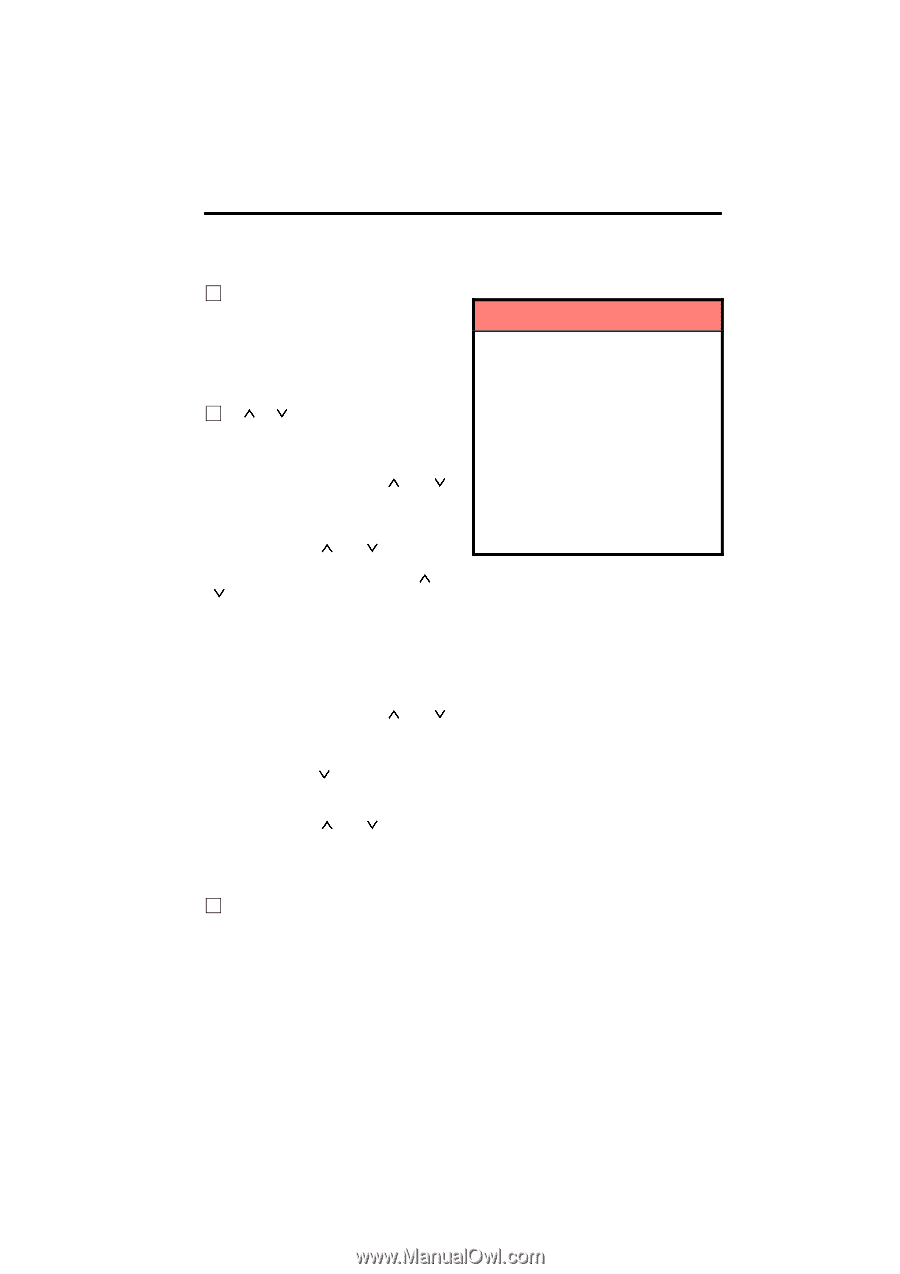
2006 Lexus IS 350 Manual
Page 215 highlights
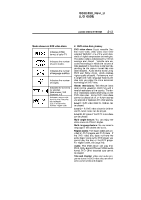
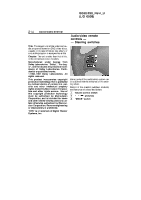
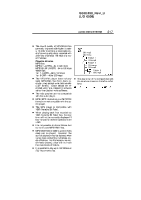
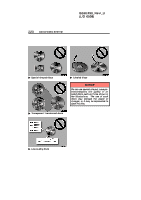
IS350/250_Navi_U (L/O 0508) AUDIO/VIDEO SYSTEM 215 Audio / video system operating hints 1 Volume control switch Push "+" side to increase the volume. The volume continues to increase while the switch is being pressed. Push "−" side to decrease the volume. The volume continues to decrease while the switch is being pressed. 2 " " " " switches (Seek, search, track) Radio To select a preset station: Quickly push and release the " " or " " switch. Do this again to select the next preset station. To seek a station: Push and hold the " " or " " switch until you hear a beep. Do this again to find the next station. If you push either the " " or " " switch in seek mode, the seek mode will cancel. CD changer or DVD changer Use this button to skip up or down to a different track, file or chapter in either direction. To select a desired track, file or chapter: Quickly push and release the " " or " " switch until the track, file or chapter you want to play is set. If you want to return to the beginning of the current track, file or chapter, push the " " switch once, quickly. To select a desired disc: Push and hold the " " or " " switch until you hear a beep to change to the next or the previous disc. Repeat this operation until you reach the disc you want to listen to. 3 "MODE" switch Each time you push the "MODE" switch, the system changes the audio mode. To turn the audio/video system on, push the "MODE" switch. To turn the audio/video system off, push and hold the "MODE" switch until you hear a beep. NOTICE To ensure correct audio/video system operations: D Be careful not to spill beverages over the audio/video system. D Do not put anything other than on appropriate discs into the CD changer or DVD changer slot. D The use of a cellular phone inside or near the vehicle may cause a noise from the speakers of the audio/video system which you are listening to. However, this does not indicate a malfunction. Radio reception Usually, the problem with radio reception does not mean there is a problem with your radio − it is just the normal result of conditions outside the vehicle. For example, nearby buildings and terrain can interfere with FM reception. Power lines or telephone wires can interfere with AM signals. And of course, radio signals have a limited range, and the farther you are from a station, the weaker its signal will be. In addition, reception conditions change constantly as your vehicle moves. Here are some common reception problems that probably do not indicate a problem with your radio:
-
 1
1 -
2
-
3
-
4
-
5
-
6
-
7
-
8
-
9
-
10
-
11
-
12
-
13
-
14
-
15
-
16
-
17
-
18
-
19
-
20
-
21
-
22
-
23
-
24
-
25
-
26
-
27
-
28
-
29
-
30
-
31
-
32
-
33
-
34
-
35
-
36
-
37
-
38
-
39
-
40
-
41
-
42
-
43
-
44
-
45
-
46
-
47
-
48
-
49
-
50
-
51
-
52
-
53
-
54
-
55
-
56
-
57
-
58
-
59
-
60
-
61
-
62
-
63
-
64
-
65
-
66
-
67
-
68
-
69
-
70
-
71
-
72
-
73
-
74
-
75
-
76
-
77
-
78
-
79
-
80
-
81
-
82
-
83
-
84
-
85
-
86
-
87
-
88
-
89
-
90
-
91
-
92
-
93
-
94
-
95
-
96
-
97
-
98
-
99
-
100
-
101
-
102
-
103
-
104
-
105
-
106
-
107
-
108
-
109
-
110
-
111
-
112
-
113
-
114
-
115
-
116
-
117
-
118
-
119
-
120
-
121
-
122
-
123
-
124
-
125
-
126
-
127
-
128
-
129
-
130
-
131
-
132
-
133
-
134
-
135
-
136
-
137
-
138
-
139
-
140
-
141
-
142
-
143
-
144
-
145
-
146
-
147
-
148
-
149
-
150
-
151
-
152
-
153
-
154
-
155
-
156
-
157
-
158
-
159
-
160
-
161
-
162
-
163
-
164
-
165
-
166
-
167
-
168
-
169
-
170
-
171
-
172
-
173
-
174
-
175
-
176
-
177
-
178
-
179
-
180
-
181
-
182
-
183
-
184
-
185
-
186
-
187
-
188
-
189
-
190
-
191
-
192
-
193
-
194
-
195
-
196
-
197
-
198
-
199
-
200
-
201
-
202
-
203
-
204
-
205
-
206
-
207
-
208
-
209
-
 210
210 -
 211
211 -
 212
212 -
 213
213 -
 214
214 -
 215
215 -
 216
216 -
 217
217 -
 218
218 -
 219
219 -
 220
220 -
221
-
222
-
223
-
224
-
225
-
226
-
227
-
228
-
229
-
230
-
231
-
232
-
233
-
234
-
235
-
236
-
237
-
238
-
239
-
240
-
241
-
242
-
243
-
244
-
245
-
246
-
247
-
248
-
249
-
250
-
251
-
252
-
253
-
254
-
255
-
256
-
257
-
258
-
259
-
260
-
261
-
262
-
263
-
264
-
265
-
266
-
267
-
268
-
269
-
270
-
271
-
272
-
273
-
274
-
275
-
276
-
277
-
278
 |
 |