1993 Pontiac Grand Am Owner's Manual - Page 189
1993 Pontiac Grand Am Manual
Page 189 highlights
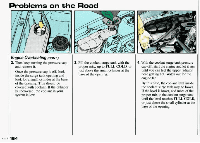
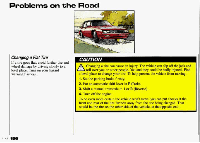
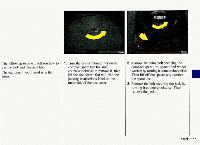
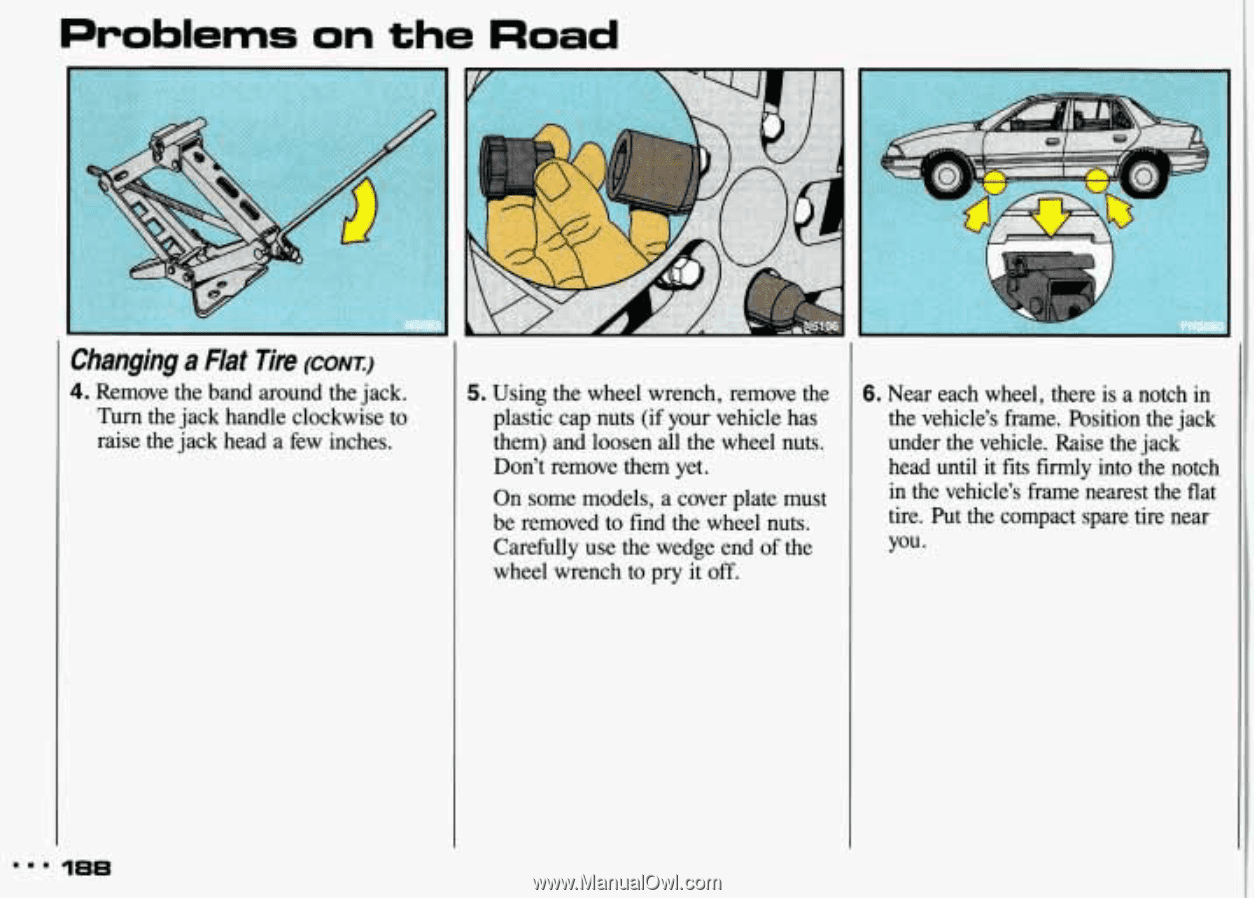
Problems on the Road L..i Changing a Flat Tire (CONT.) 4. Remove the band around the jack. Turn thejack handle clockwise to raise thejack head a few inches. 5. Using the wheel wrench, remove the 6. Near each wheel, there is a notch in plastic cap nuts (if your vehicle has the vehicle's frame. Position the jack them) and loosen all the wheel nuts. under the vehicle. Raise the jack Don't remove them yet. head until it fits firmly into the notch in the vehicle's frame nearest the flat On some models, a cover plate must tire. Put the compact spare tire near be removed to find the wheel nuts. you. Carefully use the wedge end the of wheel wrench to pry it off.
-
 1
1 -
2
-
3
-
4
-
5
-
6
-
7
-
8
-
9
-
10
-
11
-
12
-
13
-
14
-
15
-
16
-
17
-
18
-
19
-
20
-
21
-
22
-
23
-
24
-
25
-
26
-
27
-
28
-
29
-
30
-
31
-
32
-
33
-
34
-
35
-
36
-
37
-
38
-
39
-
40
-
41
-
42
-
43
-
44
-
45
-
46
-
47
-
48
-
49
-
50
-
51
-
52
-
53
-
54
-
55
-
56
-
57
-
58
-
59
-
60
-
61
-
62
-
63
-
64
-
65
-
66
-
67
-
68
-
69
-
70
-
71
-
72
-
73
-
74
-
75
-
76
-
77
-
78
-
79
-
80
-
81
-
82
-
83
-
84
-
85
-
86
-
87
-
88
-
89
-
90
-
91
-
92
-
93
-
94
-
95
-
96
-
97
-
98
-
99
-
100
-
101
-
102
-
103
-
104
-
105
-
106
-
107
-
108
-
109
-
110
-
111
-
112
-
113
-
114
-
115
-
116
-
117
-
118
-
119
-
120
-
121
-
122
-
123
-
124
-
125
-
126
-
127
-
128
-
129
-
130
-
131
-
132
-
133
-
134
-
135
-
136
-
137
-
138
-
139
-
140
-
141
-
142
-
143
-
144
-
145
-
146
-
147
-
148
-
149
-
150
-
151
-
152
-
153
-
154
-
155
-
156
-
157
-
158
-
159
-
160
-
161
-
162
-
163
-
164
-
165
-
166
-
167
-
168
-
169
-
170
-
171
-
172
-
173
-
174
-
175
-
176
-
177
-
178
-
179
-
180
-
181
-
182
-
183
-
 184
184 -
 185
185 -
 186
186 -
 187
187 -
 188
188 -
 189
189 -
 190
190 -
 191
191 -
 192
192 -
 193
193 -
 194
194 -
195
-
196
-
197
-
198
-
199
-
200
-
201
-
202
-
203
-
204
-
205
-
206
-
207
-
208
-
209
-
210
-
211
-
212
-
213
-
214
-
215
-
216
-
217
-
218
-
219
-
220
-
221
-
222
-
223
-
224
-
225
-
226
-
227
-
228
-
229
-
230
-
231
-
232
-
233
-
234
-
235
-
236
-
237
-
238
-
239
-
240
-
241
-
242
-
243
-
244
-
245
-
246
-
247
-
248
-
249
-
250
-
251
-
252
-
253
-
254
-
255
-
256
-
257
-
258
-
259
-
260
-
261
-
262
-
263
-
264
-
265
-
266
-
267
-
268
-
269
-
270
-
271
-
272
-
273
-
274
-
275
-
276
-
277
-
278
-
279
-
280
-
281
-
282
-
283
-
284
-
285
-
286
-
287
-
288
-
289
-
290
-
291
-
292
-
293
-
294
-
295
-
296
-
297
-
298
-
299
-
300
-
301
-
302
-
303
-
304
-
305
-
306
 |
 |
Problems
on
the
Road
Changing
a
Flat
Tire
(CONT.)
4.
Remove
the
band
around
the
jack.
Turn
thejack handle
clockwise
to
raise
the
jack head
a
few
inches.
L..
i
5.
Using
the
wheel
wrench,
remove
the
plastic
cap
nuts
(if
your
vehicle
has
them)
and
loosen
all
the
wheel
nuts.
Don’t
remove
them
yet.
On
some
models,
a
cover
plate
must
be
removed
to
find the
wheel
nuts.
Carefully
use
the
wedge
end
of the
wheel
wrench
to
pry it off.
6.
Near
each
wheel,
there
is
a
notch
in
the
vehicle’s
frame.
Position
the
jack
under
the
vehicle.
Raise
the
jack
head
until
it
fits
firmly
into
the
notch
in
the
vehicle’s
frame
nearest
the
flat
tire.
Put
the
compact
spare
tire
near
you.