1993 Pontiac Grand Am Owner's Manual - Page 192
1993 Pontiac Grand Am Manual
Page 192 highlights
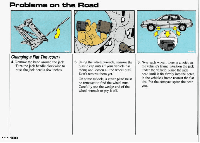
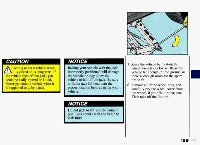
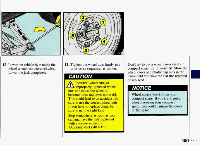
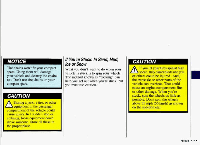
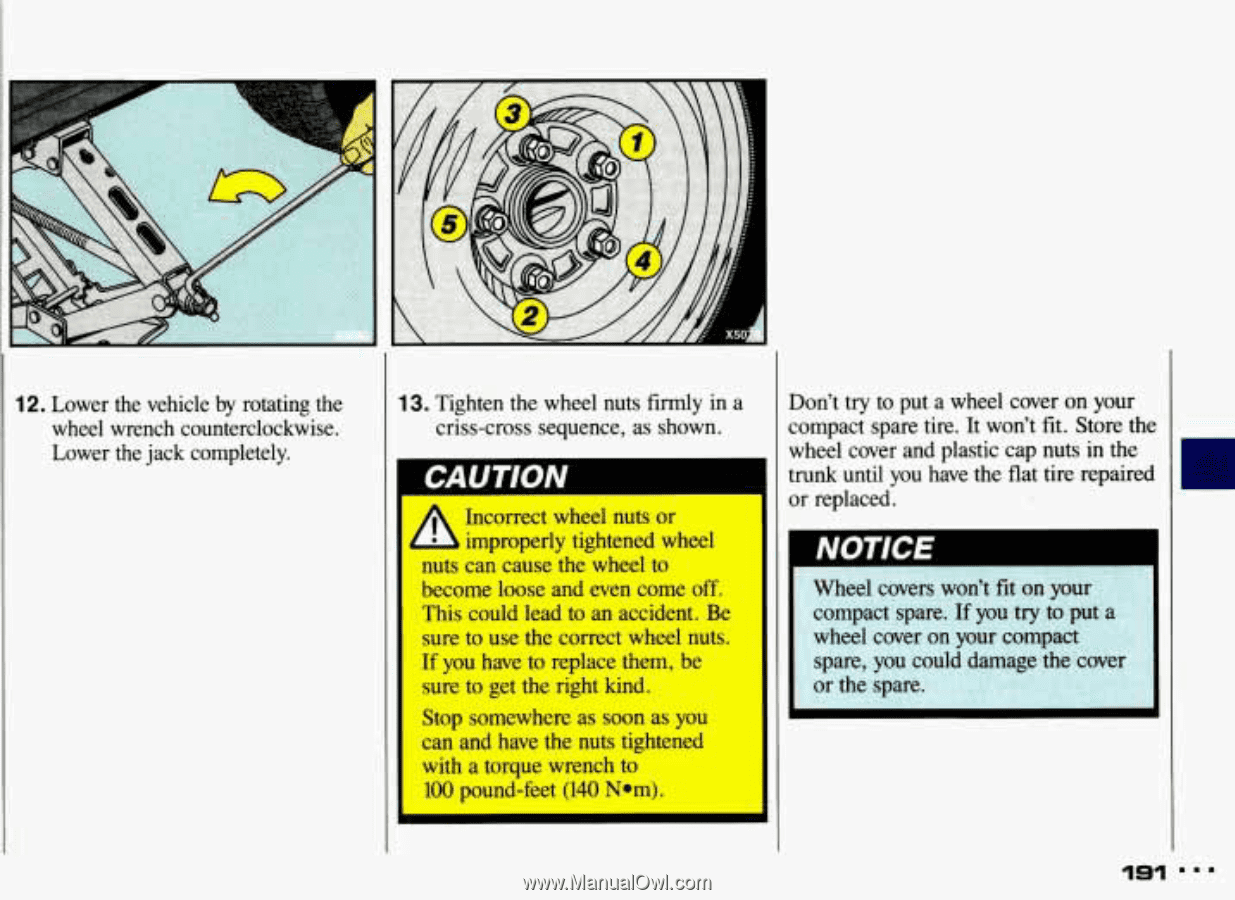
12. Lower the vehicleby rotating the wheel wrench counterclockwise. Lower thejack completely. 13. Tighten the wheel nuts firmly in a criss-cross sequence, as shown. Incorrect wheel nuts or mproperlytightenedwheel nuts can cause the wheel to become loose and even comeoff. This could lead to anaccident. Be sure to use the correct wheel nuts. If you have to replacethem, be sure to get the right kind. Stop somewhere as soon as you can and have the nuts tightened with a torque wrench to 100 pound-feet (140 Nom). Don't try to put a wheel coveron your compact spare tire. It won't fit. Store the wheel cover and plasticcap nuts in the trunk until you have the flat tire repaired or replaced. - NOTICE IS1
-
 1
1 -
2
-
3
-
4
-
5
-
6
-
7
-
8
-
9
-
10
-
11
-
12
-
13
-
14
-
15
-
16
-
17
-
18
-
19
-
20
-
21
-
22
-
23
-
24
-
25
-
26
-
27
-
28
-
29
-
30
-
31
-
32
-
33
-
34
-
35
-
36
-
37
-
38
-
39
-
40
-
41
-
42
-
43
-
44
-
45
-
46
-
47
-
48
-
49
-
50
-
51
-
52
-
53
-
54
-
55
-
56
-
57
-
58
-
59
-
60
-
61
-
62
-
63
-
64
-
65
-
66
-
67
-
68
-
69
-
70
-
71
-
72
-
73
-
74
-
75
-
76
-
77
-
78
-
79
-
80
-
81
-
82
-
83
-
84
-
85
-
86
-
87
-
88
-
89
-
90
-
91
-
92
-
93
-
94
-
95
-
96
-
97
-
98
-
99
-
100
-
101
-
102
-
103
-
104
-
105
-
106
-
107
-
108
-
109
-
110
-
111
-
112
-
113
-
114
-
115
-
116
-
117
-
118
-
119
-
120
-
121
-
122
-
123
-
124
-
125
-
126
-
127
-
128
-
129
-
130
-
131
-
132
-
133
-
134
-
135
-
136
-
137
-
138
-
139
-
140
-
141
-
142
-
143
-
144
-
145
-
146
-
147
-
148
-
149
-
150
-
151
-
152
-
153
-
154
-
155
-
156
-
157
-
158
-
159
-
160
-
161
-
162
-
163
-
164
-
165
-
166
-
167
-
168
-
169
-
170
-
171
-
172
-
173
-
174
-
175
-
176
-
177
-
178
-
179
-
180
-
181
-
182
-
183
-
184
-
185
-
186
-
 187
187 -
 188
188 -
 189
189 -
 190
190 -
 191
191 -
 192
192 -
 193
193 -
 194
194 -
 195
195 -
 196
196 -
 197
197 -
198
-
199
-
200
-
201
-
202
-
203
-
204
-
205
-
206
-
207
-
208
-
209
-
210
-
211
-
212
-
213
-
214
-
215
-
216
-
217
-
218
-
219
-
220
-
221
-
222
-
223
-
224
-
225
-
226
-
227
-
228
-
229
-
230
-
231
-
232
-
233
-
234
-
235
-
236
-
237
-
238
-
239
-
240
-
241
-
242
-
243
-
244
-
245
-
246
-
247
-
248
-
249
-
250
-
251
-
252
-
253
-
254
-
255
-
256
-
257
-
258
-
259
-
260
-
261
-
262
-
263
-
264
-
265
-
266
-
267
-
268
-
269
-
270
-
271
-
272
-
273
-
274
-
275
-
276
-
277
-
278
-
279
-
280
-
281
-
282
-
283
-
284
-
285
-
286
-
287
-
288
-
289
-
290
-
291
-
292
-
293
-
294
-
295
-
296
-
297
-
298
-
299
-
300
-
301
-
302
-
303
-
304
-
305
-
306
 |
 |
12.
Lower
the
vehicle
by
rotating
the
wheel
wrench
counterclockwise.
Lower
the
jack completely.
13.
Tighten the wheel
nuts
firmly
in
a
criss-cross sequence, as shown.
Incorrect wheel
nuts or
-
mproperly
tightened wheel
nuts can cause the wheel
to
become loose and
even
come
off.
This could
lead
to
an accident.
Be
sure to
use the correct wheel
nuts.
If
you
have
to
replace
them, be
sure to
get the right kind.
Stop somewhere as soon as
you
can and
have the nuts
tightened
with
a
torque
wrench
to
100
pound-feet
(140
Nom).
Don't
try
to
put
a
wheel
cover
on
your
compact spare tire.
It
won't fit. Store the
wheel
cover
and
plastic cap nuts
in the
trunk until you
have the flat tire repaired
or replaced.
NOTICE
IS1