2007 Suzuki XL7 Owner's Manual - Page 149
2007 Suzuki XL7 Manual
Page 149 highlights
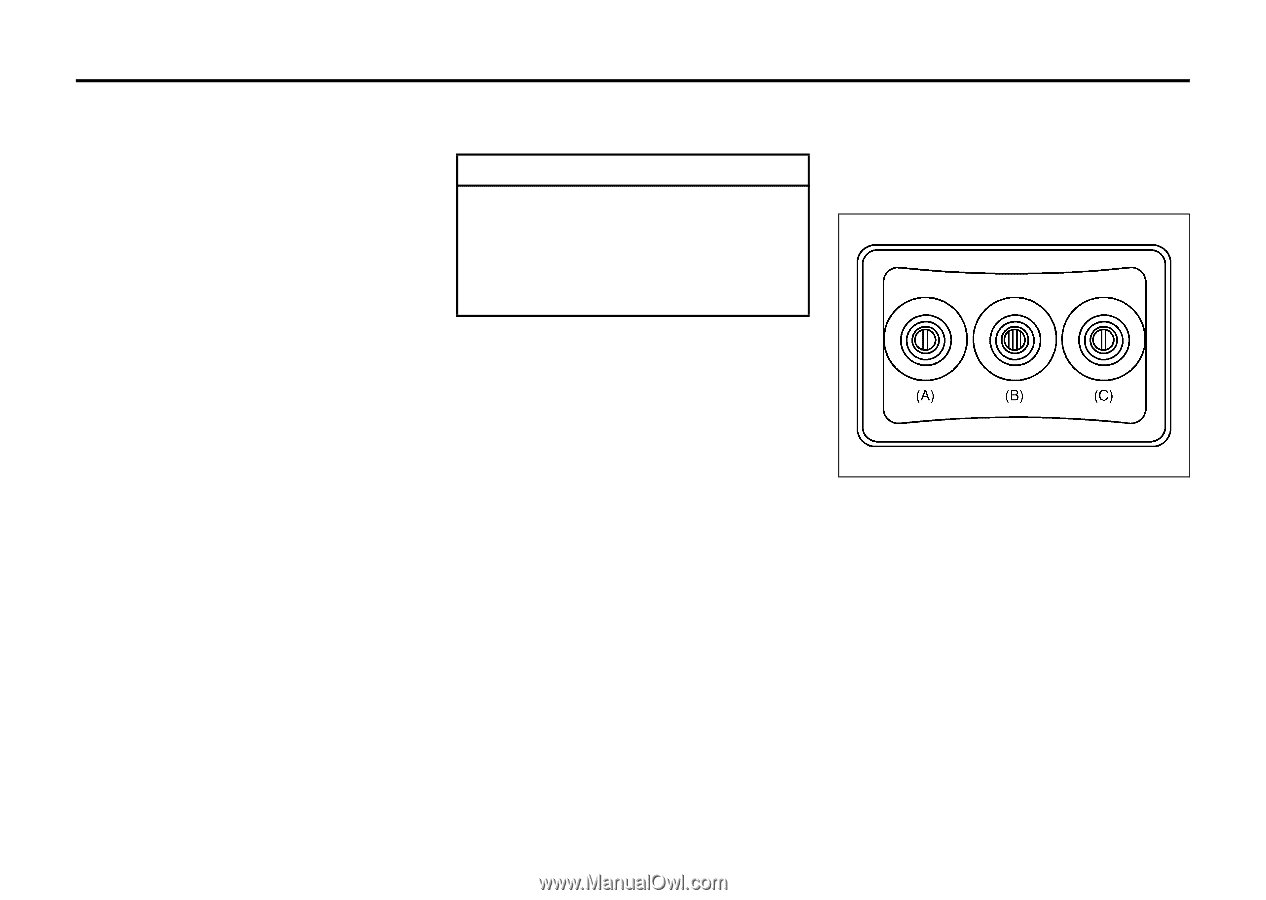
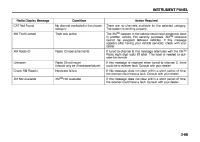
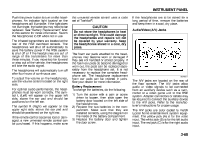
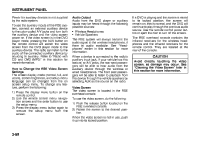
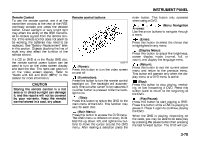
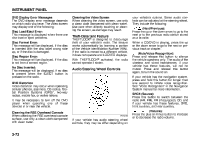
INSTRUMENT PANEL Push the power button to turn on the headphones. An indicator light located on the headphones will illuminate. If the light does not illuminate, the batteries may need to be replaced. See "Battery Replacement" later in this section for more information. Switch the headphones to Off when not in use. The infrared transmitters are located at the rear of the RSE overhead console. The headphones will shut off automatically to save the battery power if the RSE system is shut off or if the headphones are out of range of the transmitters for more than three minutes. If you move too far forward or step out of the vehicle, the headphones will lose the audio signal. The headphones will automatically turn off after four hours of continuous use. To adjust the volume on the headphones, use the volume control located on the right side. For optimal audio performance, the headphones must be worn correctly. The symbol L (Left) will appear on the upper left side, above the ear pad and should be positioned on the left ear. The symbol R (Right) will appear on the upper right side, above the ear pad and should be positioned on the right ear. If the remote control becomes lost or damaged, a new universal remote control can be purchased. If this happens, make sure the universal remote control uses a code set of Toshiba®. If the headphones are to be stored for a long period of time, remove the batteries and keep them in a cool, dry place. Audio/Video (A/V) Jacks CAUTION Do not store the headphones in heat or direct sunlight. This could damage the headphones and repairs will not be covered by your warranty. Keep the headphones stored in a cool, dry place. The foam ear pads attached to the headphones may become worn or damaged if they are not handled or stored properly. If the foam ear pads do become damaged or worn out, the pads can be replaced separately from the headphone set. It is not necessary to replace the complete headphone set. The headphone replacement foam ear pads can be ordered in pairs. See your dealer for more information. Battery Replacement To change the batteries, do the following: 1) Turn the screw with a coin or screw driver to loosen, then slide open the battery door located on the left side of the headphones. 2) Replace the two batteries in the compartment. Make sure that they are installed correctly, using the diagram on the inside of the battery compartment. 3) Replace the battery door and tighten the door screw. 1676611 The A/V jacks are located on the rear of the floor console. The A/V jacks allow audio or video signals to be connected from an auxiliary device such as a camcorder or a video game unit to the RSE system. Adapter connectors or cables may be required to connect the auxiliary device to the A/V jacks. Refer to the manufacturer's instructions for proper usage. The A/V jacks are color coded to match typical home entertainment system equipment. The yellow jack (A) is for the video input. The white jack (B) is for the left audio input. The red jack (C) is for the right audio input. 3-68
-
 1
1 -
2
-
3
-
4
-
5
-
6
-
7
-
8
-
9
-
10
-
11
-
12
-
13
-
14
-
15
-
16
-
17
-
18
-
19
-
20
-
21
-
22
-
23
-
24
-
25
-
26
-
27
-
28
-
29
-
30
-
31
-
32
-
33
-
34
-
35
-
36
-
37
-
38
-
39
-
40
-
41
-
42
-
43
-
44
-
45
-
46
-
47
-
48
-
49
-
50
-
51
-
52
-
53
-
54
-
55
-
56
-
57
-
58
-
59
-
60
-
61
-
62
-
63
-
64
-
65
-
66
-
67
-
68
-
69
-
70
-
71
-
72
-
73
-
74
-
75
-
76
-
77
-
78
-
79
-
80
-
81
-
82
-
83
-
84
-
85
-
86
-
87
-
88
-
89
-
90
-
91
-
92
-
93
-
94
-
95
-
96
-
97
-
98
-
99
-
100
-
101
-
102
-
103
-
104
-
105
-
106
-
107
-
108
-
109
-
110
-
111
-
112
-
113
-
114
-
115
-
116
-
117
-
118
-
119
-
120
-
121
-
122
-
123
-
124
-
125
-
126
-
127
-
128
-
129
-
130
-
131
-
132
-
133
-
134
-
135
-
136
-
137
-
138
-
139
-
140
-
141
-
142
-
143
-
 144
144 -
 145
145 -
 146
146 -
 147
147 -
 148
148 -
 149
149 -
 150
150 -
 151
151 -
 152
152 -
 153
153 -
 154
154 -
155
-
156
-
157
-
158
-
159
-
160
-
161
-
162
-
163
-
164
-
165
-
166
-
167
-
168
-
169
-
170
-
171
-
172
-
173
-
174
-
175
-
176
-
177
-
178
-
179
-
180
-
181
-
182
-
183
-
184
-
185
-
186
-
187
-
188
-
189
-
190
-
191
-
192
-
193
-
194
-
195
-
196
-
197
-
198
-
199
-
200
-
201
-
202
-
203
-
204
-
205
-
206
-
207
-
208
-
209
-
210
-
211
-
212
-
213
-
214
-
215
-
216
-
217
-
218
-
219
-
220
-
221
-
222
-
223
-
224
-
225
-
226
-
227
-
228
-
229
-
230
-
231
-
232
-
233
-
234
-
235
-
236
-
237
-
238
-
239
-
240
-
241
-
242
-
243
-
244
-
245
-
246
-
247
-
248
-
249
-
250
-
251
-
252
-
253
-
254
-
255
-
256
-
257
-
258
-
259
-
260
-
261
-
262
-
263
-
264
-
265
-
266
-
267
-
268
-
269
-
270
-
271
-
272
-
273
 |
 |