Brother International CS-8072 Users Manual - English - Page 50
EYELET STITCH, Size of eyelet (actual size) - belt
 |
View all Brother International CS-8072 manuals
Add to My Manuals
Save this manual to your list of manuals |
Page 50 highlights
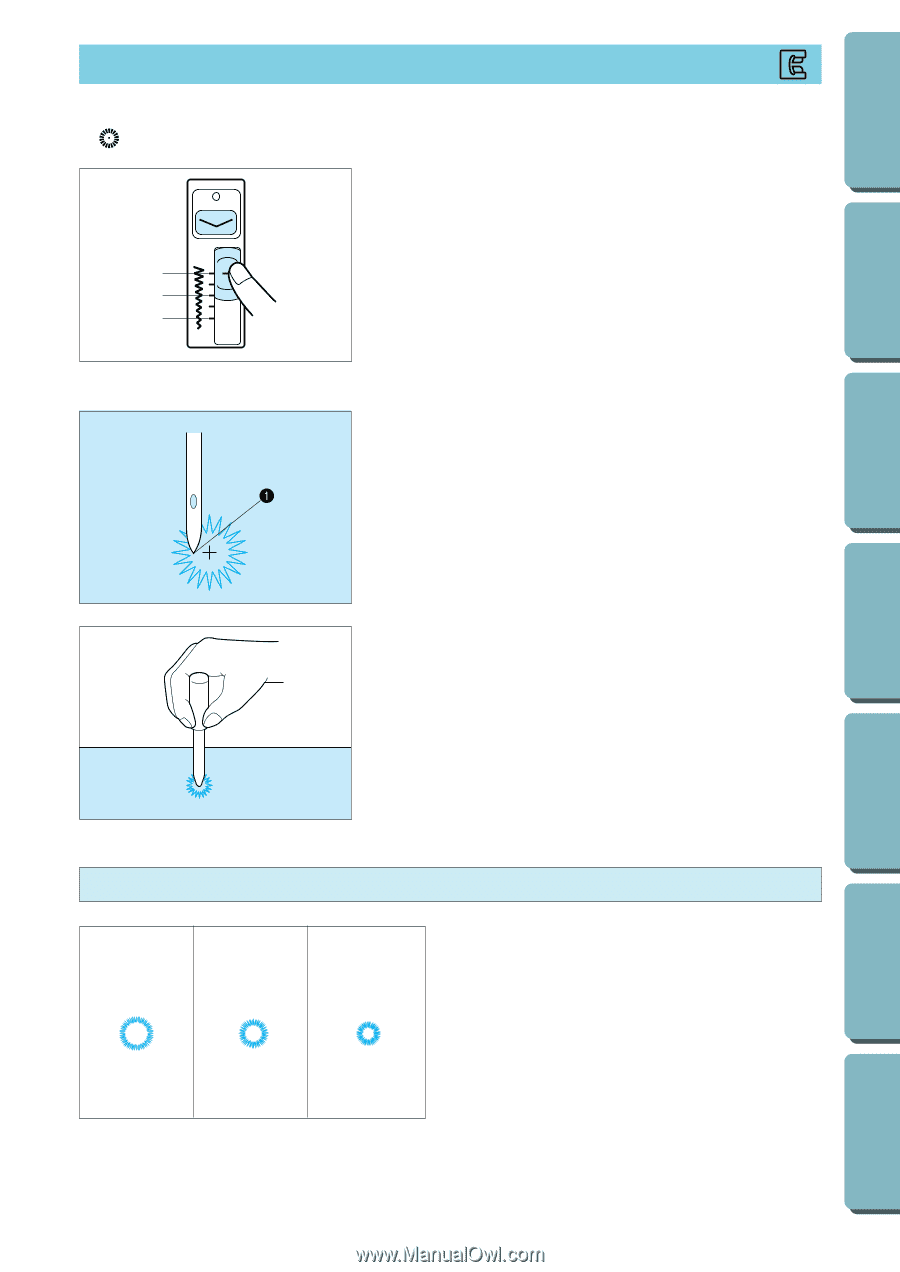
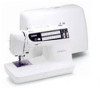
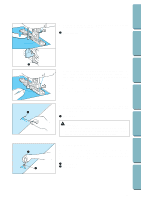
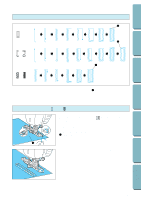
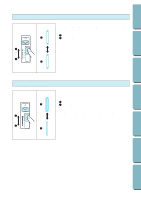
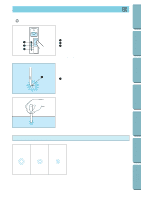
CONTENTS BEFORE USE SEWING EYELET STITCH 20 1 2 3 N For sewing eyelets on belts, etc. 1. Press the stitch width manual change key to turn on the LED lamp. 2. Use the stitch width adjustment lever to select the eyelet size. 1 Large 2 Medium 3 Small * When the stitch width is at the default setting (the stitch width manual change key's LED lamp is blinking) the large eyelet will be sewn. * Stitch length can not be adjusted. 3. Attach monogramming foot "N", then turn the balance wheel to check the needle drop position. Lower the presser foot lever and start sewing. When sewing is finished, the machine sews reinforcement stitches and stops automatically. 1 Needle drop position 4. Use the eyelet punch to make a hole in the center of the stitching. Size of eyelet (actual size) A B C A- Large: 7.0 mm (9/32") B- Medium: 6.0 mm (1/4") C- Small: 5.0 mm (13/64") UTILITY STITCHES MAINTENANCE SEWING CHART PATTERNS (PROGRAMMED IN MACHINE) 47
-
 1
1 -
2
-
3
-
4
-
5
-
6
-
7
-
8
-
9
-
10
-
11
-
12
-
13
-
14
-
15
-
16
-
17
-
18
-
19
-
20
-
21
-
22
-
23
-
24
-
25
-
26
-
27
-
28
-
29
-
30
-
31
-
32
-
33
-
34
-
35
-
36
-
37
-
38
-
39
-
40
-
41
-
42
-
43
-
44
-
 45
45 -
 46
46 -
 47
47 -
 48
48 -
 49
49 -
 50
50 -
 51
51 -
 52
52 -
 53
53 -
 54
54 -
 55
55 -
56
-
57
-
58
-
59
-
60
-
61
-
62
-
63
-
64
-
65
-
66
-
67
-
68
-
69
-
70
-
71
-
72
-
73
-
74
-
75
-
76
-
77
-
78
-
79
-
80
-
81
-
82
 |
 |