Canon SELPHY CP740 SELPHY CP750 / CP740 Printer User Guide - Page 38
Remaining Battery Charge, Battery Handling
 |
View all Canon SELPHY CP740 manuals
Add to My Manuals
Save this manual to your list of manuals |
Page 38 highlights
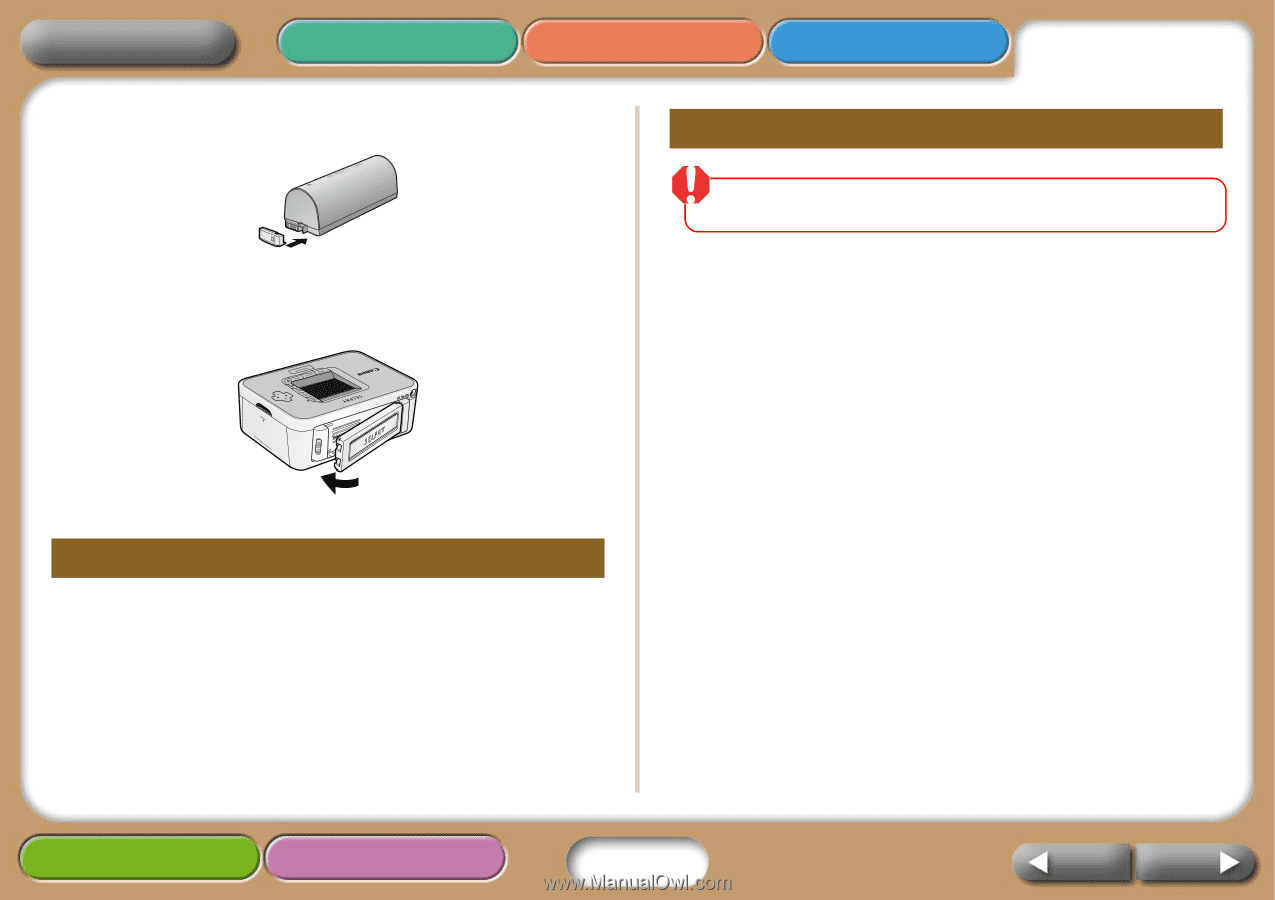
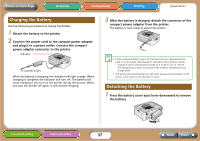
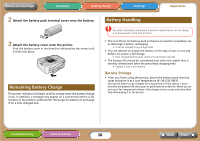
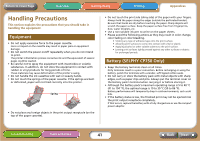
Return to Cover Page Overview Getting Ready Printing Appendices 2 Attach the battery pack terminal cover onto the battery. 3 Attach the battery cover onto the printer. Push the battery cover in the direction indicated by the arrow until it clicks into place. Remaining Battery Charge The printer indicator will begin to blink orange when the battery charge is low. In addition, a message may appear on a connected camera's LCD monitor or the printer's LCD monitor. Recharge the battery or exchange it for a fully charged one. Battery Handling To protect the battery and prevent a decline in performance, do not charge it continuously for more than 24 hours. • This is a lithium ion battery pack so there is no need to completely use or discharge it before recharging. • It can be charged at any charge state. • You are advised to charge the battery on the day of use, or one day before, to ensure a full charge. • Even charged battery packs continue to discharge naturally. • The battery life should be considered over when the usable time is severely limited even after the prescribed charging time. • Replace it with a new battery. Battery Storage • After you finish using the battery, attach the battery pack terminal cover and store it at a cool temperature (0°-30°C/32°-86°F). Storing the battery fully charged for long periods of time (about 1 year) shortens the battery life and causes its performance to decline. When you do not use it for long period of time, fully charge it once a year and store after fully discharging it in the printer. Troubleshooting Tasks and Index 38 Back Next
-
 1
1 -
2
-
3
-
4
-
5
-
6
-
7
-
8
-
9
-
10
-
11
-
12
-
13
-
14
-
15
-
16
-
17
-
18
-
19
-
20
-
21
-
22
-
23
-
24
-
25
-
26
-
27
-
28
-
29
-
30
-
31
-
32
-
 33
33 -
 34
34 -
 35
35 -
 36
36 -
 37
37 -
 38
38 -
 39
39 -
 40
40 -
 41
41 -
 42
42 -
 43
43 -
44
-
45
-
46
-
47
-
48
-
49
-
50
 |
 |