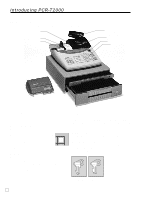
Casio PCR T2000 Owners Manual - Page 11
Plug the cash register into a wall outlet., Insert the mode key marked PGM into the mode switch.,
 |
UPC - 079767505226
View all Casio PCR T2000 manuals
Add to My Manuals
Save this manual to your list of manuals |
Page 11 highlights
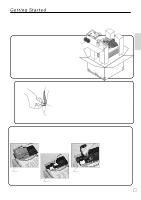
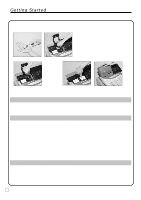
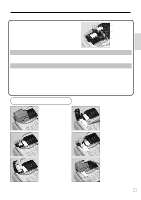
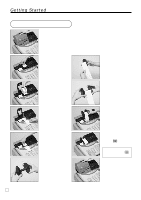
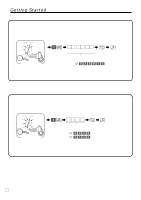
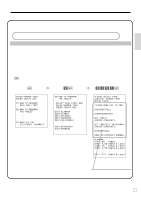
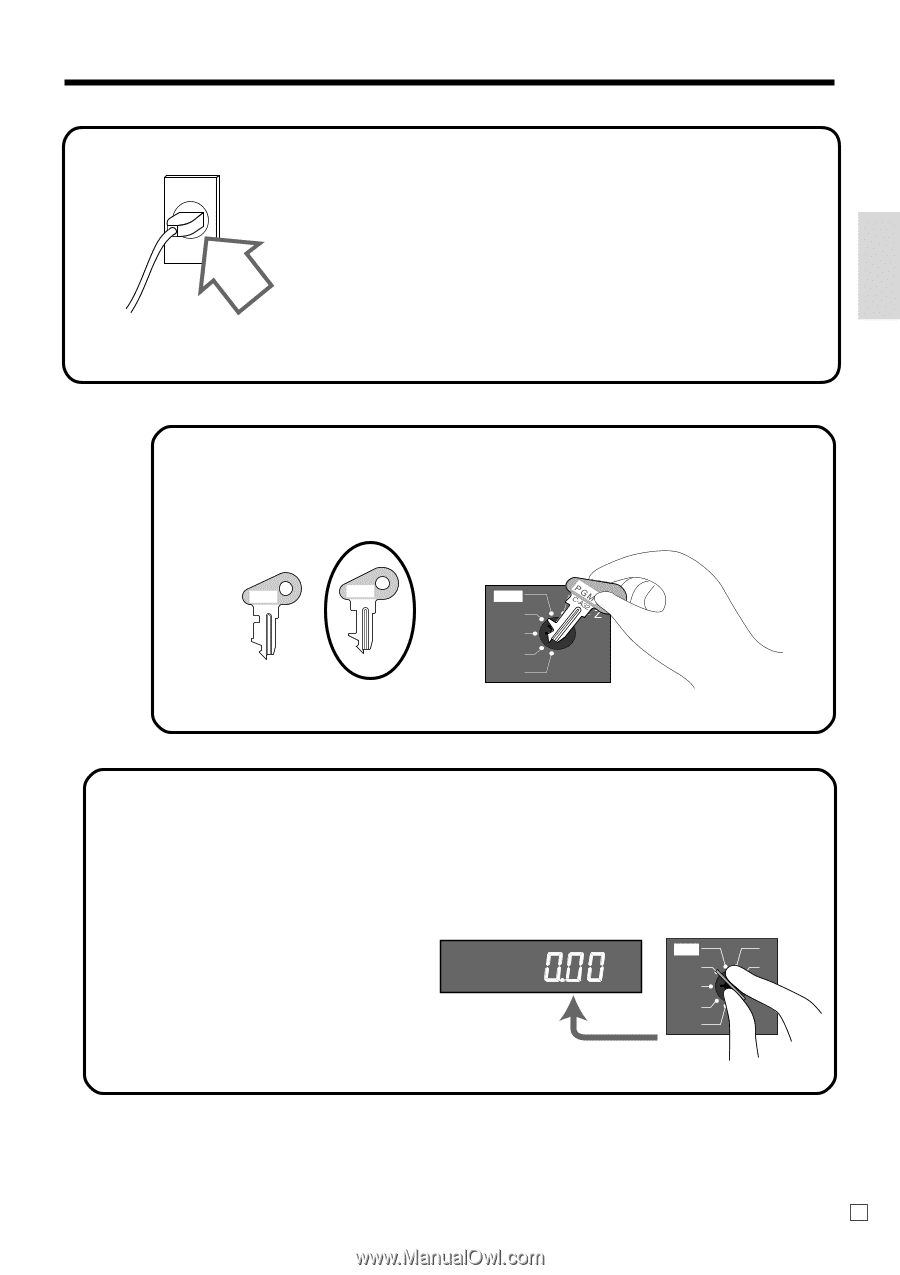
Getting Started 5. Plug the cash register into a wall outlet. Be sure to check the sticker (rating plate) on the side of the cash register to make sure that its voltage matches that of the power supply in your area. 6. Insert the mode key marked "PGM" into the mode switch. OP C-A02 PGM C-A32 CAL REG OFF RF PGM 7. Turn the mode key to the "REG" position. The display should change to the following. CAL X REG Z OFF RF PGM 11 E
-
 1
1 -
2
-
3
-
4
-
5
-
 6
6 -
 7
7 -
 8
8 -
 9
9 -
 10
10 -
 11
11 -
 12
12 -
 13
13 -
 14
14 -
 15
15 -
 16
16 -
17
-
18
-
19
-
20
-
21
-
22
-
23
-
24
-
25
-
26
-
27
-
28
-
29
-
30
-
31
-
32
-
33
-
34
-
35
-
36
-
37
-
38
-
39
-
40
-
41
-
42
-
43
-
44
-
45
-
46
-
47
-
48
-
49
-
50
-
51
-
52
-
53
-
54
-
55
-
56
-
57
-
58
-
59
-
60
-
61
-
62
-
63
-
64
-
65
-
66
-
67
-
68
-
69
-
70
-
71
-
72
-
73
-
74
-
75
-
76
-
77
-
78
-
79
-
80
-
81
-
82
-
83
-
84
-
85
-
86
-
87
-
88
-
89
-
90
-
91
-
92
 |
 |
11
Getting Started
E
Plug the cash register into a wall outlet.
Be sure to check the sticker (rating plate) on the side
of the cash register to make sure that its voltage
matches that of the power supply in your area.
Insert the mode key marked “PGM” into the mode switch.
Turn the mode key to the “REG” position.
The display should change to the following.
CAL
REG
OFF
RF
PGM
X
Z
5.
6.
7.
OP
C-A02
PGM
C-A32
CAL
REG
OFF
RF
PGM