Casio WK3800 User Guide - Page 30
Selecting a DSP Type
 |
View all Casio WK3800 manuals
Add to My Manuals
Save this manual to your list of manuals |
Page 30 highlights
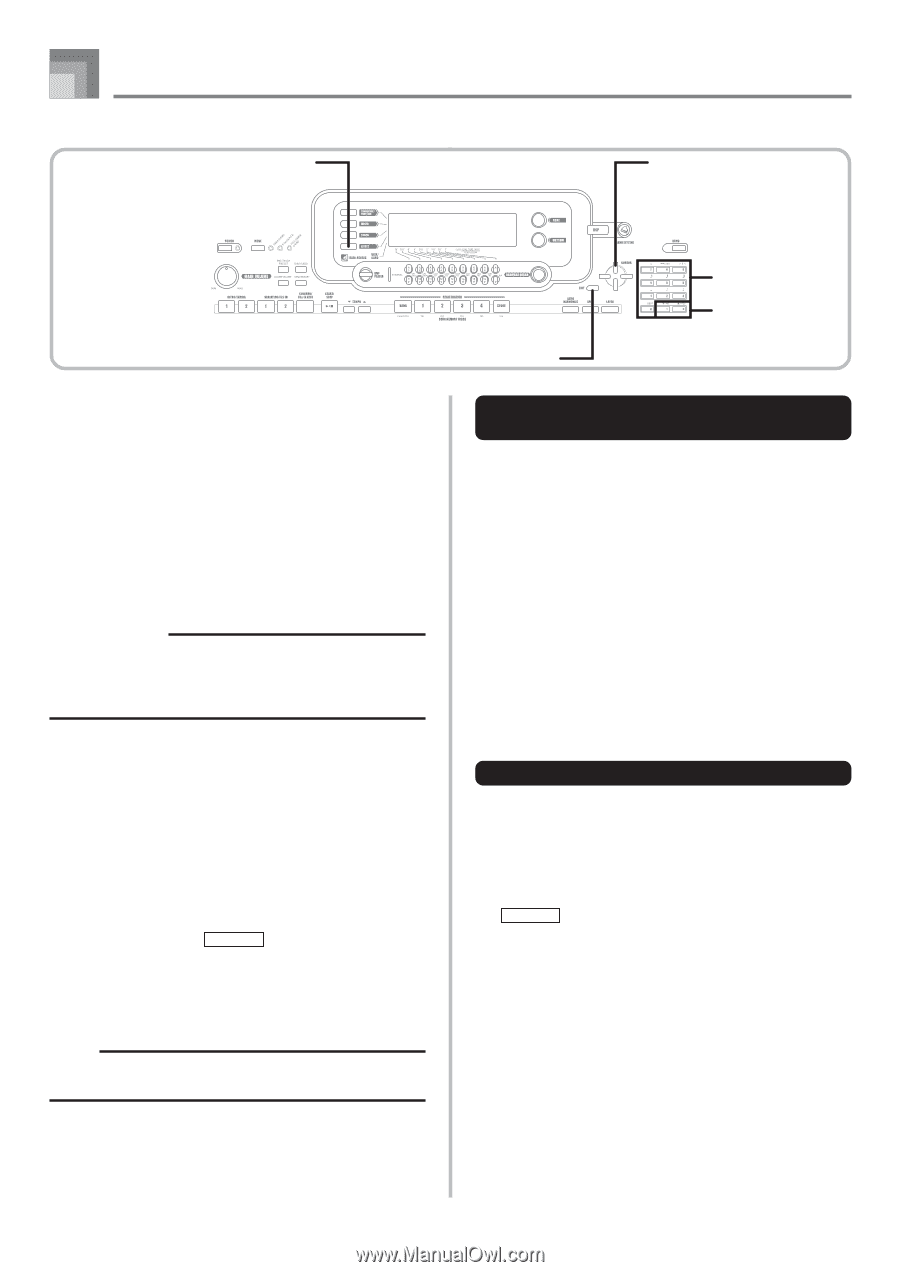
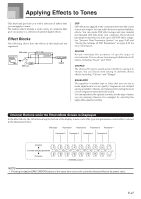
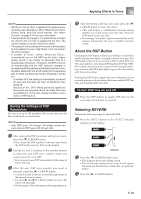
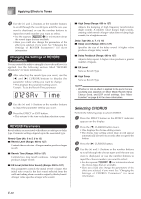
Applying Effects to Tones EFFECT CURSOR Selecting a DSP Type In addition to the 100 built-in effect types, you can also edit effect types to create your own and store them in user memory. You can have up to 100 effect types in user memory at one time. You can also select the DSP type of the last DSP enabled tone that you used. This means you always have access to the DSP type of Advanced Tones and tones you download over the Internet. To select the DSP type of the last DSP enabled tone that you used, select "ton" in step 3 of the procedure below. Perform the following steps to select a DSP type. PREPARATION • When using a DSP effect, you should use the Mixer to confirm that the DSP lines of the required parts are turned on. See "Mixer Function" on page E-40 for more information. 1 Press the EFFECT button so the EFFECT indicator appears on the display. 2 Press the [̈] CURSOR button. • The DSP type setting screen (step 3) will appear automatically about fives seconds after you press the button. 3 Use the [+] and [-] buttons or number buttons to select the type of DSP you want. • See the separate Appendix E for information about the DSP types that are available. • Here you could also change the parameters of the effect you selected, if you want. See "Changing the Settings of DSP Parameters" for more information. NOTE • The DSP type display area shows the DSP number (000 to 199), or "ton" (user tone created using DSP). Number buttons [+]/[-] EXIT Changing the Settings of DSP Parameters You can control the relative strength of a DSP and how it is applied. See the following section titled "DSP Parameters" for more information. 1 After selecting the DSP type you want, use the [̇] and [̈] CURSOR buttons to display the parameter whose setting you want to change. • This displays the parameter setting screen. 2 Use the [+] and [-] buttons or the number buttons to make the parameter setting you want. • Pressing the [+] and [-] buttons at the same time returns the parameter to its recommended setting. 3 Press the EFFECT or EXIT button. • This exits the tone or rhythm setting screen. DSP Parameters The following describes the parameters for each DSP. DSP I Parameter 0 to 7 These parameters differ in accordance with the algorithm* of the selected DSP type. For details, see the separate Appendix E, and the "algorithmlist_e.pdf" file in the "English" folder on the CD-ROM that comes with your keyboard. * Effector structure and operation type I DSP Reverb Send (Range: 000 to 127) Specifies how much of the post-DSP sound should be sent to reverb. I DSP Chorus Send (Range: 000 to 127) Specifies how much of the post-DSP sound should be sent to chorus. E-28
-
 1
1 -
2
-
3
-
4
-
5
-
6
-
7
-
8
-
9
-
10
-
11
-
12
-
13
-
14
-
15
-
16
-
17
-
18
-
19
-
20
-
21
-
22
-
23
-
24
-
 25
25 -
 26
26 -
 27
27 -
 28
28 -
 29
29 -
 30
30 -
 31
31 -
 32
32 -
 33
33 -
 34
34 -
 35
35 -
36
-
37
-
38
-
39
-
40
-
41
-
42
-
43
-
44
-
45
-
46
-
47
-
48
-
49
-
50
-
51
-
52
-
53
-
54
-
55
-
56
-
57
-
58
-
59
-
60
-
61
-
62
-
63
-
64
-
65
-
66
-
67
-
68
-
69
-
70
-
71
-
72
-
73
-
74
-
75
-
76
-
77
-
78
-
79
-
80
-
81
-
82
-
83
-
84
-
85
-
86
-
87
-
88
-
89
-
90
-
91
-
92
-
93
-
94
-
95
-
96
-
97
-
98
-
99
-
100
-
101
-
102
-
103
-
104
-
105
-
106
-
107
-
108
 |
 |