Denon AVR 1906 Owners Manual - Page 44
Setting the Function Rename
 |
UPC - 081757506557
View all Denon AVR 1906 manuals
Add to My Manuals
Save this manual to your list of manuals |
Page 44 highlights
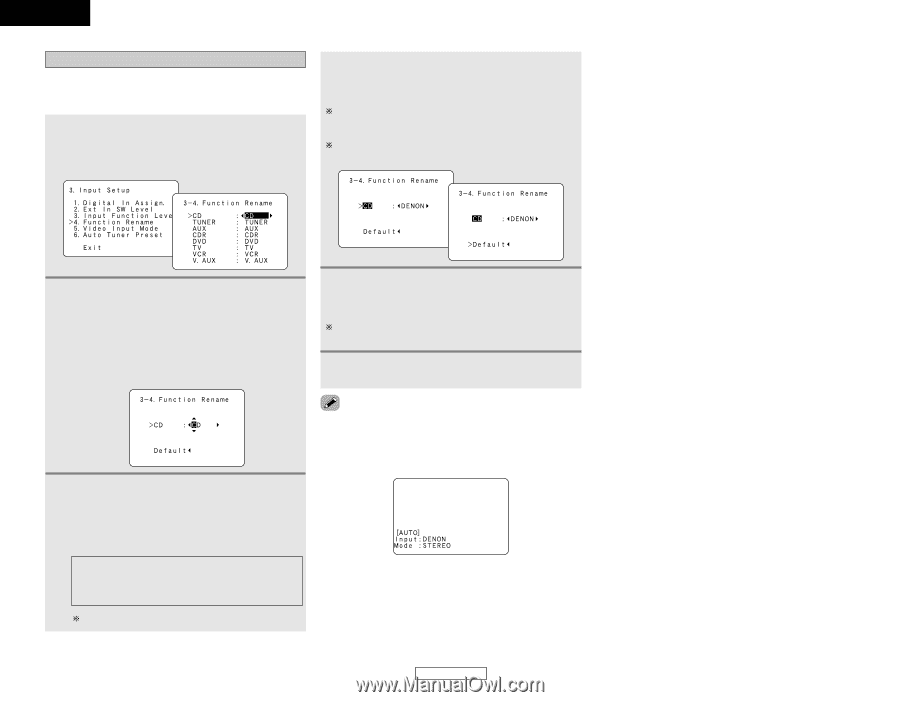
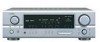
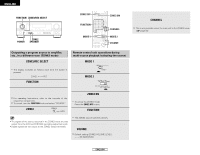
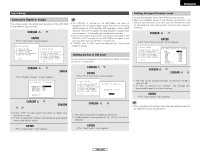
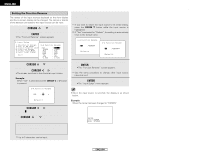
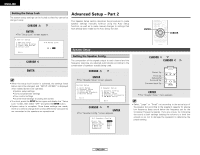
ENGLISH Advanced Setup - Part 1 Setting the Function Rename The names of the input sources displayed on the front display and the on-screen display can be changed. The names or brands of the devices connected to the input sources can be input. 1 Press the CURSOR D or H button to select "Function Rename" at the "Input Setup" menu, then press the ENTER button. • The "Function Rename" screen appears. 4 Repeat step 3 to complete input of the input source name. If you wish to return the input source to its initial setting, press the CURSOR H button while the input source is highlighted. If "Yes" is selected for "Default", the setting is automatically reset to the default name. 2 Press the CURSOR D or H button to select the input source whose name you want to change, then press the CURSOR F or G button. • The screen switches to the character input screen. Example: When "CD" is selected and the CURSOR F or G button is pressed 5 Once all the characters have been input, press the ENTER button. • The "Function Rename" screen appears. Use the same procedure to change other input source names as well. 6 Press the ENTER button to enter the setting. • The "Input Setup" menu appears. 3 Press the CURSOR F or G button to move the cursor ( 2 ) to the character, number, symbol or punctuation mark you wish to input, and press the CURSOR D or H button to select that character. ABCDEFGHIJKLMNOPQRSTUVWXY Z a b c d e f g h i j k l m n o p q r s t u v w x y z 0 1 2 3 4 5 6 7 8 9 space) Up to 5 characters can be input. • When the input source is selected, the display is as shown below. Example: When the name has been changed to "DENON" 41 ENGLISH Advanced Setup - Part 1
-
 1
1 -
2
-
3
-
4
-
5
-
6
-
7
-
8
-
9
-
10
-
11
-
12
-
13
-
14
-
15
-
16
-
17
-
18
-
19
-
20
-
21
-
22
-
23
-
24
-
25
-
26
-
27
-
28
-
29
-
30
-
31
-
32
-
33
-
34
-
35
-
36
-
37
-
38
-
 39
39 -
 40
40 -
 41
41 -
 42
42 -
 43
43 -
 44
44 -
 45
45 -
 46
46 -
 47
47 -
 48
48 -
 49
49 -
50
-
51
-
52
-
53
-
54
-
55
-
56
-
57
-
58
-
59
-
60
-
61
-
62
-
63
-
64
-
65
-
66
-
67
 |
 |