Denon AVR 1906 Owners Manual - Page 46
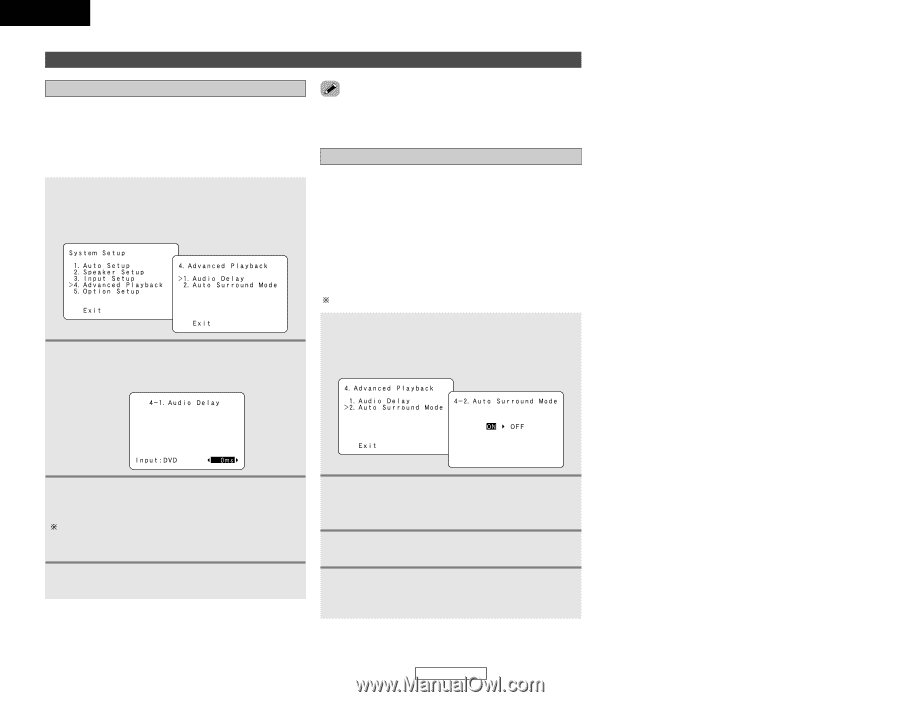
Setting the Audio Delay, Setting the Auto Surround Mode
 |
UPC - 081757506557
View all Denon AVR 1906 manuals
Add to My Manuals
Save this manual to your list of manuals |
Page 46 highlights
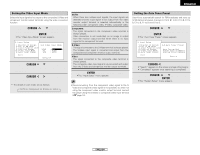
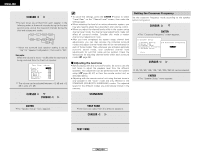
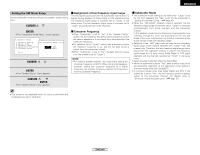
ENGLISH Advanced Setup - Part 1 Advanced playback Setting the Audio Delay • When watching a DVD or other video source, the picture on the monitor may seem delayed with respect to the sound. In this case, adjust the audio delay to delay the sound and synchronize it with the picture. • The audio delay setting is stored separately for each input source. 1 Press the CURSOR D or H button to select "Advanced Playback" at the "System Setup" menu, then press the ENTER button. • The "Advanced Playback" screen appears. • The audio delay setting does not apply when playing in the EXT. IN mode or in the analog input direct mode or stereo mode. Setting the Auto Surround Mode The surround mode used last for the three types of input signals shown below is stored in the memory, and the signal is automatically played with that surround mode the next time it is input. Note that the surround mode setting is also stored separately for the different input sources. q Analog and PCM 2-channel signals (STEREO) w 2-channel signals in the Dolby Digital, DTS or another multi- channel format (DOLBY PLIIx Cinema) e Multi-channel signals in the Dolby Digital, DTS or another multi-channel format (DOLBY/DTS SURROUND) Default settings are indicated in ( ). 2 Press the CURSOR D or H button to select "Audio Delay", then press the ENTER button. • The "Audio Delay" screen appears. 1 Press the CURSOR D or H button to select "Auto Surround Mode" at the "Advanced Playback" menu, then press the ENTER button. • The "Auto Surround Mode" screen appears. 3 Press the CURSOR F or G button to set the delay time (0 ms ~ 200 ms). With a movie source, for example, adjust so that the movement of the actors' lips is synchronized with the sound. 4 Press the ENTER button to enter the setting. • The "Advanced Playback" menu appears. 2 Press the CURSOR F or G button to select "ON" if you want to use the auto surround mode, or "OFF" if you do not want to use it. 3 Press the ENTER button to enter the setting. • The "Advanced Playback" menu appears. 4 Press the CURSOR D or H button to select "Exit", then press the ENTER button. • The "System Setup" menu appears. 43 ENGLISH Advanced Setup - Part 1
-
 1
1 -
2
-
3
-
4
-
5
-
6
-
7
-
8
-
9
-
10
-
11
-
12
-
13
-
14
-
15
-
16
-
17
-
18
-
19
-
20
-
21
-
22
-
23
-
24
-
25
-
26
-
27
-
28
-
29
-
30
-
31
-
32
-
33
-
34
-
35
-
36
-
37
-
38
-
39
-
40
-
 41
41 -
 42
42 -
 43
43 -
 44
44 -
 45
45 -
 46
46 -
 47
47 -
 48
48 -
 49
49 -
 50
50 -
 51
51 -
52
-
53
-
54
-
55
-
56
-
57
-
58
-
59
-
60
-
61
-
62
-
63
-
64
-
65
-
66
-
67
 |
 |