Denon AVR 1906 Owners Manual - Page 47
Setting the Muting Level, Setting the On-Screen Display OSD, Setting the Power Amp Assign.
 |
UPC - 081757506557
View all Denon AVR 1906 manuals
Add to My Manuals
Save this manual to your list of manuals |
Page 47 highlights
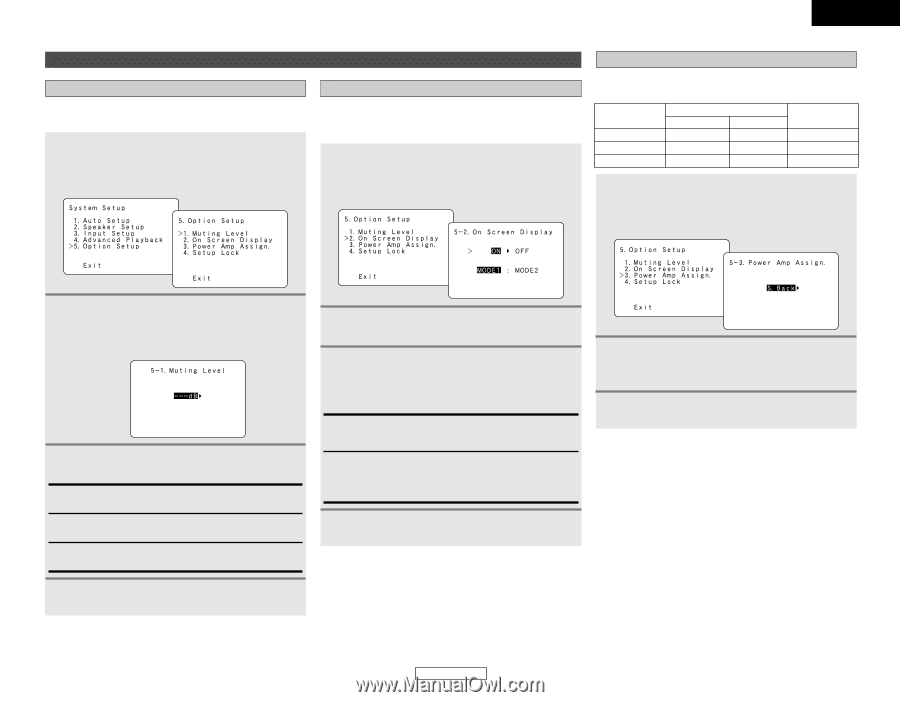
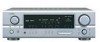
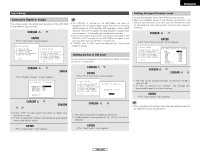
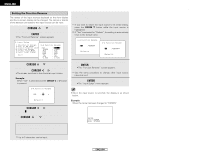
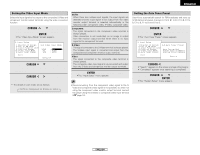
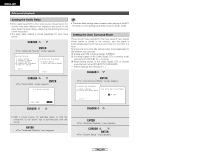
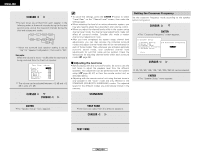
ENGLISH Advanced Setup - Part 1 Option Setup Setting the Muting Level This sets the amount of attenuation applied for audio output muting. 1 Press the CURSOR D or H button to select "Option Setup" at the "System Setup" menu, then press the ENTER button. • The "Option Setup" screen appears. Setting the On-Screen Display (OSD) • Use this to turn the on-screen display (messages other than the menu screens) "ON" or "OFF". • Sets the on-screen display mode. 1 Press the CURSOR D or H button to select "On Screen Display" at the "Option Setup" menu, then press the ENTER button. • The "On Screen Display" screen appears. Advanced Setup - Part 1 Setting the Power Amp Assign. Make this setting to switch the power amplifier for the surround back channel to ZONE2 or Bi-Amp. Power Amp Assign. Surround back ZONE2 Bi-Amp SPEAKER OUT MAIN ZONE ZONE2 7.1ch system - 5.1ch system 2ch system 5.1ch system - PRE-OUT S.BACK/ZONE Surround back ZONE2 - 1 Press the CURSOR D or H button to select "Power Amp Assign." at the "Option Setup" menu, then press the ENTER button. • The "Power Amp Assign." screen appears. 2 Press the CURSOR D or H button to select "Muting Level" at the "Option Setup" menu, then press the ENTER button. • The "Muting Level" screen appears. 3 Press the CURSOR F or G button to select the desired setting. -20 dB: Attenuation of the volume by -20 dB from the present level. -40 dB: Attenuation of the volume by -40 dB from the present level. - - - dB: The volume level is completely muted. 2 Press the CURSOR F or G button to select "ON" or "OFF". 3 Press the CURSOR D or H button to select the on-screen display mode, then press the CURSOR F or G button to select "MODE1" or "MODE2". MODE1: Prevents flickering of the on-screen display when there is no video signal. MODE2: Flickering is not prevented. Use this mode if the on-screen display does not appear in MODE1, which may happen depending on the TV being used. 4 Press the ENTER button to enter the setting. • The "Option Setup" menu appears. 2 Press the CURSOR F or G button to select the Amp Assign mode according to the speaker system you want to set up. 3 Press the ENTER button to enter the setting. • The "Option Setup" menu appears. 4 Press the ENTER button to enter the setting. • The "Option Setup" menu appears. 44 ENGLISH
-
 1
1 -
2
-
3
-
4
-
5
-
6
-
7
-
8
-
9
-
10
-
11
-
12
-
13
-
14
-
15
-
16
-
17
-
18
-
19
-
20
-
21
-
22
-
23
-
24
-
25
-
26
-
27
-
28
-
29
-
30
-
31
-
32
-
33
-
34
-
35
-
36
-
37
-
38
-
39
-
40
-
41
-
 42
42 -
 43
43 -
 44
44 -
 45
45 -
 46
46 -
 47
47 -
 48
48 -
 49
49 -
 50
50 -
 51
51 -
 52
52 -
53
-
54
-
55
-
56
-
57
-
58
-
59
-
60
-
61
-
62
-
63
-
64
-
65
-
66
-
67
 |
 |