Gateway MX6750h 8511340 - Gateway Notebook Hardware Reference - Page 34
Inserting a CD or DVD
 |
View all Gateway MX6750h manuals
Add to My Manuals
Save this manual to your list of manuals |
Page 34 highlights
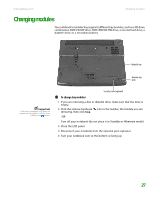
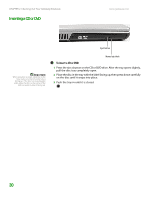
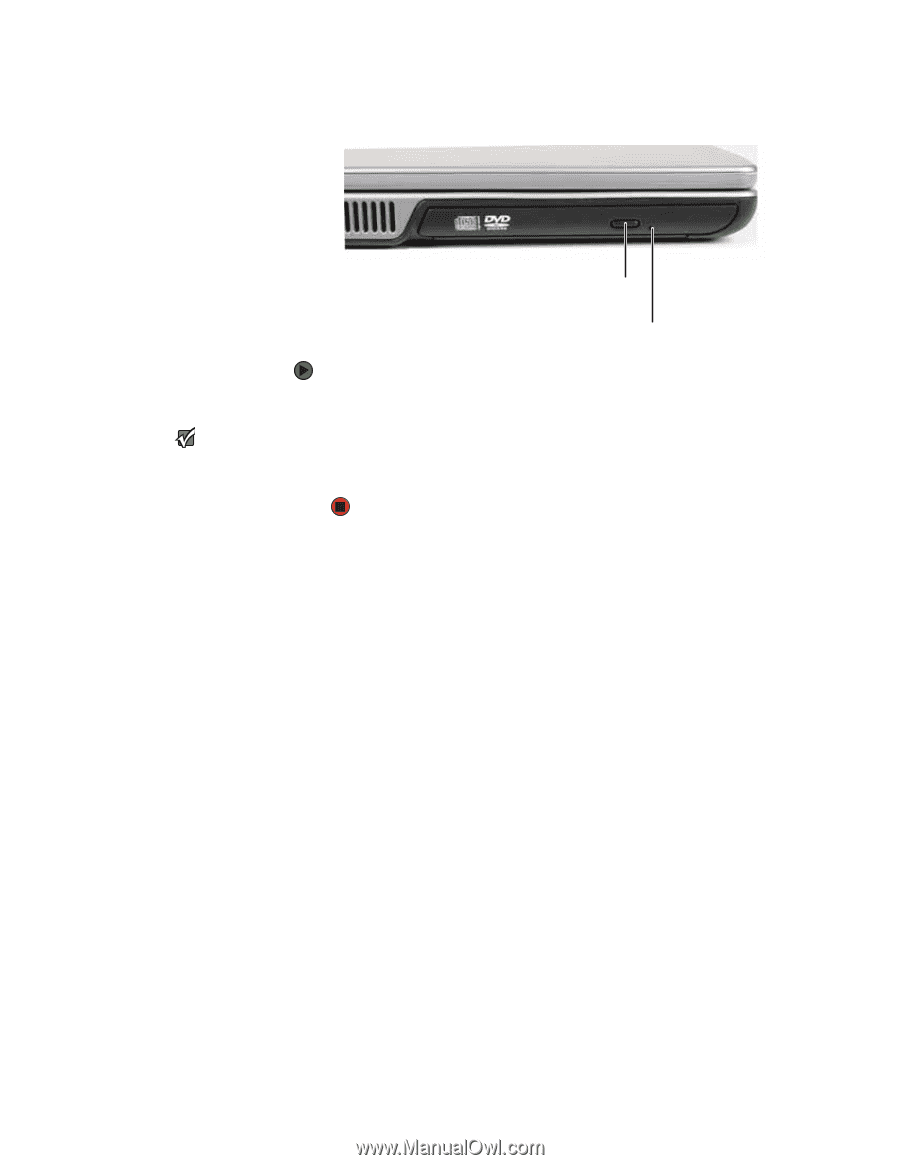
CHAPTER 2: Checking Out Your Gateway Notebook Inserting a CD or DVD [ www.gateway.com Important When you place a single-sided disc in the tray, make sure that the label side is facing up. If the disc has two playable sides, place the disc so the name of the side you want to play is facing up. Eject button Manual eject hole To insert a CD or DVD: 1 Press the eject button on the CD or DVD drive. After the tray opens slightly, pull the disc tray completely open. 2 Place the disc in the tray with the label facing up, then press down carefully on the disc until it snaps into place. 3 Push the tray in until it is closed. 30
-
 1
1 -
2
-
3
-
4
-
5
-
6
-
7
-
8
-
9
-
10
-
11
-
12
-
13
-
14
-
15
-
16
-
17
-
18
-
19
-
20
-
21
-
22
-
23
-
24
-
25
-
26
-
27
-
28
-
 29
29 -
 30
30 -
 31
31 -
 32
32 -
 33
33 -
 34
34 -
 35
35 -
 36
36 -
 37
37 -
 38
38 -
 39
39 -
40
-
41
-
42
-
43
-
44
-
45
-
46
-
47
-
48
-
49
-
50
-
51
-
52
-
53
-
54
-
55
-
56
-
57
-
58
-
59
-
60
-
61
-
62
-
63
-
64
-
65
-
66
-
67
-
68
-
69
-
70
-
71
-
72
 |
 |
CHAPTER 2: Checking Out Your Gateway Notebook
www.gateway.com
30
Inserting a CD or DVD
[
To insert a CD or DVD:
1
Press the eject button on the CD or DVD drive. After the tray opens slightly,
pull the disc tray completely open.
Important
When you place a single-sided disc in the
tray, make sure that the label side is
facing up. If the disc has two playable
sides, place the disc so the name of the
side you want to play is facing up.
2
Place the disc in the tray with the label facing up, then press down carefully
on the disc until it snaps into place.
3
Push the tray in until it is closed.
Eject button
Manual eject hole