HP Deskjet 1000c HP DeskJet 1000C Professional Series Printer - (English) User - Page 30
When The Ink Nozzles Are, Clogged, Testing The Printer
 |
View all HP Deskjet 1000c manuals
Add to My Manuals
Save this manual to your list of manuals |
Page 30 highlights
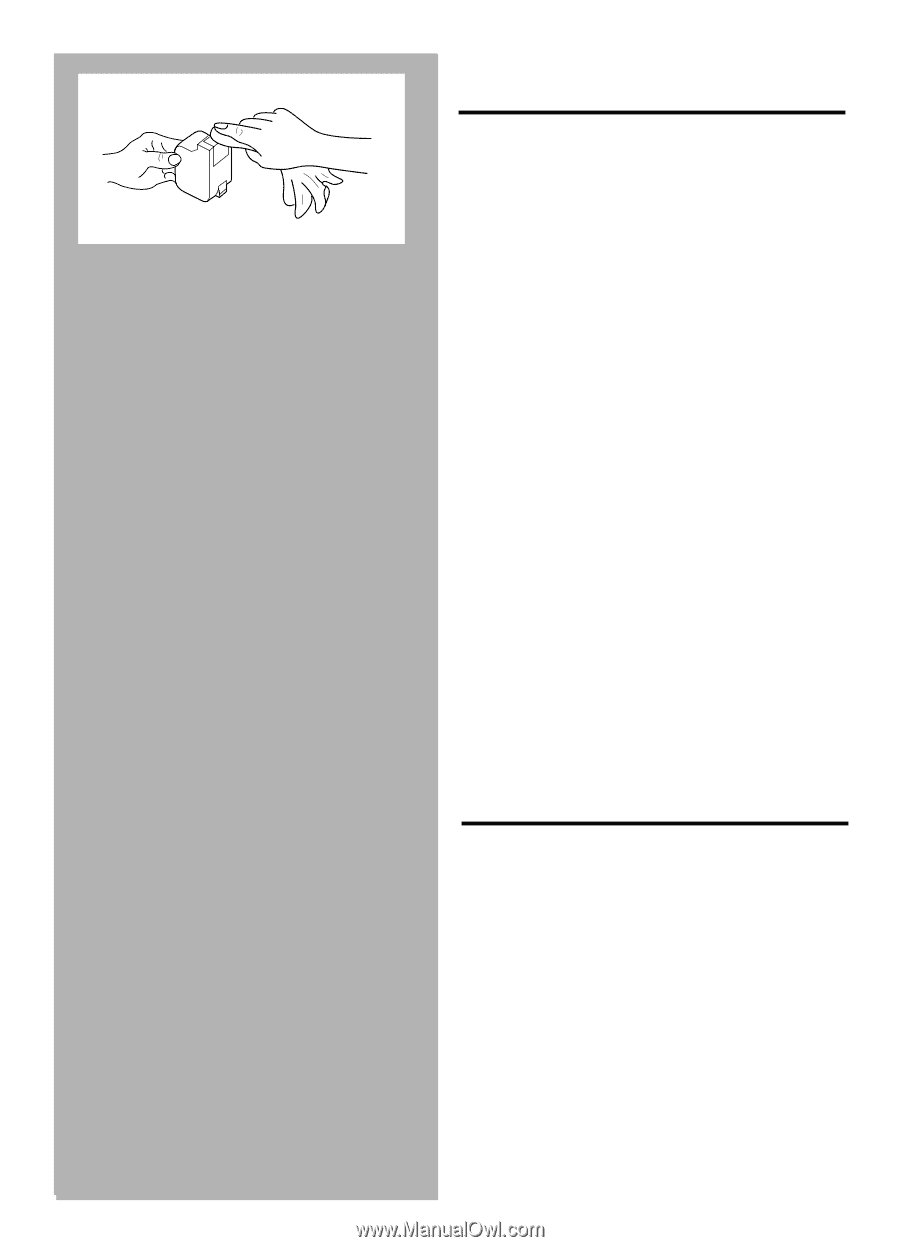
3-8 Solving Problems WHEN THE INK NOZZLES ARE CLOGGED Prolonged exposure to air may cause ink crust to form on the ink nozzles of the print cartridges. You can use the following steps to remove the ink crust from the cartridges: Note: Be careful when clearing the ink crust from the cartridges, the ink may stain your hands or clothing. 1. Hold the print cartridge with the ink nozzles facing upwards. 2. Use a water-damp cloth, gently and slowly wipe the dry ink off the print cartridge nozzles. 3. Repeat the above step, using a clean portion of the damp cloth to wipe the residual ink off the print cartridge nozzles. 4. Clean the contacts on the print cartridge cradle with a lint free cloth. 5. Re-install the print cartridge. 6. Run the Clean Print Cartridge Utility. Double click on the toolbox icon in the program group in Windows 3.1 or on the desktop in Windows 95. Click the Maintenance tab, and select Clean the print cartridges. 7. Proceed to print your document or print a test page. TESTING THE PRINTER To make sure that the printer is working properly, perform the printer self-test. 1. Load in letter-size or A4 paper. 2. Press the Power button to turn on the printer. 3. Press and hold the Power button. 4. Press the Resume button four times. 5. A page with a square at each corner and some lines are printed.
-
 1
1 -
2
-
3
-
4
-
5
-
6
-
7
-
8
-
9
-
10
-
11
-
12
-
13
-
14
-
15
-
16
-
17
-
18
-
19
-
20
-
21
-
22
-
23
-
24
-
 25
25 -
 26
26 -
 27
27 -
 28
28 -
 29
29 -
 30
30 -
 31
31 -
 32
32 -
 33
33 -
 34
34 -
 35
35 -
36
-
37
-
38
-
39
-
40
 |
 |