Kenmore 9787 Use and Care Guide - Page 16
Kenmore 9787 - Elite HE3 7.0 cu. Ft. Gas Dryer Manual
 |
View all Kenmore 9787 manuals
Add to My Manuals
Save this manual to your list of manuals |
Page 16 highlights
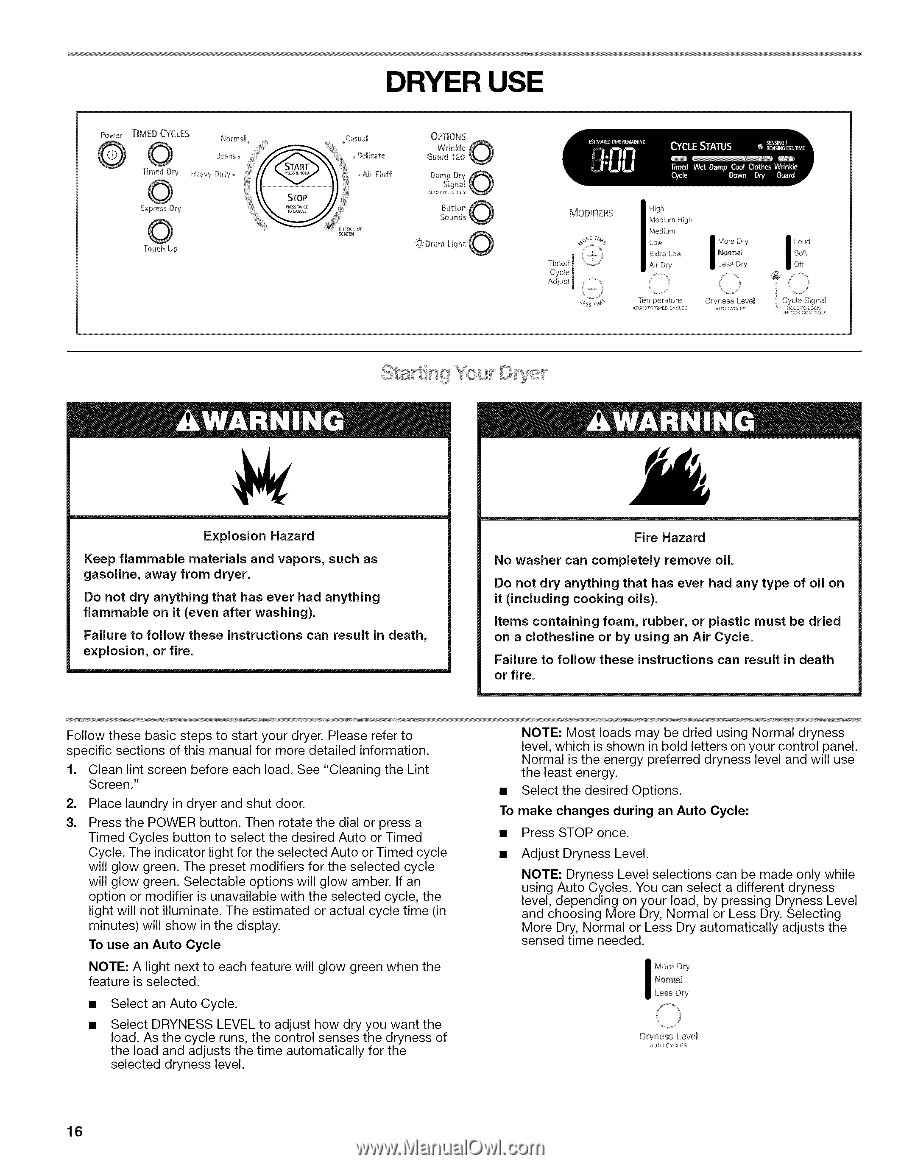
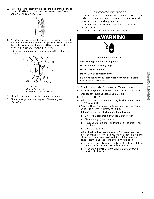
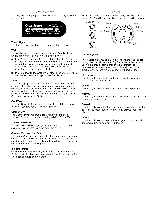
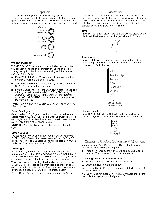
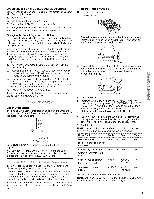
DRYER USE Power TIMED CYCLES O © Norm_L ...4_!ii _¸¸ _i/_ /;_sc_l OPTIONS Express Dry 0 i=ii' ]_}Drum Light 0 MODIFIERS Touch Up I Ad}L Loud Ol_ Cycle St [_mperatur(! D yness L/_vel @ Cycle Sig_ al ",:_":'__ V Yi')I.I [}'s eF Explosion Hazard Keep flammable materials and vapors_ such as gasoline, away from dryer. Do not dry anything that has ever had anything flammable on it (even after washing). Failure to follow these instructions explosion, or fire. can result in death_ No washer Fire Hazard can completely remove oil. Do not dry anything that has ever had any type of oil on it (including cooking oils). items containing foam, rubber, or plastic must be dried on a clothesline or by using an Air Cycle. Failure to follow or fire. these instructions can result in death Follow these basic steps to start your dryer. Please refer to specific sections of this manual for more detailed information. 1. 2. 3. Clean lint screen before each load. See "Cleaning the Lint Screen." Place laundry in dryer and shut door. Press the POWER button. Then rotate the dial or press a Timed Cycles button to select the desired Auto or Timed Cycle. The indicator light for the selected Auto or Timed cycle will glow green. The preset modifiers for the selected cycle will glow green. Selectable options will glow amber. If an option or modifier is unavailable with the selected cycle, the light will not illuminate. The estimated or actual cycle time (in minutes) will show in the display. To use an Auto Cycle NOTE: A light next to each feature will glow green when the feature is selected. Select an Auto Cycle. Select DRYNESS LEVEL to adjust how dry you want the load. As the cycle runs, the control senses the dryness of the load and adjusts the time automatically for the selected dryness level. • • NOTE: Most loads may be dried using Normal dryness level, which is shown in bold letters on your control panel. Normal is the energy preferred dryness level and will use the least energy. Select the desired Options. Press STOP once. Adjust Dryness Level. NOTE: Dryness Level selections can be made only while using Auto Cycles. You can select a different dryness level, depending on your load, by pressing Dryness Level and choosing More Dry, Normal or Less Dry. Selecting More Dry, Normal or Less Dry automatically adjusts the sensed time needed. To make changes during an Auto Cycle: Nort#al I More Dry Less Dry Dryness level su!o wx is 16
-
 1
1 -
2
-
3
-
4
-
5
-
6
-
7
-
8
-
9
-
10
-
 11
11 -
 12
12 -
 13
13 -
 14
14 -
 15
15 -
 16
16 -
 17
17 -
 18
18 -
 19
19 -
 20
20 -
 21
21 -
22
-
23
-
24
-
25
-
26
-
27
-
28
-
29
-
30
-
31
-
32
-
33
-
34
-
35
-
36
-
37
-
38
-
39
-
40
-
41
-
42
-
43
-
44
-
45
-
46
-
47
-
48
-
49
-
50
-
51
-
52
 |
 |