Lexmark 2470m User's Guide - Page 31
Using a PictBridge-enabled digital camera to control printing photos, Customizing photos
 |
UPC - 734646077842
View all Lexmark 2470m manuals
Add to My Manuals
Save this manual to your list of manuals |
Page 31 highlights
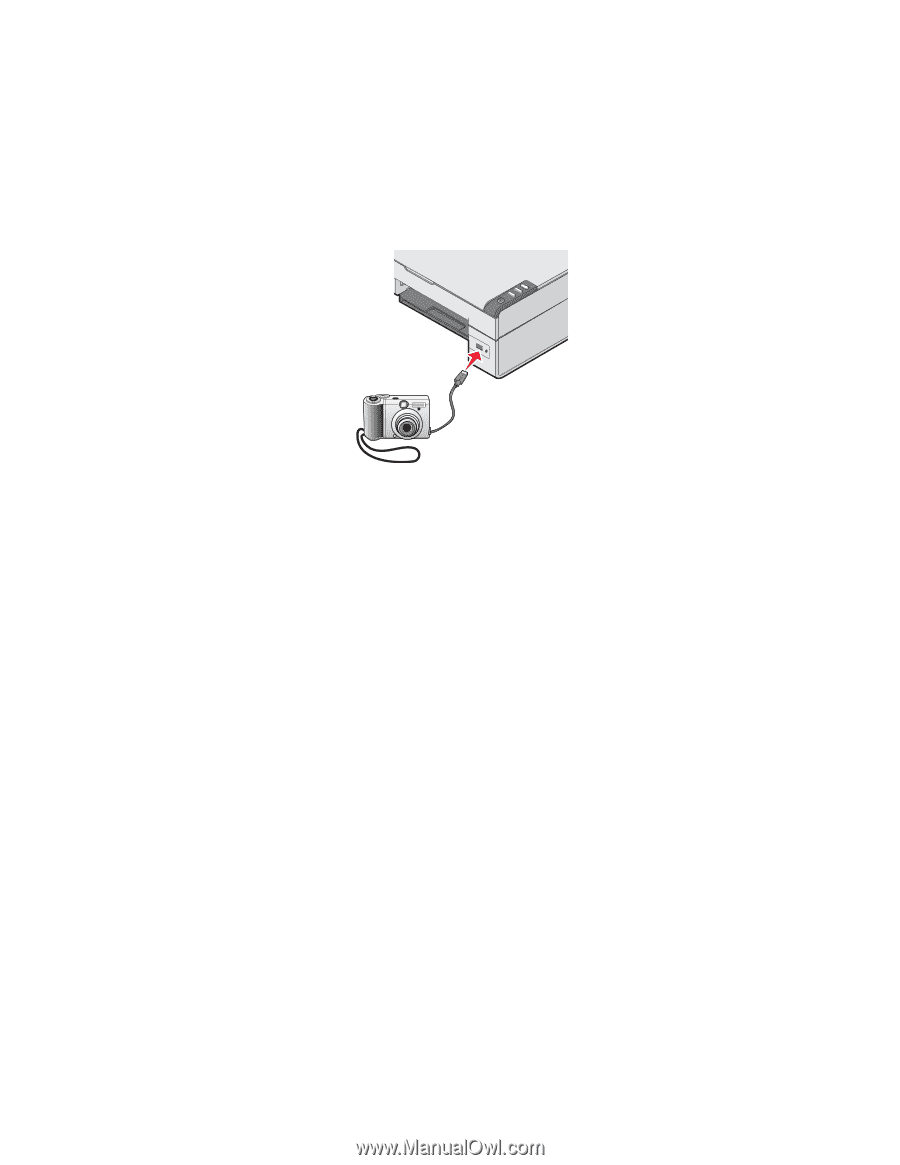
Using a PictBridge-enabled digital camera to control printing photos Connect a PictBridge-enabled digital camera to the printer, and use the buttons on the camera to select and print photos. 1 Insert one end of the USB cable into the camera. Note: Use only the USB cable that came with the digital camera. 2 Insert the other end of the cable into the PictBridge port on the front of the printer. Note: Make sure the PictBridge-enabled digital camera is set to the correct USB mode. For more information, see the camera documentation. 3 Follow the instructions in the camera documentation to select and print photos. Note: If the printer is turned off while the camera is connected, you must disconnect and reconnect the camera. Customizing photos Note: For advanced photo-editing options, see "Using the Photo Editor" on page 18. Creating and printing a scrapbook or album page 1 Load paper. 2 From the desktop, double-click the Imaging Studio icon. 3 Click Browse & Print Photos. 4 Click Show Folders. 5 Select the folder where the photos are stored. 6 Click Hide Folders. 7 From the Creative Tasks area, click Print an album page with various photo sizes. 8 Select a paper size. 9 Select a page layout. For more options: a Click Change the category of layouts listed above. b Select a layout category. 31
-
 1
1 -
2
-
3
-
4
-
5
-
6
-
7
-
8
-
9
-
10
-
11
-
12
-
13
-
14
-
15
-
16
-
17
-
18
-
19
-
20
-
21
-
22
-
23
-
24
-
25
-
 26
26 -
 27
27 -
 28
28 -
 29
29 -
 30
30 -
 31
31 -
 32
32 -
 33
33 -
 34
34 -
 35
35 -
 36
36 -
37
-
38
-
39
-
40
-
41
-
42
-
43
-
44
-
45
-
46
-
47
-
48
-
49
-
50
-
51
-
52
-
53
-
54
-
55
-
56
-
57
-
58
-
59
-
60
-
61
-
62
-
63
-
64
-
65
-
66
-
67
-
68
-
69
-
70
 |
 |