Lexmark Interact S608 SmartSolutions User's Guide - Page 7
Lexmark Interact S608 Manual
 |
View all Lexmark Interact S608 manuals
Add to My Manuals
Save this manual to your list of manuals |
Page 7 highlights
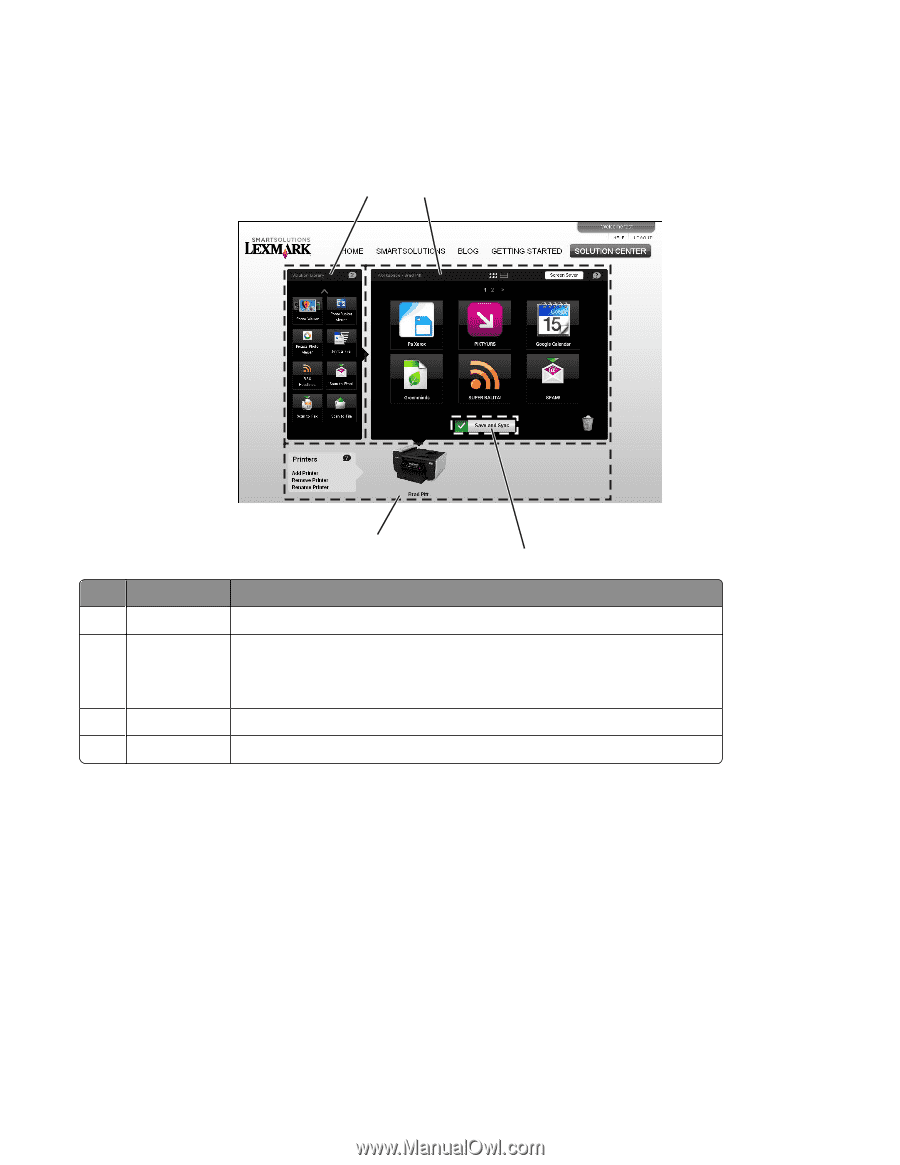
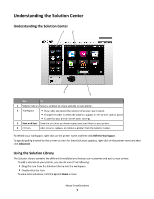
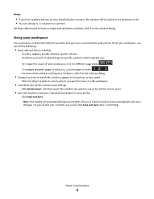
Understanding the Solution Center Understanding the Solution Center 1 2 4 3 Use 1 2 To Solution Library Select a solution to create and add to your printer. Workspace • View, edit, and delete the solutions that you have created. • Change the order in which the solutions appear on the printer control panel. • Customize your printer screen saver settings. Save the solutions you have created and send them to your printer. Add, rename, replace, or remove a printer from the Solution Center. 3 4 Save and Sync Printers To refresh your workspace, right-click on the printer name and then click Refresh Workspace. To specify polling interval for the printer to check for SmartSolutions updates, right-click on the printer name and then click Advanced. Using the Solution Library The Solution Library contains the different SmartSolutions that you can customize and add to your printer. To add a solution to your printer, you can do one of the following: • Drag the icon from the Solution Library into the workspace. • Double-click the icon. To view more solutions, click the up and down arrows. About SmartSolutions 7
-
 1
1 -
 2
2 -
 3
3 -
 4
4 -
 5
5 -
 6
6 -
 7
7 -
 8
8 -
 9
9 -
 10
10 -
 11
11 -
 12
12 -
13
-
14
-
15
-
16
-
17
-
18
-
19
-
20
-
21
-
22
-
23
-
24
-
25
-
26
-
27
-
28
-
29
-
30
-
31
-
32
-
33
-
34
-
35
-
36
-
37
-
38
-
39
-
40
-
41
-
42
 |
 |