Lexmark T630n Setup Guide - Page 20
Warning, Set up the printer and print media handling options, snaps
 |
UPC - 734646532211
View all Lexmark T630n manuals
Add to My Manuals
Save this manual to your list of manuals |
Page 20 highlights
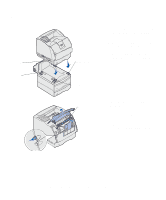
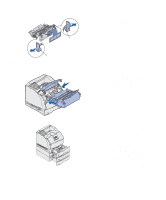
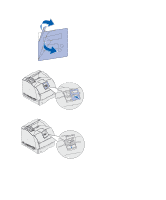
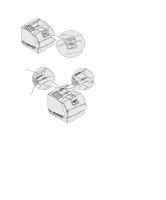
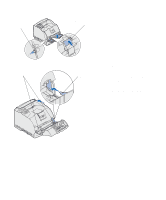
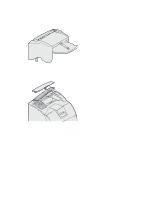
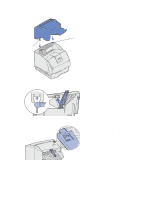
Tab Tab Warning: Do not touch the photoconductor drum on the underside of the print cartridge. c Pull on the tabs on each side of the red plastic to remove the packaging from the print cartridge. Retain the packaging. d Align the slides on the cartridge with the slots on the cartridge cradle. Use the colored arrows inside the printer for placement. e Guide the cartridge down as it drops and snaps into place. f Close the upper front door. 1 1 2 3 2 3 3 Attach decals to the trays. Decals showing the number "1" are on your printer and the standard tray. These decals keep the standard tray paired with the printer. Use the decals shipped with any optional drawer to mark it appropriately. Peel the decals from the sheet and attach them to the recessed areas on the optional drawers and the matching trays. Set up the printer and print media handling options 15
-
 1
1 -
2
-
3
-
4
-
5
-
6
-
7
-
8
-
9
-
10
-
11
-
12
-
13
-
14
-
 15
15 -
 16
16 -
 17
17 -
 18
18 -
 19
19 -
 20
20 -
 21
21 -
 22
22 -
 23
23 -
 24
24 -
 25
25 -
26
-
27
-
28
-
29
-
30
-
31
-
32
-
33
-
34
-
35
-
36
-
37
-
38
-
39
-
40
-
41
-
42
-
43
-
44
-
45
-
46
-
47
-
48
-
49
-
50
-
51
-
52
-
53
-
54
-
55
-
56
-
57
-
58
-
59
-
60
-
61
-
62
-
63
-
64
-
65
-
66
-
67
 |
 |
