Lexmark Z53 User's Guide for Windows 95 and Windows 98 (1.9 MB) - Page 20
Step Three: Print your booklet
 |
View all Lexmark Z53 manuals
Add to My Manuals
Save this manual to your list of manuals |
Page 20 highlights
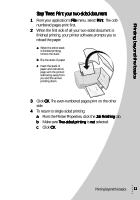
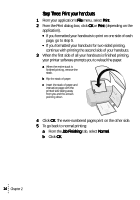
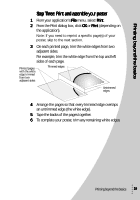
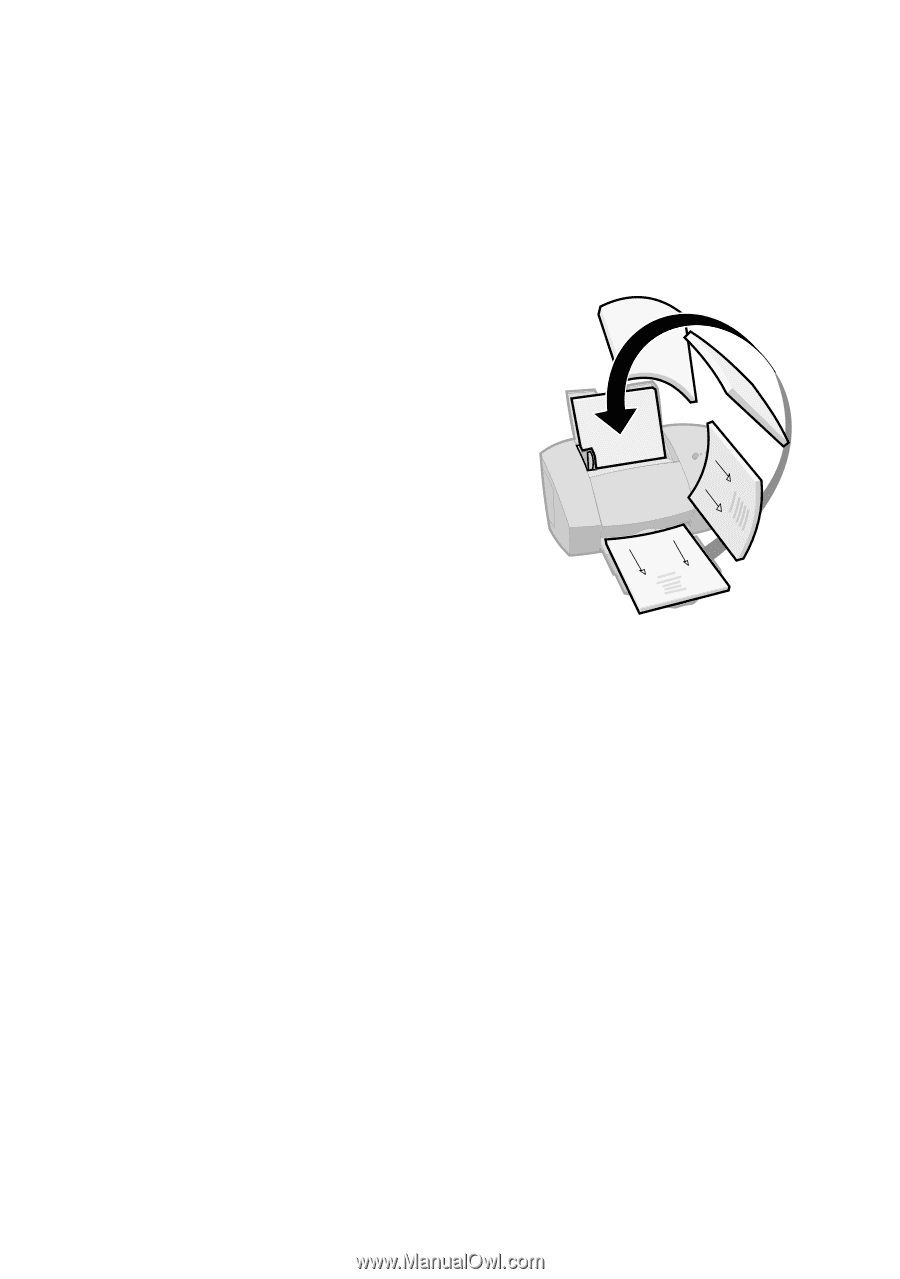
Step Three: Print your booklet 1 From your application's File menu, select Print. 2 From the Print dialog box, click OK or Print (depending on the application). 3 When the first side of your booklet is finished printing, your printer software prompts you to reload the paper. a When the entire stack is finished printing, remove the stack. b Flip the stack of paper. c Insert the stack of paper and instruction page with the printed side facing away from you and the arrows pointing down. 4 Click OK. The even-numbered pages print on the other side. 5 To go back to normal printing: a From the Job Finishing tab, select Normal. b Click OK. 6 Assemble your booklet. For help, see page 17. 16 Chapter 2
-
 1
1 -
2
-
3
-
4
-
5
-
6
-
7
-
8
-
9
-
10
-
11
-
12
-
13
-
14
-
 15
15 -
 16
16 -
 17
17 -
 18
18 -
 19
19 -
 20
20 -
 21
21 -
 22
22 -
 23
23 -
 24
24 -
 25
25 -
26
-
27
-
28
-
29
-
30
-
31
-
32
-
33
-
34
-
35
-
36
-
37
-
38
-
39
-
40
-
41
-
42
-
43
-
44
-
45
-
46
 |
 |
•
•
•
•
•
Chapter 2
16
16
16
16
Step Three: Print your booklet
Step Three: Print your booklet
Step Three: Print your booklet
Step Three: Print your booklet
1
From your application’s File
File
File
File menu, select Print
Print
Print
Print.
2
From the Print dialog box, click OK
OK
OK
OK or Print
Print
Print
Print (depending on the
application).
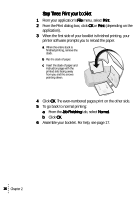
3
When the first side of your booklet is finished printing, your
printer software prompts you to reload the paper.
4
Click OK
OK
OK
OK. The even-numbered pages print on the other side.
5
To go back to normal printing:
a
From the Job Finishing
Job Finishing
Job Finishing
Job Finishing tab, select Normal
Normal
Normal
Normal.
b
Click OK
OK
OK
OK.
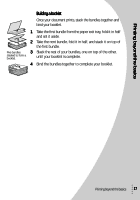
6
Assemble your booklet. For help, see page 17.
a
When the entire stack is
finished printing, remove the
stack.
b
Flip the stack of paper.
c
Insert the stack of paper and
instruction page with the
printed side facing away
from you and the arrows
pointing down.