Nikon COOLPIX L110  L110 User's Manual - Page 42
Lowering the Built-in Flash, Shooting When Lighting Is Poor and the Flash Is Disabled - battery low
 |
View all Nikon COOLPIX L110 manuals
Add to My Manuals
Save this manual to your list of manuals |
Page 42 highlights
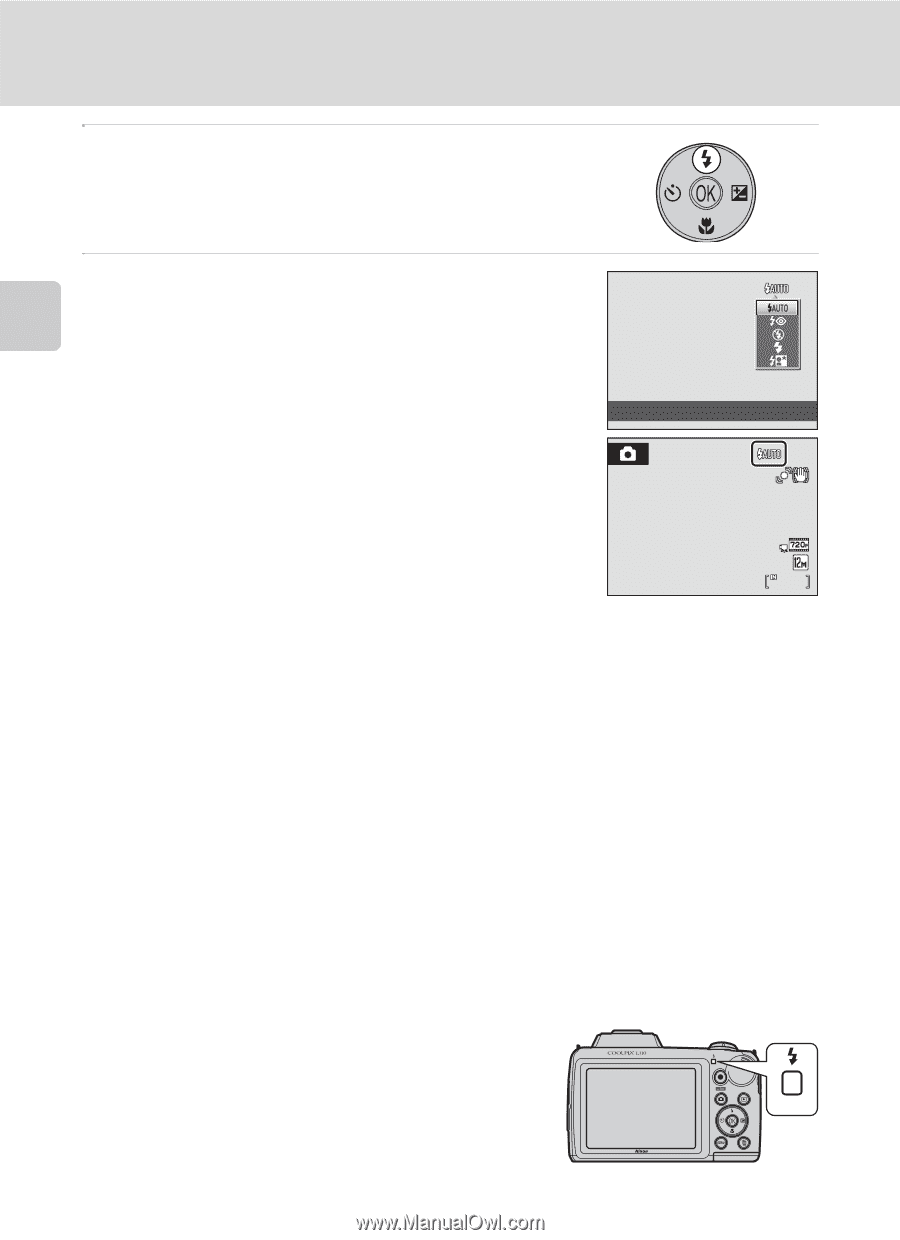
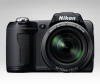
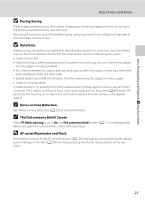
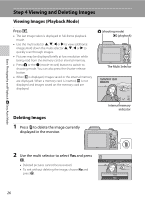
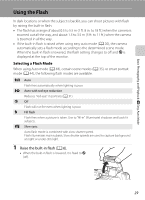
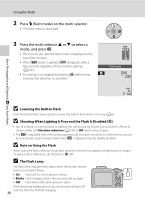
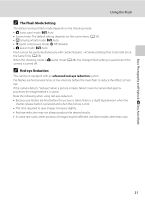
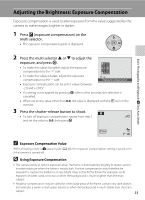
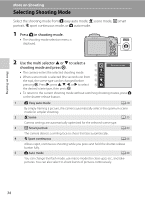
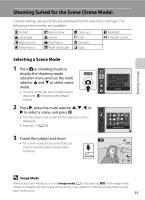
Using the Flash 2 Press m (flash mode) on the multi selector. • The flash menu is displayed. 3 Press the multi selector H or I to select a mode, and press k. • The icon for the selected flash mode is displayed at the top of the monitor. • When U (auto) is applied, D disappears after a few seconds regardless of the monitor settings (A 101). • If a setting is not applied by pressing k within a few seconds, the selection is cancelled. Flash mode Basic Photography and Playback: G Easy Auto Mode 14 B Lowering the Built-in Flash Push the built-in flash down gently to lower the built-in flash when not in use (A 6). B Shooting When Lighting Is Poor and the Flash Is Disabled (W) • Use of a tripod is recommended to stabilize the camera during shooting and avoid the effects of camera shake. Set Vibration reduction (A 104) to Off when using a tripod. • The E is displayed when the camera automatically increases sensitivity to minimize blur caused by slow shutter speed. Images taken when E is displayed may be slightly mottled. B Note on Using the Flash When using the flash, reflections from dust particles in the air may appear as bright spots in images. To reduce these reflections, set the flash to W (off). C The Flash Lamp The flash lamp indicates flash status when the shutter-release button is pressed halfway. • On: Flash will fire when picture is taken. • Blinks: Flash charging. Wait a few seconds and try again. • Off: Flash will not fire when picture is taken. If the remaining battery level is low, the monitor will turn off until the flash has finished charging. 30
-
 1
1 -
2
-
3
-
4
-
5
-
6
-
7
-
8
-
9
-
10
-
11
-
12
-
13
-
14
-
15
-
16
-
17
-
18
-
19
-
20
-
21
-
22
-
23
-
24
-
25
-
26
-
27
-
28
-
29
-
30
-
31
-
32
-
33
-
34
-
35
-
36
-
 37
37 -
 38
38 -
 39
39 -
 40
40 -
 41
41 -
 42
42 -
 43
43 -
 44
44 -
 45
45 -
 46
46 -
 47
47 -
48
-
49
-
50
-
51
-
52
-
53
-
54
-
55
-
56
-
57
-
58
-
59
-
60
-
61
-
62
-
63
-
64
-
65
-
66
-
67
-
68
-
69
-
70
-
71
-
72
-
73
-
74
-
75
-
76
-
77
-
78
-
79
-
80
-
81
-
82
-
83
-
84
-
85
-
86
-
87
-
88
-
89
-
90
-
91
-
92
-
93
-
94
-
95
-
96
-
97
-
98
-
99
-
100
-
101
-
102
-
103
-
104
-
105
-
106
-
107
-
108
-
109
-
110
-
111
-
112
-
113
-
114
-
115
-
116
-
117
-
118
-
119
-
120
-
121
-
122
-
123
-
124
-
125
-
126
-
127
-
128
-
129
-
130
-
131
-
132
-
133
-
134
-
135
-
136
-
137
-
138
-
139
-
140
-
141
-
142
-
143
-
144
-
145
-
146
-
147
-
148
-
149
-
150
-
151
-
152
-
153
-
154
-
155
-
156
 |
 |