Nokia 770 Internet Tablet OS 2005 Edition in English - Page 23
Access the Internet, Create a new WLAN connection - manual
 |
UPC - 758478007044
View all Nokia 770 manuals
Add to My Manuals
Save this manual to your list of manuals |
Page 23 highlights
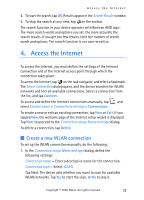
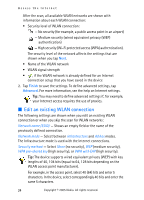
Access the Internet 4. To start the search, tap OK. Results appear in the Search Results window. 5. To stop the search at any time, tap on the toolbar. The search function in your device operates with Boolean AND logic. The more search words and options you set, the more accurate the search results. If you get too few results, limit the number of search words and options. The search function is not case-sensitive. 4. Access the Internet To access the Internet, you must define the settings of the Internet connection and of the Internet access point through which the connection takes place. To access the Internet, tap on the task navigator, and select a bookmark. The Select connection dialog opens, and the device searches for WLAN networks and lists all available connections. Select a connection from the list, and tap Connect. To access and define the Internet connections manually, tap , and select Control panel > Connectivity settings > Connections. To create a new or edit an existing connection, tap New or Edit. If you tapped New, the welcome page of the Internet setup wizard is displayed. Tap Next to proceed to the Connection setup: Name and type dialog. To delete a connection, tap Delete. ■ Create a new WLAN connection To set up the WLAN connection manually, do the following: 1. In the Connection setup: Name and type dialog, define the following settings: Connection name - Enter a descriptive name for the connection. Connection type - Select WLAN. Tap Next. The device asks whether you want to scan for available WLAN networks. Tap Yes to start the scan, or No to skip it. Copyright © 2005 Nokia. All rights reserved. 23
-
 1
1 -
2
-
3
-
4
-
5
-
6
-
7
-
8
-
9
-
10
-
11
-
12
-
13
-
14
-
15
-
16
-
17
-
 18
18 -
 19
19 -
 20
20 -
 21
21 -
 22
22 -
 23
23 -
 24
24 -
 25
25 -
 26
26 -
 27
27 -
 28
28 -
29
-
30
-
31
-
32
-
33
-
34
-
35
-
36
-
37
-
38
-
39
-
40
-
41
-
42
-
43
-
44
-
45
-
46
-
47
-
48
 |
 |