Samsung SMX-F34SN User Manual (user Manual) (ver.1.0) (English) - Page 110
Viewing On Tv Screen
 |
View all Samsung SMX-F34SN manuals
Add to My Manuals
Save this manual to your list of manuals |
Page 110 highlights
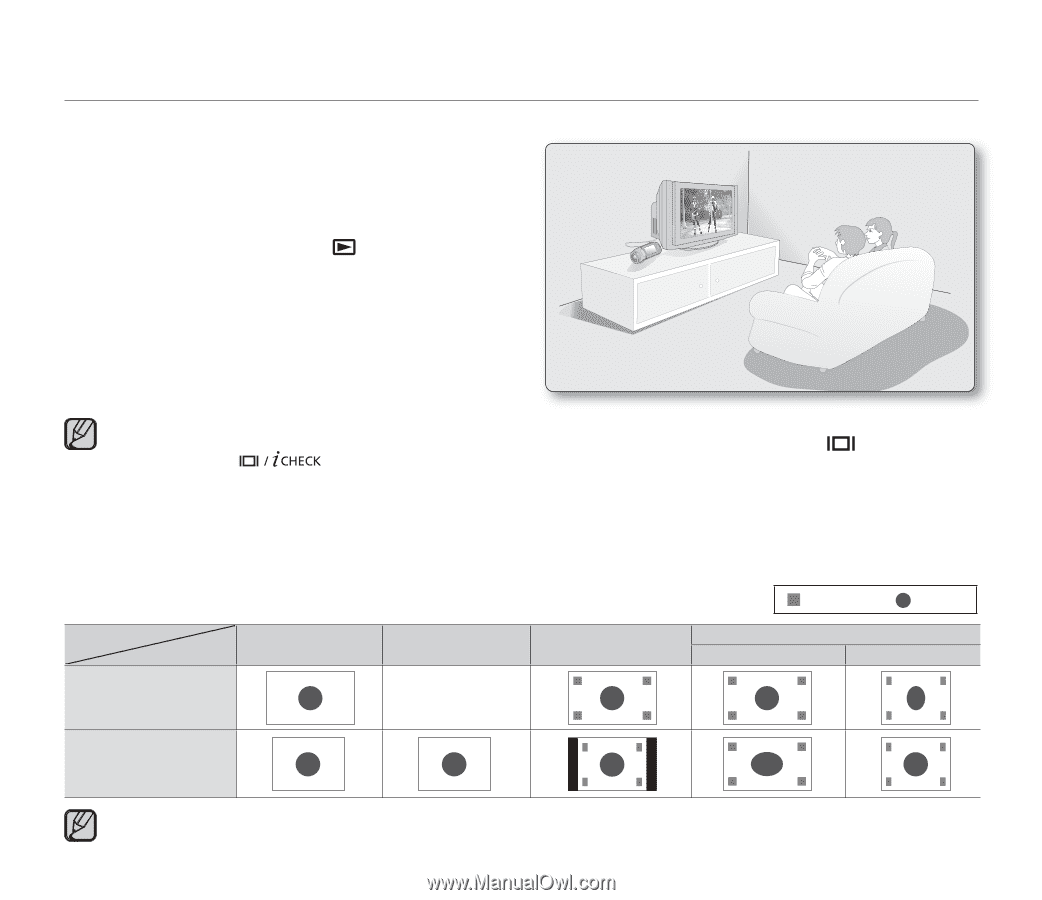
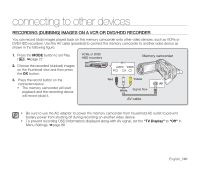
VIEWING ON TV SCREEN 1. Turn on the TV and set the input selector to the Input connection the memory camcorder is connected to. • This is often referred to as "line". Refer to the TV instruction manual for how to switch the TV input. 2. Turn the memory camcorder on. • Slide the POWER switch downward and press the MODE button to set Play ( ). ➥ page 22 • The image that the memory camcorder is viewing will appear on the TV screen. • You can also monitor the image on the LCD screen of the memory camcorder. 3. Perform playback. • You can perform playback, recording or setting the menu while viewing on TV screen. • Information that the memory camcorder is recording will appear on the TV screen: You can also display only part of information or switch off the display. Refer to "TURNING THE SCREEN INDICATORS ON/OFF ( )" on page 30, and press the button to switch the display status. • When "TV Display" is set to "Off ", OSD (On-Screen-Display) does not appear on the TV screen. ➥page 88 • Howling may occur when the memory camcorder is too close to the other devices or the volume is high. Keep the memory camcorder a reasonable distance away from the other connected devices. • When the AV cable is connected to the memory camcorder, the built-in speaker will automatically turn off and you can not adjust the volume bar. Image display depending on LCD and TV screen ratio Record Photo LCD 16:9 (Movie images only) - Icon TV 16:9 Subject 4:3 4:3 Refer to page 66 for "16:9 Wide" setting. English_100
-
 1
1 -
2
-
3
-
4
-
5
-
6
-
7
-
8
-
9
-
10
-
11
-
12
-
13
-
14
-
15
-
16
-
17
-
18
-
19
-
20
-
21
-
22
-
23
-
24
-
25
-
26
-
27
-
28
-
29
-
30
-
31
-
32
-
33
-
34
-
35
-
36
-
37
-
38
-
39
-
40
-
41
-
42
-
43
-
44
-
45
-
46
-
47
-
48
-
49
-
50
-
51
-
52
-
53
-
54
-
55
-
56
-
57
-
58
-
59
-
60
-
61
-
62
-
63
-
64
-
65
-
66
-
67
-
68
-
69
-
70
-
71
-
72
-
73
-
74
-
75
-
76
-
77
-
78
-
79
-
80
-
81
-
82
-
83
-
84
-
85
-
86
-
87
-
88
-
89
-
90
-
91
-
92
-
93
-
94
-
95
-
96
-
97
-
98
-
99
-
100
-
101
-
102
-
103
-
104
-
 105
105 -
 106
106 -
 107
107 -
 108
108 -
 109
109 -
 110
110 -
 111
111 -
 112
112 -
 113
113 -
 114
114 -
 115
115 -
116
-
117
-
118
-
119
-
120
-
121
-
122
-
123
-
124
-
125
-
126
-
127
-
128
-
129
-
130
-
131
 |
 |