Sony Ericsson Z710i User Guide - Page 41
the message, to select the attachment
 |
View all Sony Ericsson Z710i manuals
Add to My Manuals
Save this manual to your list of manuals |
Page 41 highlights
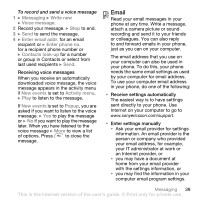
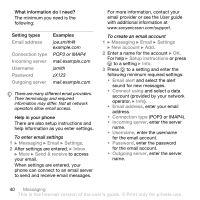
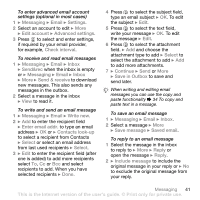
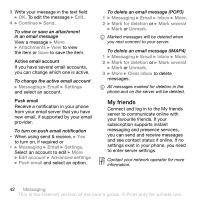
To enter advanced email account settings (optional in most cases) 1 } Messaging } Email } Settings. 2 Select an account to edit } More } Edit account } Advanced settings. 3 Press to select and enter settings, if required by your email provider, for example, Check interval. To receive and read email messages 1 } Messaging } Email } Inbox } Send&rec when the inbox is empty or } Messaging } Email } Inbox } More } Send & receive to download new messages. This also sends any messages in the outbox. 2 Select a message in the inbox } View to read it. To write and send an email message 1 } Messaging } Email } Write new. 2 } Add to enter the recipient field } Enter email addr. to type an email address } OK or } Contacts look-up to select a recipient from Contacts } Select or select an email address from last used recipients } Select. 3 } Edit to enter the recipient field (after one is added) to add more recipients select To, Cc or Bcc and select recipients to add. When you have selected recipients } Done. 4 Press to select the subject field, type an email subject } OK. To edit the subject } Edit. 5 Press to select the text field, write your message } OK. To edit the message } Edit. 6 Press to select the attachment field. } Add and choose the attachment type to add } Select to select the attachment to add } Add to add more attachments. 7 } Continue } Send or More } Save in Outbox to save and send later. When writing and editing email messages you can use the copy and paste functionality % 34 To copy and paste text in a message. To save an email message 1 } Messaging } Email } Inbox. 2 Select a message } More } Save message } Saved email. To reply to an email message 1 Select the message in the inbox to reply to } More } Reply or open the message } Reply. 2 } Include message to include the original message in your reply or } No to exclude the original message from your reply. Messaging 41 This is the Internet version of the user's guide. © Print only for private use.
-
 1
1 -
2
-
3
-
4
-
5
-
6
-
7
-
8
-
9
-
10
-
11
-
12
-
13
-
14
-
15
-
16
-
17
-
18
-
19
-
20
-
21
-
22
-
23
-
24
-
25
-
26
-
27
-
28
-
29
-
30
-
31
-
32
-
33
-
34
-
35
-
 36
36 -
 37
37 -
 38
38 -
 39
39 -
 40
40 -
 41
41 -
 42
42 -
 43
43 -
 44
44 -
 45
45 -
 46
46 -
47
-
48
-
49
-
50
-
51
-
52
-
53
-
54
-
55
-
56
-
57
-
58
-
59
-
60
-
61
-
62
-
63
-
64
-
65
-
66
-
67
-
68
-
69
-
70
-
71
-
72
-
73
-
74
-
75
-
76
-
77
-
78
-
79
-
80
-
81
-
82
-
83
-
84
-
85
-
86
-
87
-
88
-
89
-
90
-
91
-
92
-
93
-
94
-
95
-
96
 |
 |