Sony DSC-WX5 Cyber-shot® Handbook - Page 136
Connecting the camera to a computer
 |
UPC - 027242792975
View all Sony DSC-WX5 manuals
Add to My Manuals
Save this manual to your list of manuals |
Page 136 highlights
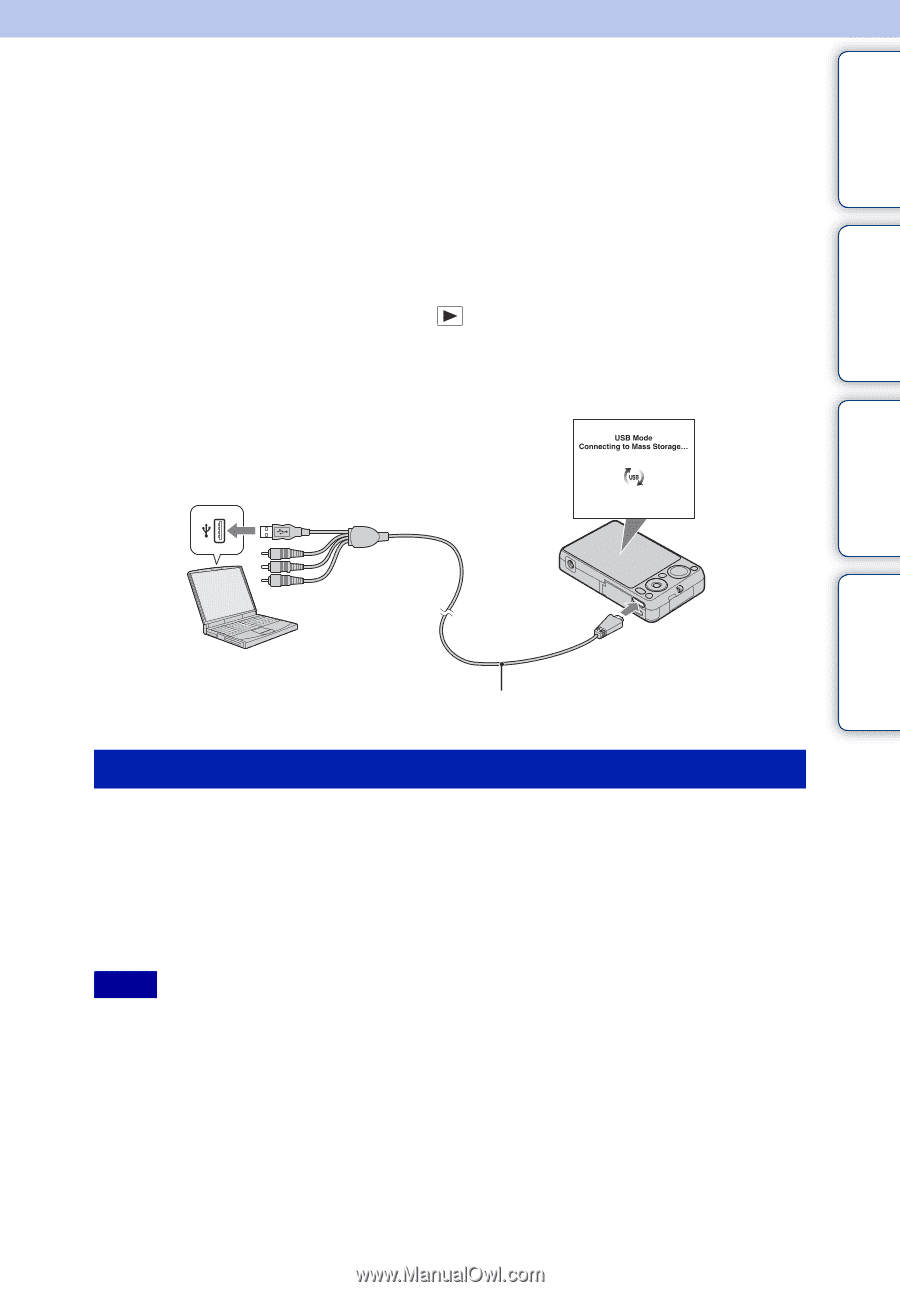
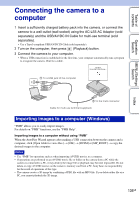
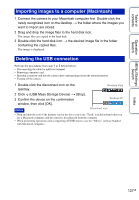
Table of contents Operation Search MENU/Settings Search Index Connecting the camera to a computer 1 Insert a sufficiently charged battery pack into the camera, or connect the camera to a wall outlet (wall socket) using the AC-LS5 AC Adaptor (sold separately) and the USB/AV/DC IN Cable for multi-use terminal (sold separately). • Use a Type3-compliant USB/AV/DC IN Cable (sold separately). 2 Turn on the computer, then press (Playback) button. 3 Connect the camera to your computer. • When a USB connection is established for the first time, your computer automatically runs a program to recognize the camera. Wait for a while. 1 To a USB jack of the computer 2 To the multi connector Cable for multi-use terminal (supplied) Importing images to a computer (Windows) "PMB" allows you to easily import images. For details on "PMB" functions, see the "PMB Help". Importing images to a computer without using "PMB" When the AutoPlay Wizard appears after making a USB connection between the camera and a computer, click [Open folder to view files] t [OK] t [DCIM] or [MP_ROOT] t copy the desired images to the computer. Notes • Use "PMB" for operations such as when importing AVCHD movies to a computer. • If operations are performed on an AVCHD movie file or folder on the camera from a PC while the camera is connected to a PC, it may destroy the image file or playback may become impossible. Do not delete or copy AVCHD movies on the camera's memory card from a PC. Sony bears no responsibility for the result of operations of this type. • The camera creates a 3D image by combining a JPEG file with an MPO file. If you delete either file on a PC, you cannot playback the 3D image. 136GB
-
 1
1 -
2
-
3
-
4
-
5
-
6
-
7
-
8
-
9
-
10
-
11
-
12
-
13
-
14
-
15
-
16
-
17
-
18
-
19
-
20
-
21
-
22
-
23
-
24
-
25
-
26
-
27
-
28
-
29
-
30
-
31
-
32
-
33
-
34
-
35
-
36
-
37
-
38
-
39
-
40
-
41
-
42
-
43
-
44
-
45
-
46
-
47
-
48
-
49
-
50
-
51
-
52
-
53
-
54
-
55
-
56
-
57
-
58
-
59
-
60
-
61
-
62
-
63
-
64
-
65
-
66
-
67
-
68
-
69
-
70
-
71
-
72
-
73
-
74
-
75
-
76
-
77
-
78
-
79
-
80
-
81
-
82
-
83
-
84
-
85
-
86
-
87
-
88
-
89
-
90
-
91
-
92
-
93
-
94
-
95
-
96
-
97
-
98
-
99
-
100
-
101
-
102
-
103
-
104
-
105
-
106
-
107
-
108
-
109
-
110
-
111
-
112
-
113
-
114
-
115
-
116
-
117
-
118
-
119
-
120
-
121
-
122
-
123
-
124
-
125
-
126
-
127
-
128
-
129
-
130
-
 131
131 -
 132
132 -
 133
133 -
 134
134 -
 135
135 -
 136
136 -
 137
137 -
 138
138 -
 139
139 -
 140
140 -
 141
141 -
142
-
143
-
144
-
145
-
146
-
147
-
148
-
149
-
150
-
151
-
152
-
153
-
154
-
155
-
156
-
157
-
158
-
159
-
160
-
161
-
162
-
163
-
164
-
165
-
166
-
167
-
168
-
169
-
170
-
171
 |
 |