Sony MZ-NH900 Operating Instructions - Page 81
Depending on the conditions, it may
 |
View all Sony MZ-NH900 manuals
Add to My Manuals
Save this manual to your list of manuals |
Page 81 highlights
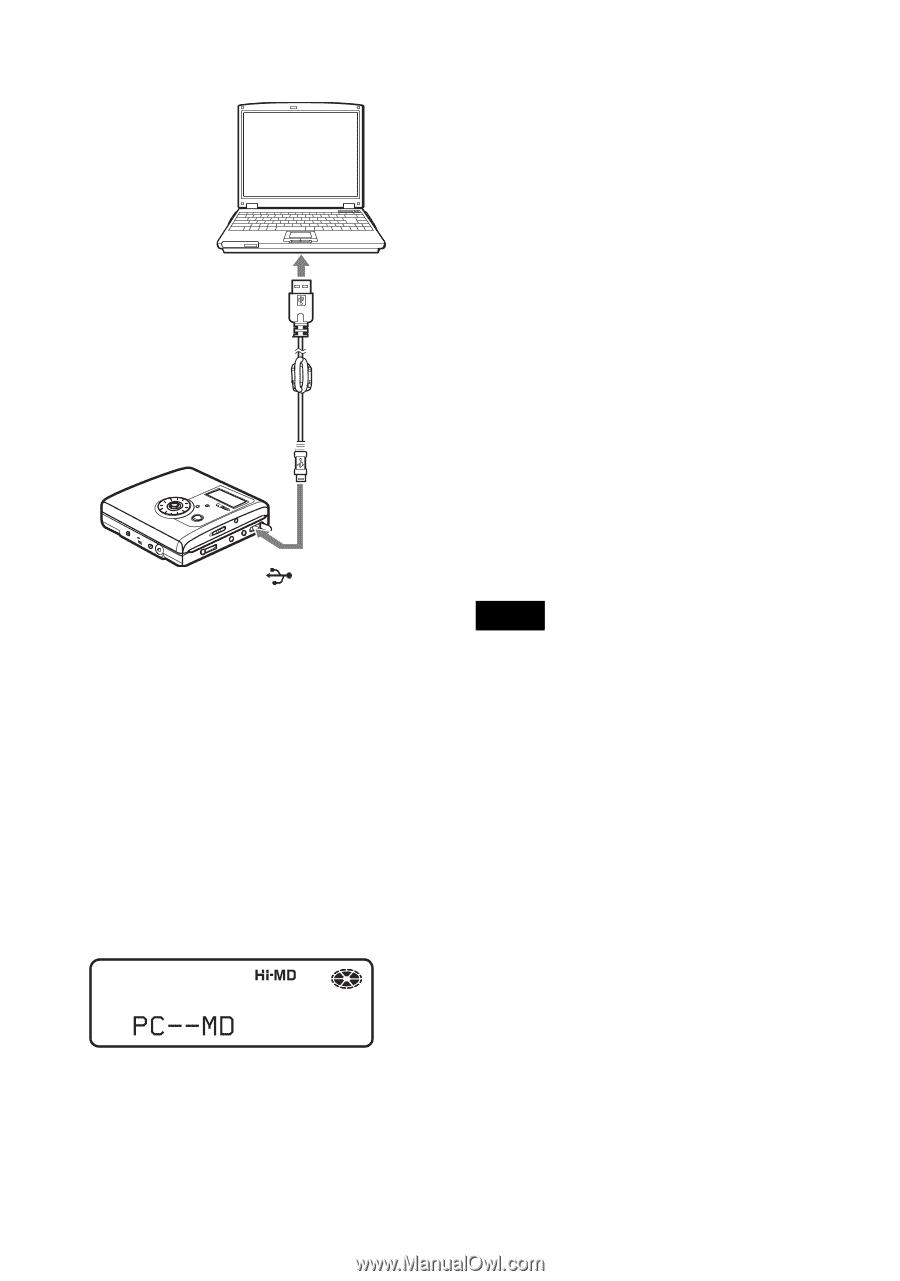
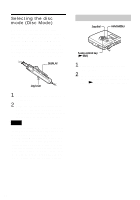
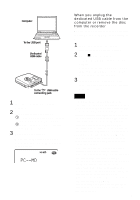
Computer To the USB port Dedicated USB cable To the USB cable connecting jack 1 Insert a recordable disc into the recorder. 2 Make connections as follows. 1 Connect the dedicated USB cable to the recorder and to the computer. 2 Make sure the recorder is stopped and HOLD is released. 3 Check the connections. When the connections have been properly made, "PC - -MD" appears in the display. When you unplug the dedicated USB cable from the computer or remove the disc from the recorder Be sure to remove the recorder or the disc as follows. If not, damage to the data may occur. 1 Make sure that "REC" is not displayed in the display window. 2 Press x on the recorder. "EJECT DISC OK" appears in the display. Depending on the conditions, it may take some time until "EJECT DISC OK" appears in the display. 3 Unplug the dedicated USB cable from the computer or remove the disc from the recorder. Notes • If you use the recorder connected to the computer, it is recommended that you connect the AC power adaptor or insert a fully charged rechargeable battery or new alkaline dry battery as a precaution against power failures, disconnection of the dedicated USB cable or other unforeseen occurrences. We do not assure the results should there be a misoperation, transfer failures, or destruction of audio data caused by unforeseen occurrences. • If you disconnect the dedicated USB cable from the recorder and want to reconnect it, make sure to wait at least 2 seconds before connecting it again. • Make sure to place the recorder at a stable, vibration-free place during recording. • Make sure not to connect the recorder to your computer during recording or playing. • The system may malfunction if your computer changes to system suspend, sleep, or hibernation mode while connecting to the recorder. Make sure to disable any changes to suspend, sleep, or hibernation mode. • Make sure not to connect the recorder and the computer through a USB hub. • It is not possible to charge the rechargeable battery in the recorder while using the bus power connection. 81
-
 1
1 -
2
-
3
-
4
-
5
-
6
-
7
-
8
-
9
-
10
-
11
-
12
-
13
-
14
-
15
-
16
-
17
-
18
-
19
-
20
-
21
-
22
-
23
-
24
-
25
-
26
-
27
-
28
-
29
-
30
-
31
-
32
-
33
-
34
-
35
-
36
-
37
-
38
-
39
-
40
-
41
-
42
-
43
-
44
-
45
-
46
-
47
-
48
-
49
-
50
-
51
-
52
-
53
-
54
-
55
-
56
-
57
-
58
-
59
-
60
-
61
-
62
-
63
-
64
-
65
-
66
-
67
-
68
-
69
-
70
-
71
-
72
-
73
-
74
-
75
-
 76
76 -
 77
77 -
 78
78 -
 79
79 -
 80
80 -
 81
81 -
 82
82 -
 83
83 -
 84
84 -
 85
85 -
 86
86 -
87
-
88
-
89
-
90
-
91
-
92
-
93
-
94
-
95
-
96
-
97
-
98
-
99
-
100
-
101
-
102
-
103
-
104
-
105
-
106
-
107
-
108
-
109
-
110
-
111
-
112
-
113
-
114
-
115
-
116
-
117
-
118
-
119
-
120
-
121
-
122
-
123
-
124
-
125
-
126
-
127
-
128
-
129
-
130
-
131
-
132
-
133
-
134
-
135
-
136
 |
 |