TEAC AD-500 Owners Manual - Page 5
Connections - cd
 |
View all TEAC AD-500 manuals
Add to My Manuals
Save this manual to your list of manuals |
Page 5 highlights
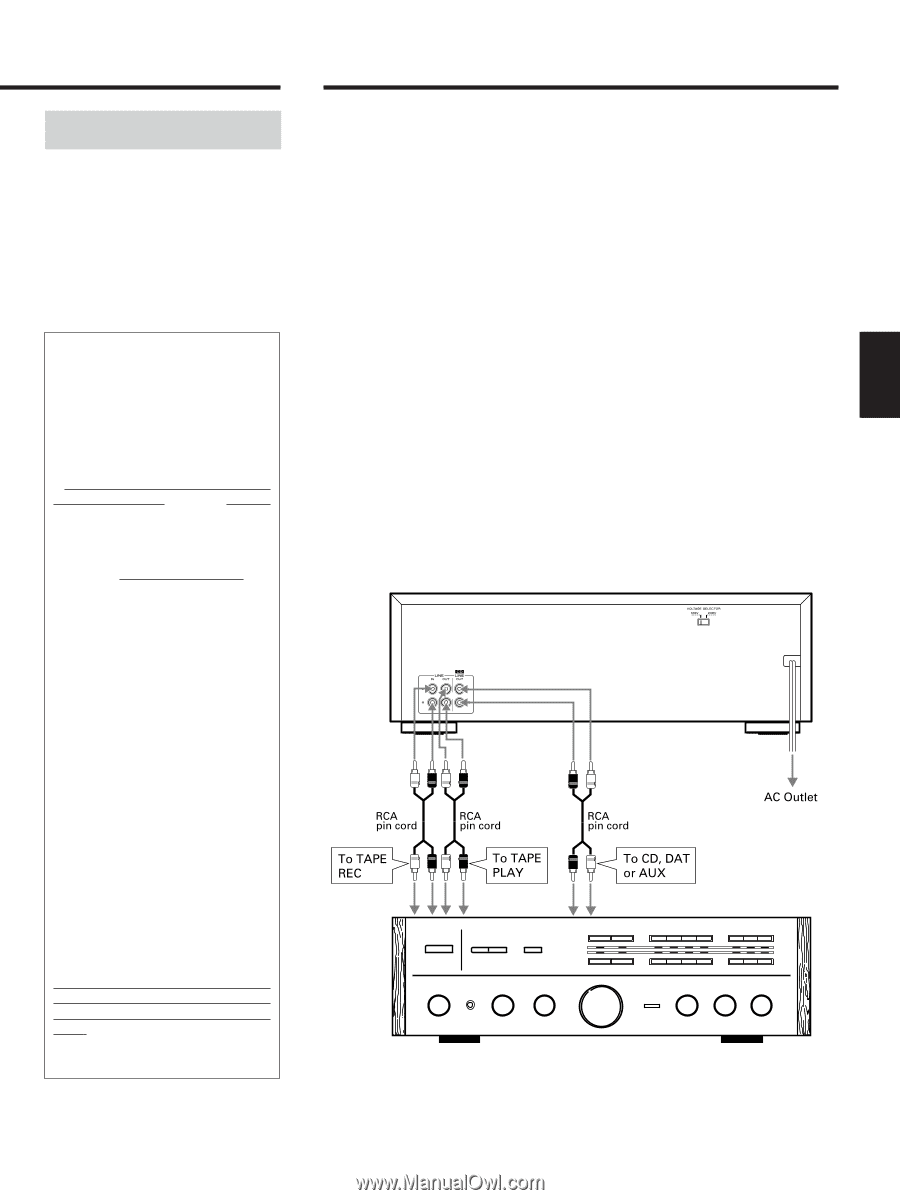
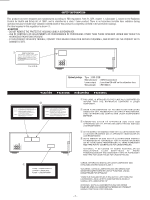
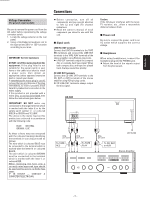
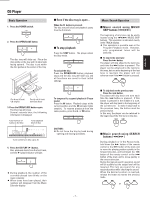
ENGLISH Voltage Conversion (For general export models) Be sure to remove the power cord from the AC outlet before repositioning the voltage converter switch. 1. Locate the voltage selector on the rear panel. 2. Using a flat-bladed screwdriver, set to the appropriate 230 V or 120 V position according to your area. IMPORTANT (for U.K. Customers) DO NOT cut off the mains plug from this equipment. If the plug fitted is not suitable for the power points in your home or the cable is too short to reach a power point, then obtain an appropriate safety approved extension lead or consult your dealer. If nonetheless the mains plug is cut off, remove the fuse and dispose of the plug immediately, to avoid a possible shock hazard by inadvertent connection to the mains supply. If this product is not provided with a mains plug, or one has to be fitted, then follow the instructions given below: IMPORTANT. DO NOT make any connection to the larger terminal which is marked with the letter E or by the safety earth symbol ç or coloured GREEN or GREEN-and-YELLOW. The wires in the mains lead on this product are coloured in accordance with the following code: BLUE: NEUTRAL BROWN: LIVE As these colours may not correspond with the coloured markings identifying the terminals in your plug proceed as follows: The wire which is coloured BLUE must be connected to the terminal which is marked with the letter N or coloured BLACK. The wire which is coloured BROWN must be connected to the terminal which is marked with the letter L or coloured RED. When replacing the fuse only a correctly rated approved type should be used and be sure to re-fit the fuse cover. IF IN DOUBT - CONSULT A COMPETENT ELECTRICIAN. Connections O Before connection, turn off all components and pay special attention to left (L) and right (R) channel indications. O Read the owner's manual of each component you intend to use with this unit. ∑ Signal cords LINE IN / OUT terminals Connect the LINE IN terminals to the TAPE REC terminals and connect the LINE OUT terminals to the TAPE PLAY terminals of the stereo amplifier using RCA pin plug cords. O LINE OUT terminals output the compact disc or cassette deck tape signal. When both compact disc and tape are played back, the tape sound has priority. CD LINE OUT terminals Connect the CD LINE OUT terminals to the CD, DAT or AUX terminals of the stereo amplifier using RCA pin plug cords. O CD LINE OUT terminals always output the disc signal. AD-500 Caution: If the CD player interferes with the tuner, TV reciever, etc., allow a reasonable distance between them. ∑ Power cord Be sure to connect the power cord to an AC outlet which supplies the correct voltage. ∑ Headphones When using headphones, connect the headphone plug into the PHONES jack. O Adjust the level of the signals output from the phones jack. Stereo Amplifier _5_
-
 1
1 -
 2
2 -
 3
3 -
 4
4 -
 5
5 -
 6
6 -
 7
7 -
 8
8 -
 9
9 -
 10
10 -
 11
11 -
12
-
13
-
14
-
15
-
16
-
17
-
18
-
19
-
20
-
21
-
22
-
23
-
24
-
25
-
26
-
27
-
28
-
29
-
30
-
31
-
32
-
33
-
34
-
35
-
36
-
37
-
38
-
39
-
40
-
41
-
42
-
43
-
44
-
45
-
46
-
47
-
48
-
49
-
50
-
51
-
52
-
53
-
54
-
55
-
56
-
57
-
58
-
59
-
60
-
61
-
62
-
63
-
64
-
65
-
66
-
67
-
68
-
69
-
70
-
71
-
72
-
73
-
74
-
75
-
76
-
77
-
78
-
79
-
80
-
81
-
82
-
83
-
84
 |
 |