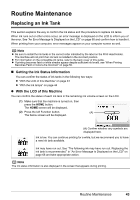
Canon PIXMA MP520 MP520 series Quick Start Guide - Page 49
Replacing Ink Tanks, Important, Caution - ink refill
 |
View all Canon PIXMA MP520 manuals
Add to My Manuals
Save this manual to your list of manuals |
Page 49 highlights
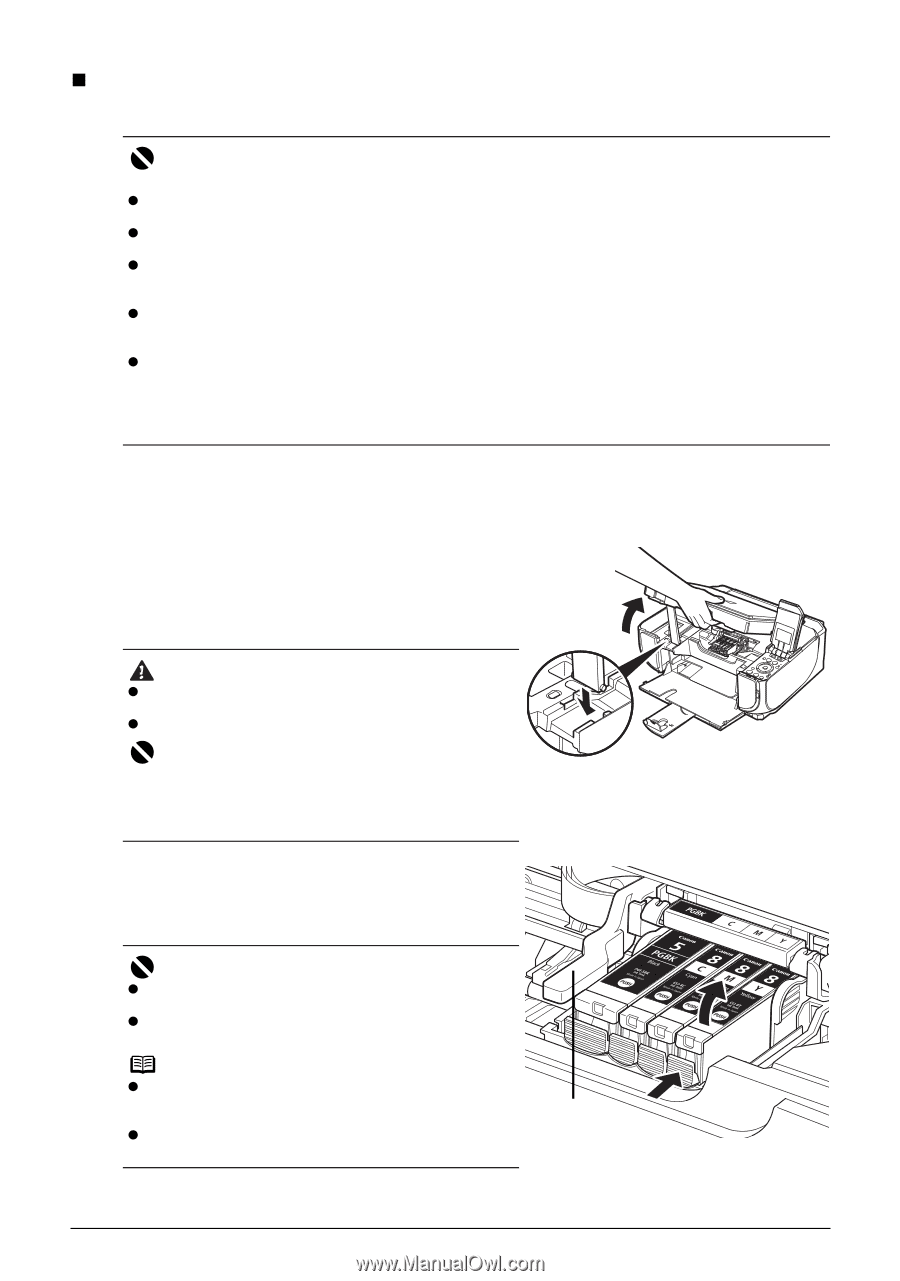
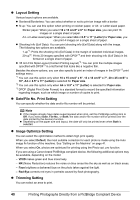
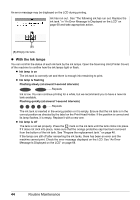
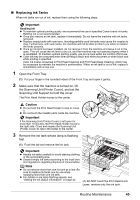
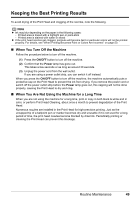
„ Replacing Ink Tanks When ink tanks run out of ink, replace them using the following steps. Important Handling Ink z To maintain optimal printing quality, we recommend the use of specified Canon brand ink tanks. Refilling ink is not recommended. z Once you remove an ink tank, replace it immediately. Do not leave the machine with ink tanks removed. z Replace empty tanks with new ones. Inserting partially used ink tanks may cause the nozzles to clog. Furthermore, with such tanks, the machine will not be able to inform you when to replace the tanks properly. z Once an ink tank has been installed, do not remove it from the machine and leave it out in the open. This will cause the ink tank to dry out, and the machine may not operate properly when it is reinstalled. To maintain optimal printing quality, use an ink tank within six months of first use. z Color ink may be consumed even when printing a black-and-white document or when black-and white printing is specified. Color ink is also consumed in Print Head Cleaning and Print Head Deep Cleaning, which may be necessary to maintain the machine's performance. When an ink tank is out of ink, replace it immediately with a new one. 1 Open the Front Tray. (1) Put your finger in the rounded indent of the Front Tray and open it gently. 2 Make sure that the machine is turned on, lift the Scanning Unit (Printer Cover), and set the Scanning Unit Support to hold the cover. The Print Head Holder moves to the center. Caution z Do not hold the Print Head Holder to stop or move it. z Do not touch the metallic parts inside the machine. Important If the Scanning Unit (Printer Cover) is left open for more than 10 minutes, the Print Head Holder moves to the right side. Close and reopen the Scanning Unit (Printer Cover) to return the holder to the center. 3 Remove the ink tank whose lamp is flashing fast. (1) Push the tab and remove the ink tank. Important z Handle ink tanks carefully to avoid staining clothing or the surrounding area. z Discard empty ink tanks according to the local laws and regulations regarding disposal of consumables. Note z Do not remove more than one ink tank at a time. Be sure to replace ink tanks one by one when replacing more than one ink tank. z For details on ink lamp flashing speeds, see "Getting the Ink Status Information" on page 43. (A) (A) Do NOT touch the Print Head Lock Lever; remove only the ink tank. Routine Maintenance 45
-
 1
1 -
2
-
3
-
4
-
5
-
6
-
7
-
8
-
9
-
10
-
11
-
12
-
13
-
14
-
15
-
16
-
17
-
18
-
19
-
20
-
21
-
22
-
23
-
24
-
25
-
26
-
27
-
28
-
29
-
30
-
31
-
32
-
33
-
34
-
35
-
36
-
37
-
38
-
39
-
40
-
41
-
42
-
43
-
 44
44 -
 45
45 -
 46
46 -
 47
47 -
 48
48 -
 49
49 -
 50
50 -
 51
51 -
 52
52 -
 53
53 -
 54
54 -
55
-
56
-
57
-
58
-
59
-
60
-
61
-
62
-
63
-
64
-
65
-
66
-
67
-
68
-
69
-
70
-
71
-
72
-
73
-
74
-
75
-
76
-
77
-
78
-
79
-
80
-
81
-
82
-
83
-
84
-
85
-
86
-
87
-
88
-
89
-
90
-
91
-
92
-
93
-
94
-
95
-
96
-
97
-
98
-
99
-
100
-
101
-
102
-
103
-
104
-
105
-
106
-
107
-
108
 |
 |