Dell Inspiron 1720 Service Manual - Page 31
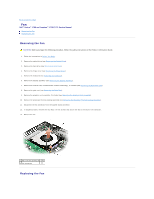
Replacing the Camera and Microphone Assembly
 |
View all Dell Inspiron 1720 manuals
Add to My Manuals
Save this manual to your list of manuals |
Page 31 highlights
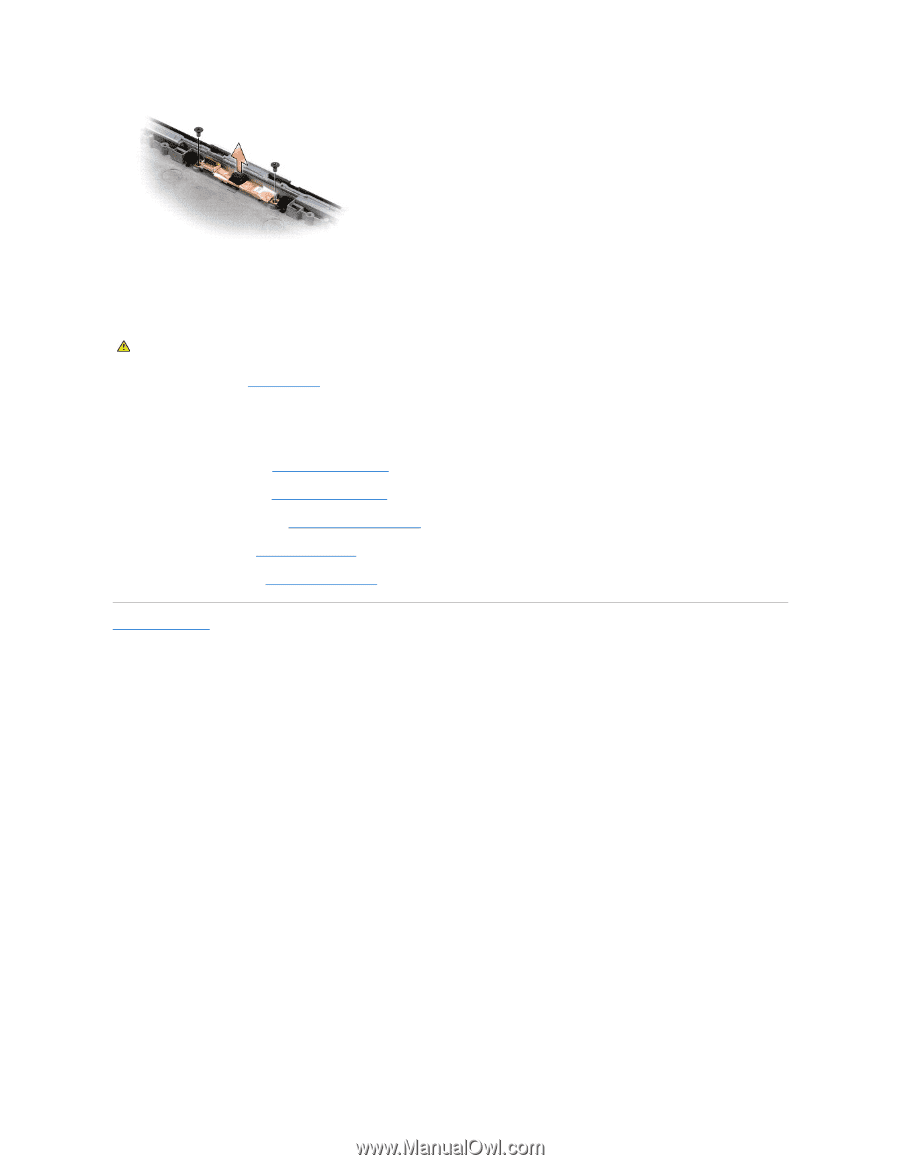
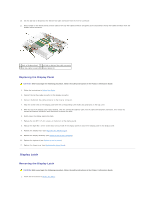
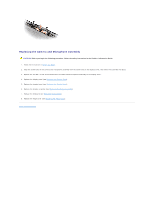
Replacing the Camera and Microphone Assembly CAUTION: Before you begin the following procedure, follow the safety instructions in the Product Information Guide. 1. Follow the instructions in Before You Begin. 2. Align the screw holes in the camera and microphone assembly with the screw holes in the display cover, then lower the assembly into place. 3. Replace the two M2 x 3-mm screws and secure the camera and microphone assembly to the display cover. 4. Replace the display panel (see Replacing the Display Panel). 5. Replace the display bezel (see Replacing the Display Bezel). 6. Replace the display assembly (see Replacing the Display Assembly). 7. Replace the keyboard (see Replacing the Keyboard). 8. Replace the hinge cover (see Replacing the Hinge Cover). Back to Contents Page
-
 1
1 -
2
-
3
-
4
-
5
-
6
-
7
-
8
-
9
-
10
-
11
-
12
-
13
-
14
-
15
-
16
-
17
-
18
-
19
-
20
-
21
-
22
-
23
-
24
-
25
-
 26
26 -
 27
27 -
 28
28 -
 29
29 -
 30
30 -
 31
31 -
 32
32 -
 33
33 -
 34
34 -
 35
35 -
 36
36 -
37
-
38
-
39
-
40
-
41
-
42
-
43
-
44
-
45
-
46
-
47
-
48
-
49
-
50
-
51
-
52
-
53
-
54
-
55
-
56
-
57
-
58
-
59
-
60
-
61
-
62
-
63
-
64
-
65
-
66
-
67
-
68
 |
 |