Dell Inspiron 560s Service Manual - Page 27
Before You Begin, Replacing the Hard Drive, Replacing the Support Bracket, Replacing the Front Bezel
 |
View all Dell Inspiron 560s manuals
Add to My Manuals
Save this manual to your list of manuals |
Page 27 highlights
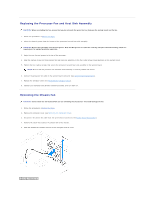
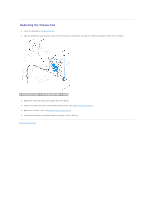
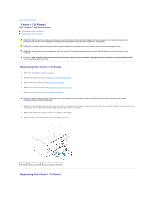
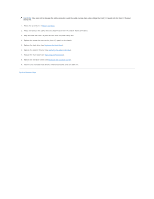
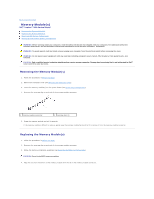
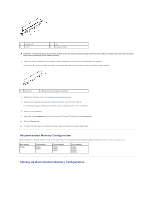
CAUTION: Take care not to damage the cable connectors and the cable routing clips when sliding the front I/O panel into the front I/O panel clamp slot. 1. Follow the procedures in Before You Begin. 2. Route and connect the cables that you disconnected from the system board connectors. 3. Align and slide the front I/O panel into the front I/O panel clamp slot. 4. Replace the screw that secures the front I/O panel to the chassis. 5. Replace the hard drive (see Replacing the Hard Drive). 6. Replace the support bracket (see Replacing the Support Bracket). 7. Replace the front bezel (see Replacing the Front Bezel). 8. Replace the computer cover (see Replacing the Computer Cover). 9. Connect your computer and devices to electrical outlets, and turn them on. Back to Contents Page
-
 1
1 -
2
-
3
-
4
-
5
-
6
-
7
-
8
-
9
-
10
-
11
-
12
-
13
-
14
-
15
-
16
-
17
-
18
-
19
-
20
-
21
-
 22
22 -
 23
23 -
 24
24 -
 25
25 -
 26
26 -
 27
27 -
 28
28 -
 29
29 -
 30
30 -
 31
31 -
 32
32 -
33
-
34
-
35
-
36
-
37
-
38
-
39
-
40
-
41
-
42
 |
 |