Epson MX-85 User Manual - Page 10
Removal of shipping screws, Removal of the upper case
 |
View all Epson MX-85 manuals
Add to My Manuals
Save this manual to your list of manuals |
Page 10 highlights
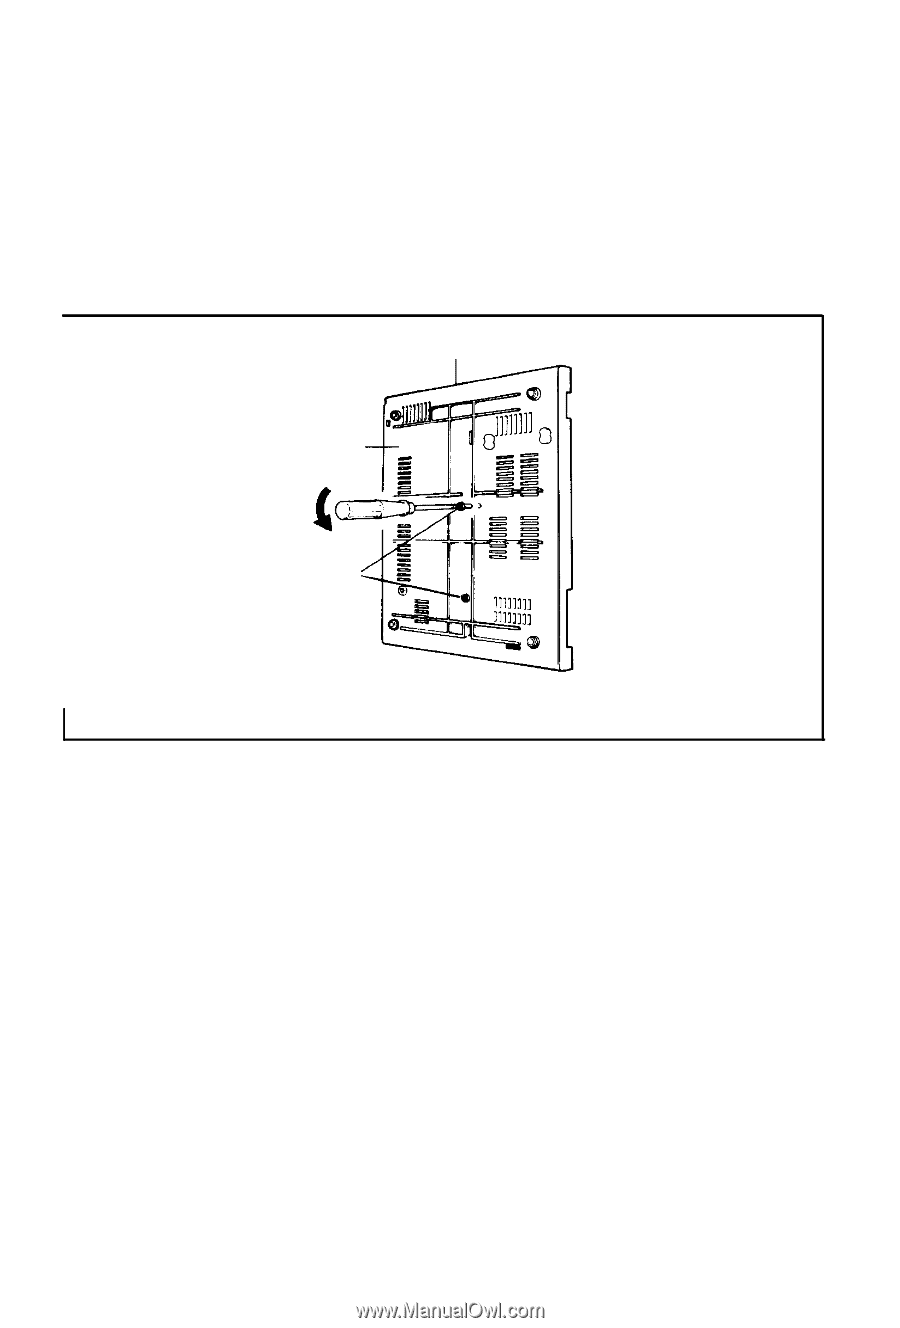
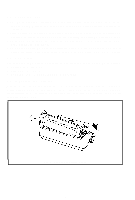
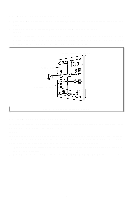
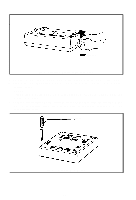
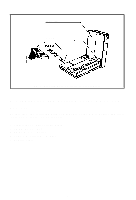
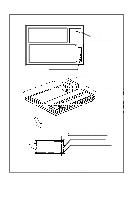
1.7. Removal of shipping screws 1. Turn the MX-85 upside down, exercising care so the paper release lever is not bent. 2. Remove the two (2) shipping screws from the lower case. NOTE: These shipping screws should be retained for use during reshipment of the MX-85. They are necessary to prevent damage to the print mechanism which may be caused by shock or vibration during transportation. Right Side of the Printer Lower Case Shipping Screws Fig. 4 Removal of Shipping Screws 1.8. Removal of the upper case In order to check, or change, settings of the internal switches and jumpers, it is necessary to remove the upper case. NOTE: Before proceeding, be sure that the MX-85 is completely disconnected from external sources. Also, adequately discharge any static electricity which may be present on your person to prevent damage to any electronic components. 1. Remove the black roller knob on the right side of the printer by pulling straight out, firmly and steadily. 2. Remove the printer cover, as directed previously, by pulling up on its left side. -5-
-
 1
1 -
2
-
3
-
4
-
 5
5 -
 6
6 -
 7
7 -
 8
8 -
 9
9 -
 10
10 -
 11
11 -
 12
12 -
 13
13 -
 14
14 -
 15
15 -
16
-
17
-
18
-
19
-
20
-
21
-
22
-
23
-
24
-
25
-
26
-
27
-
28
-
29
-
30
-
31
-
32
-
33
-
34
-
35
-
36
 |
 |