Epson PowerLite Home Cinema 720 User's Guide - PowerLite Home Cinema 720 - Page 43
Customizing Projector Features, Image Sizing
 |
View all Epson PowerLite Home Cinema 720 manuals
Add to My Manuals
Save this manual to your list of manuals |
Page 43 highlights
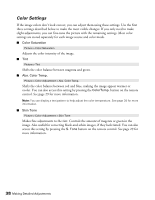
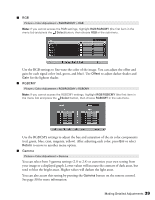
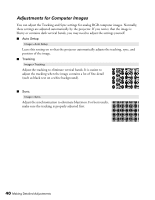
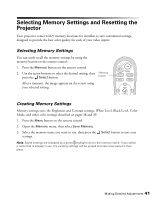
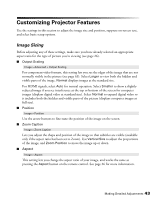
Customizing Projector Features Use the settings in this section to adjust the image size and position, suppress on-screen text, and select basic setup options. Image Sizing Before adjusting any of these settings, make sure you have already selected an appropriate aspect ratio for the type of picture you're viewing (see page 26). ■ Output Scaling Image > Advanced > Output Scaling For component video formats, this setting lets you see the edges of the image that are not normally visible in the picture (see page 63). Select Larger to view both the hidden and visible parts of the image. Normal displays images at the standard size. For HDMI signals, select Auto for normal operation. Select Smaller to show a slightly reduced image if you see interference at the top or bottom of the screen for computer images (displays digital video at standard size). Select Normal to expand digital video so it includes both the hidden and visible parts of the picture (displays computer images at full size). ■ Position Image > Position Use the arrow buttons to fine-tune the position of the image on the screen. ■ Zoom Caption Image > Zoom Caption Lets you adjust the shape and position of the image so that subtitles are visible (available only if the aspect ratio has been set to Zoom). Use Vertical Size to adjust the proportions of the image, and Zoom Position to move the image up or down. ■ Aspect Image > Aspect This setting lets you change the aspect ratio of your image, and works the same as pressing the Aspect button on the remote control. See page 26 for more information. Making Detailed Adjustments 43
-
 1
1 -
2
-
3
-
4
-
5
-
6
-
7
-
8
-
9
-
10
-
11
-
12
-
13
-
14
-
15
-
16
-
17
-
18
-
19
-
20
-
21
-
22
-
23
-
24
-
25
-
26
-
27
-
28
-
29
-
30
-
31
-
32
-
33
-
34
-
35
-
36
-
37
-
 38
38 -
 39
39 -
 40
40 -
 41
41 -
 42
42 -
 43
43 -
 44
44 -
 45
45 -
 46
46 -
 47
47 -
 48
48 -
49
-
50
-
51
-
52
-
53
-
54
-
55
-
56
-
57
-
58
-
59
-
60
-
61
-
62
-
63
-
64
-
65
-
66
-
67
-
68
-
69
-
70
-
71
-
72
-
73
-
74
-
75
-
76
 |
 |