Epson V550 Users Guide - Page 55
Selecting a Scan Size - Professional Mode, Scanning in Professional Mode
 |
View all Epson V550 manuals
Add to My Manuals
Save this manual to your list of manuals |
Page 55 highlights
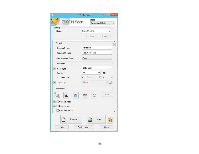
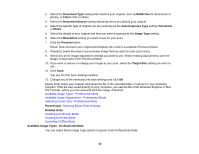
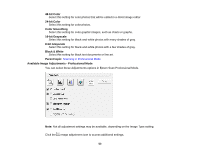
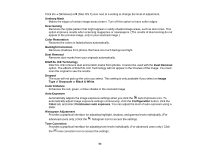
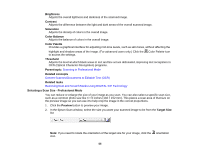
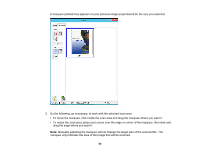
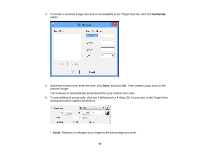
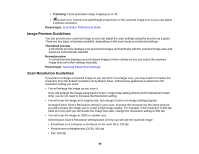
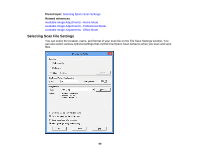
Brightness Adjusts the overall lightness and darkness of the scanned image. Contrast Adjusts the difference between the light and dark areas of the overall scanned image. Saturation Adjusts the density of colors in the overall image. Color Balance Adjusts the balance of colors in the overall image. Color Palette Provides a graphical interface for adjusting mid-tone levels, such as skin tones, without affecting the highlight and shadow areas of the image. (For advanced users only.) Click the Color Palette icon to access the settings. Threshold Adjusts the level at which black areas in text and line art are delineated, improving text recognition in OCR (Optical Character Recognition) programs. Parent topic: Scanning in Professional Mode Related concepts Convert Scanned Documents to Editable Text (OCR) Related tasks Removing Dust and Scratch Marks Using DIGITAL ICE Technology Selecting a Scan Size - Professional Mode You can reduce or enlarge the size of your image as you scan. You can also select a specific scan size, such as a common photo size like 4 × 6 inches (102 × 152 mm). This places a scan area of that size on the preview image so you can use it to help crop the image in the correct proportions. 1. Click the Preview button to preview your image. 2. In the Epson Scan window, select the size you want your scanned image to be from the Target Size list. Note: If you need to rotate the orientation of the target size for your image, click the orientation icon. 55
-
 1
1 -
2
-
3
-
4
-
5
-
6
-
7
-
8
-
9
-
10
-
11
-
12
-
13
-
14
-
15
-
16
-
17
-
18
-
19
-
20
-
21
-
22
-
23
-
24
-
25
-
26
-
27
-
28
-
29
-
30
-
31
-
32
-
33
-
34
-
35
-
36
-
37
-
38
-
39
-
40
-
41
-
42
-
43
-
44
-
45
-
46
-
47
-
48
-
49
-
 50
50 -
 51
51 -
 52
52 -
 53
53 -
 54
54 -
 55
55 -
 56
56 -
 57
57 -
 58
58 -
 59
59 -
 60
60 -
61
-
62
-
63
-
64
-
65
-
66
-
67
-
68
-
69
-
70
-
71
-
72
-
73
-
74
-
75
-
76
-
77
-
78
-
79
-
80
-
81
-
82
-
83
-
84
-
85
-
86
-
87
-
88
-
89
-
90
-
91
-
92
-
93
-
94
-
95
-
96
-
97
-
98
-
99
-
100
-
101
-
102
-
103
-
104
-
105
-
106
-
107
-
108
-
109
-
110
-
111
-
112
-
113
-
114
-
115
-
116
-
117
-
118
 |
 |