Garmin tactix Bravo Owner s Manual PDF - Page 21
Navigation Settings, System Settings, Putting On the Heart Rate Monitor
 |
View all Garmin tactix Bravo manuals
Add to My Manuals
Save this manual to your list of manuals |
Page 21 highlights
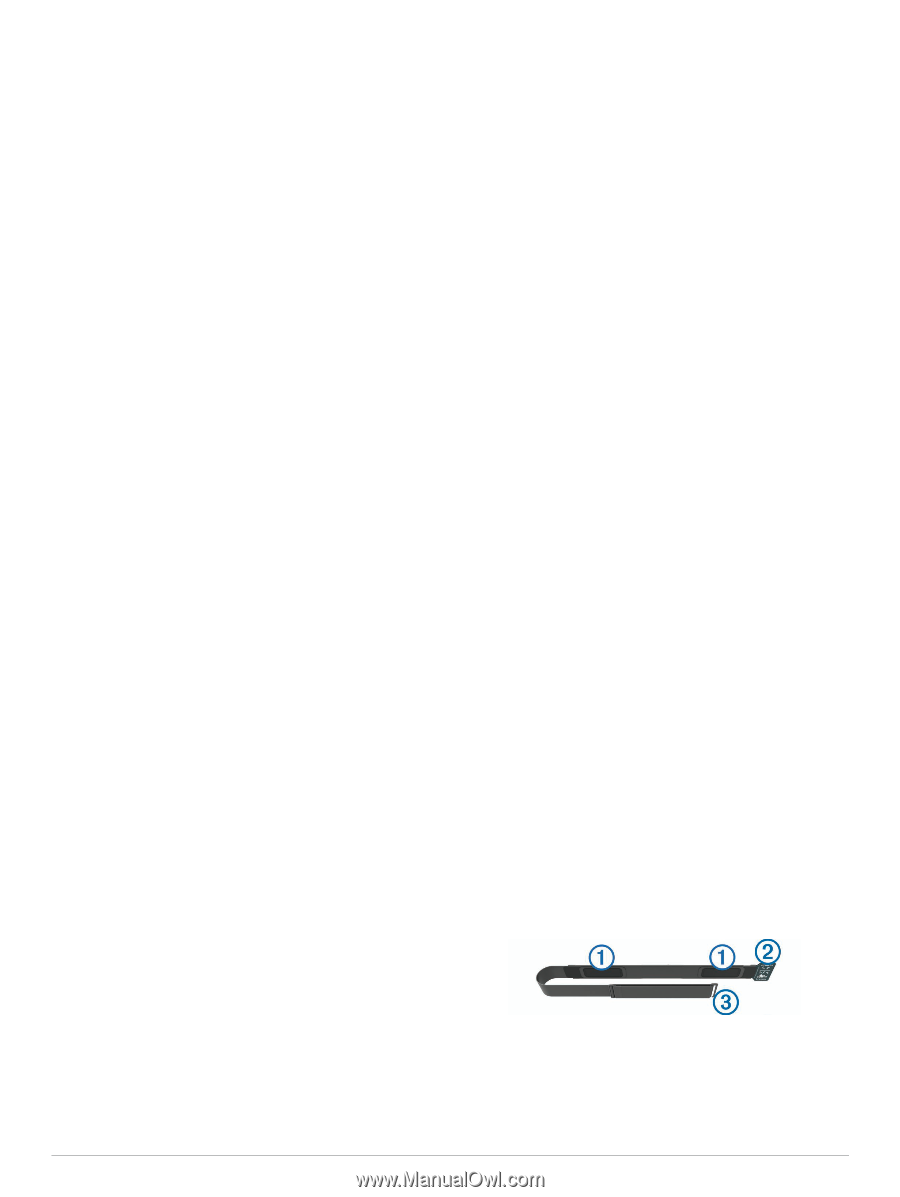
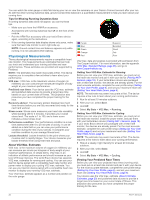
3 Select an option: • To calibrate automatically from your GPS starting point, select Auto Cal. > On. • To enter a known altitude, select Calibrate. Barometer Settings Hold UP, and select Settings > Sensors > Barometer. Plot: Sets the time scale for the chart in the barometer widget. Storm Alert: Sets the rate of barometric pressure change that triggers a storm alert. Navigation Settings You can customize the map features and appearance when navigating to a destination. Customizing Map Features 1 Hold UP. 2 Select Settings > Navigation > Data Screens. 3 Select an option: • Select Map to turn on or off the map. • Select Guide to turn on or off the guide screen that displays the compass bearing or course to follow while navigating. • Select a screen to add, remove, or customize. Setting Up a Heading Bug You can set up a heading indicator to display on your data pages while navigating. The indicator points to your target heading. 1 Hold UP. 2 Select Settings > Navigation > Heading Bug. System Settings Hold UP, and select Settings > System. User Profile: Allows you to open and customize your personal statistics (Setting Up Your User Profile, page 6). Hot Keys: Allows you to assign shortcuts to device keys. Language: Sets the language displayed on the device. Time: Adjusts the time settings (Time Settings, page 17). Backlight: Adjusts the backlight settings (Backlight Settings, page 17). Sounds: Sets the device sounds, such as key tones, alerts, and vibrations. Units: Sets the units of measure used on the device (Changing the Units of Measure, page 17). GLONASS: Using GLONASS provides increased performance in challenging environments and faster position acquisition. Using the GPS and GLONASS options can reduce battery life more than using the GPS option only. Pos. Format: Sets the geographical position format and datum options. Format: Sets general format preferences, such as the pace and speed shown during activities, and the start of the week. Data Recording: Sets how the device records activity data. The Smart recording option (default) allows for longer activity recordings. The Every Second recording option provides more detailed activity recordings, but may not record entire activities that last for longer periods of time. USB Mode: Sets the device to use mass storage mode or Garmin mode when connected to a computer. Restore Defaults: Allows you to reset user data and settings (Restoring All Default Settings, page 22). Software Update: Allows you to install software updates downloaded using Garmin Express. About: Displays device, software, and license information. Time Settings Hold UP, and select Settings > System > Time. Time Format: Sets the device to show time in a 12-hour or 24- hour format. Set Time: Sets the time zone for the device. The Auto option sets the time zone automatically based on your GPS position. Time: Allows you to adjust the time if it is set to the Manual option. Backlight Settings Hold UP, and select Settings > System > Backlight. Mode: Sets the backlight to turn on manually or automatically. The Auto option allows you to separately set the backlight for keys, alerts, and gestures. NOTE: When you set Gesture to On, you trigger the backlight by raising and turning your arm to look at your wrist. Timeout: Sets the length of time before the backlight turns off. Brightness: Sets the brightness level of the backlight. Changing the Units of Measure You can customize units of measure for distance, pace and speed, elevation, weight, height, and temperature. 1 Hold UP. 2 Select Settings > System > Units. 3 Select a measurement type. 4 Select a unit of measure. ANT+ Sensors The device is compatible with these optional, wireless ANT+ accessories. • Heart rate monitor, such as HRM-Run™ (Putting On the Heart Rate Monitor, page 17) • Bike speed and cadence sensor (Using an Optional Bike Speed or Cadence Sensor, page 18) • Foot pod (Foot Pod, page 18) • Power sensor, such as Vector™ • tempe™ wireless temperature sensor (tempe, page 19) For information about compatibility and purchasing additional sensors, go to http://buy.garmin.com. Putting On the Heart Rate Monitor You should wear the heart rate monitor directly on your skin, just below your sternum. It should be snug enough to stay in place during your activity. 1 If necessary, attach the strap extender to the heart rate monitor. 2 Wet the electrodes on the back of the heart rate monitor to À create a strong connection between your chest and the transmitter. 3 Wear the heart rate monitor with the Garmin logo facing rightside up. ANT+ Sensors 17
-
 1
1 -
2
-
3
-
4
-
5
-
6
-
7
-
8
-
9
-
10
-
11
-
12
-
13
-
14
-
15
-
 16
16 -
 17
17 -
 18
18 -
 19
19 -
 20
20 -
 21
21 -
 22
22 -
 23
23 -
 24
24 -
 25
25 -
 26
26 -
27
-
28
-
29
-
30
-
31
-
32
-
33
-
34
 |
 |