HP 6840 HP Deskjet 6800 Printer series - (Windows) User's Guide - Page 57
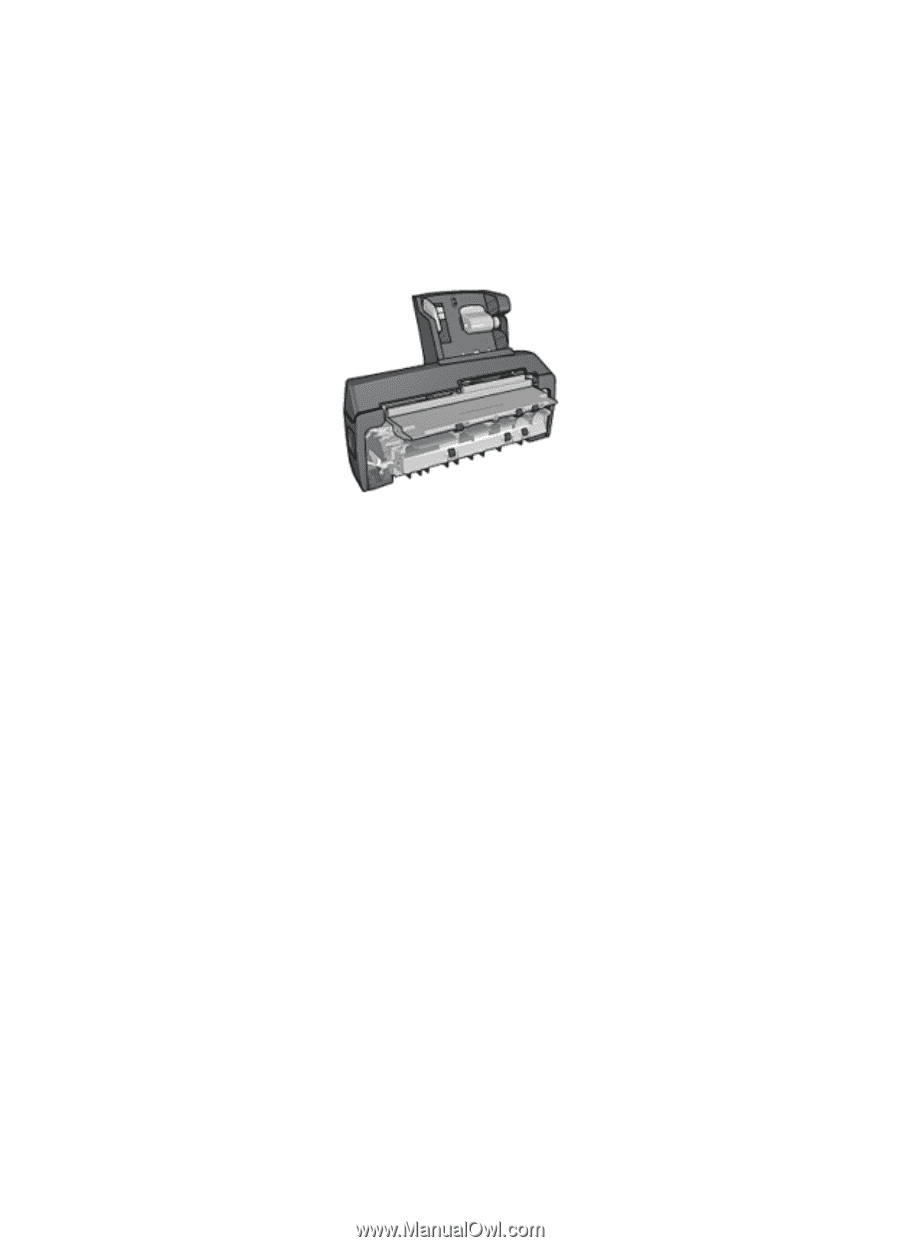
Using the Auto Two-Sided Print Accessory with, Small Paper Tray when printing from a digital camera
 |
UPC - 829160429724
View all HP 6840 manuals
Add to My Manuals
Save this manual to your list of manuals |
Page 57 highlights
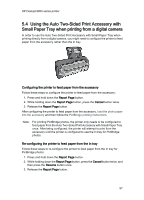
HP Deskjet 6800 series printer 5.4 Using the Auto Two-Sided Print Accessory with Small Paper Tray when printing from a digital camera In order to use the Auto Two-Sided Print Accessory with Small Paper Tray when printing directly from a digital camera, you might need to configure the printer to feed paper from the accessory rather than the In tray. Configuring the printer to feed paper from the accessory Follow these steps to configure the printer to feed paper from the accessory: 1. Press and hold down the Report Page button. 2. While holding down the Report Page button, press the Cancel button twice. 3. Release the Report Page button. After configuring the printer to feed paper from the accessory, load the photo paper into the accessory and then follow the PictBridge printing instructions. Note: For printing PictBridge photos, the printer only needs to be configured to feed paper from the Auto Two-Sided Print Accessory with Small Paper Tray once. After being configured, the printer will attempt to print from the accessory until the printer is configured to use the In tray for PictBridge photos. Re-configuring the printer to feed paper from the In tray Follow these steps to re-configure the printer to feed paper from the In tray for PictBridge photos: 1. Press and hold down the Report Page button. 2. While holding down the Report Page button, press the Cancel button twice, and then press the Resume button once. 3. Release the Report Page button. 57
-
 1
1 -
2
-
3
-
4
-
5
-
6
-
7
-
8
-
9
-
10
-
11
-
12
-
13
-
14
-
15
-
16
-
17
-
18
-
19
-
20
-
21
-
22
-
23
-
24
-
25
-
26
-
27
-
28
-
29
-
30
-
31
-
32
-
33
-
34
-
35
-
36
-
37
-
38
-
39
-
40
-
41
-
42
-
43
-
44
-
45
-
46
-
47
-
48
-
49
-
50
-
51
-
 52
52 -
 53
53 -
 54
54 -
 55
55 -
 56
56 -
 57
57 -
 58
58 -
 59
59 -
 60
60 -
 61
61 -
 62
62 -
63
-
64
-
65
-
66
-
67
-
68
-
69
-
70
-
71
-
72
-
73
-
74
-
75
-
76
-
77
-
78
-
79
-
80
-
81
-
82
-
83
-
84
-
85
-
86
-
87
-
88
-
89
-
90
-
91
-
92
-
93
-
94
-
95
-
96
-
97
-
98
-
99
-
100
-
101
-
102
-
103
-
104
-
105
-
106
-
107
-
108
-
109
-
110
-
111
-
112
-
113
-
114
-
115
-
116
-
117
-
118
-
119
-
120
-
121
-
122
-
123
-
124
-
125
-
126
-
127
-
128
-
129
-
130
-
131
-
132
-
133
-
134
-
135
-
136
-
137
-
138
-
139
-
140
-
141
-
142
-
143
-
144
-
145
-
146
-
147
-
148
-
149
-
150
-
151
-
152
-
153
-
154
-
155
-
156
-
157
-
158
-
159
-
160
-
161
-
162
-
163
-
164
-
165
-
166
-
167
-
168
-
169
-
170
-
171
-
172
-
173
-
174
-
175
-
176
-
177
-
178
-
179
-
180
-
181
-
182
-
183
-
184
-
185
-
186
-
187
-
188
-
189
-
190
-
191
-
192
-
193
 |
 |