HP Envy 13-1100 HP ENVY 13 User Guide - Windows 7 - Page 69
Removing an optical disc when the disc tray will not open, Sharing optical drives
 |
View all HP Envy 13-1100 manuals
Add to My Manuals
Save this manual to your list of manuals |
Page 69 highlights
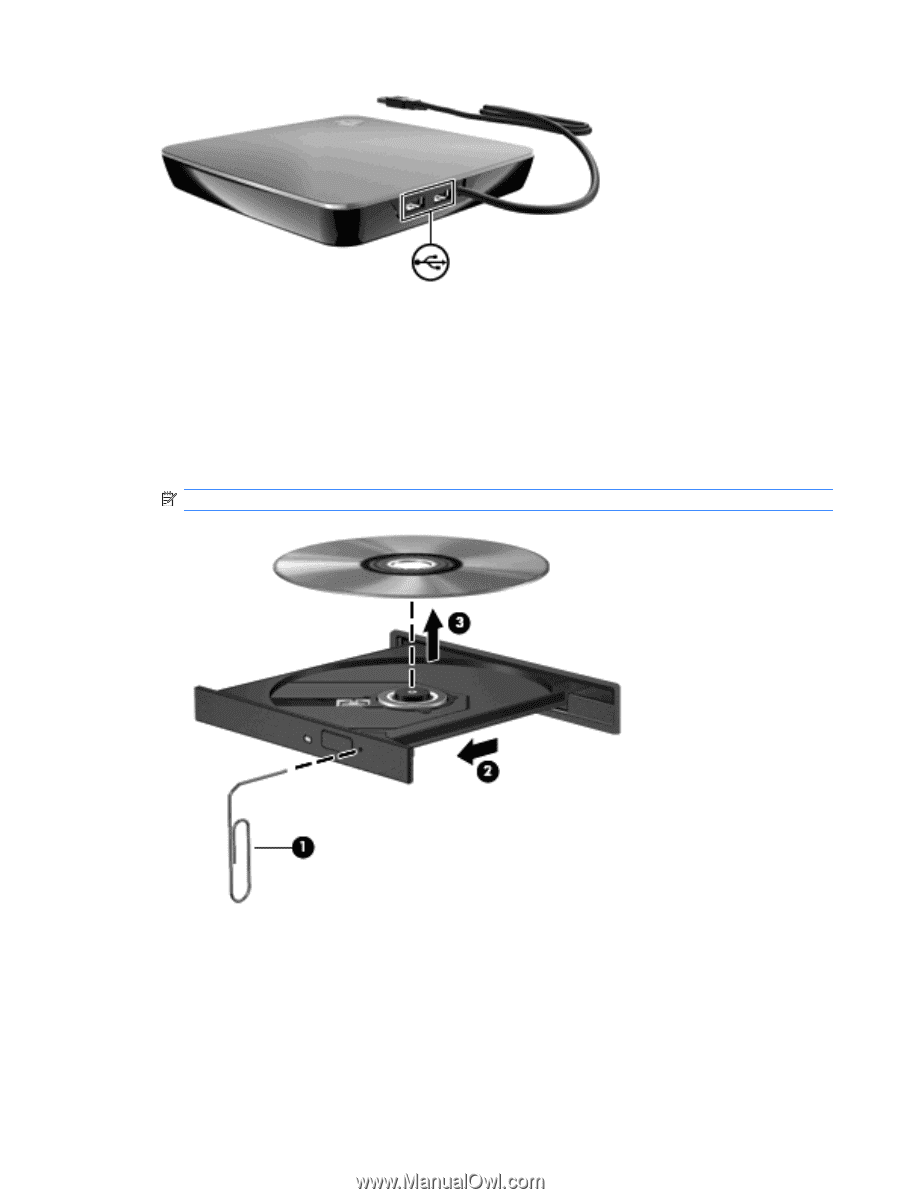
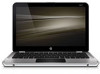
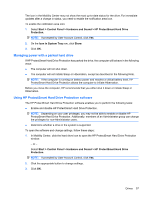
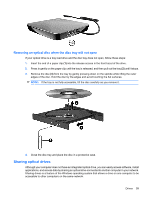
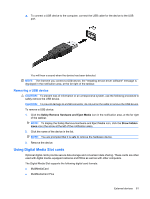
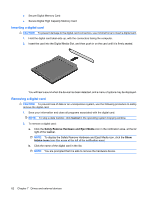
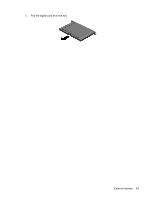
Removing an optical disc when the disc tray will not open If your optical drive is a tray load drive and the disc tray does not open, follow these steps: 1. Insert the end of a paper clip (1) into the release access in the front bezel of the drive. 2. Press in gently on the paper clip until the tray is released, and then pull out the tray (2) until it stops. 3. Remove the disc (3) from the tray by gently pressing down on the spindle while lifting the outer edges of the disc. Hold the disc by the edges and avoid touching the flat surfaces. NOTE: If the tray is not fully accessible, tilt the disc carefully as you remove it. 4. Close the disc tray and place the disc in a protective case. Sharing optical drives Although your computer does not have an integrated optical drive, you can easily access software, install applications, and access data by sharing an optical drive connected to another computer in your network. Sharing drives is a feature of the Windows operating system that allows a drive on one computer to be accessible to other computers on the same network. Drives 59
-
 1
1 -
2
-
3
-
4
-
5
-
6
-
7
-
8
-
9
-
10
-
11
-
12
-
13
-
14
-
15
-
16
-
17
-
18
-
19
-
20
-
21
-
22
-
23
-
24
-
25
-
26
-
27
-
28
-
29
-
30
-
31
-
32
-
33
-
34
-
35
-
36
-
37
-
38
-
39
-
40
-
41
-
42
-
43
-
44
-
45
-
46
-
47
-
48
-
49
-
50
-
51
-
52
-
53
-
54
-
55
-
56
-
57
-
58
-
59
-
60
-
61
-
62
-
63
-
 64
64 -
 65
65 -
 66
66 -
 67
67 -
 68
68 -
 69
69 -
 70
70 -
 71
71 -
 72
72 -
 73
73 -
 74
74 -
75
-
76
-
77
-
78
-
79
-
80
-
81
-
82
-
83
-
84
-
85
-
86
-
87
-
88
-
89
-
90
-
91
-
92
-
93
-
94
-
95
 |
 |